A Spoonful of Sugar

Make. Bake. Create.

Menu
  • Home
  • About
    • About Us
    • Press
    • FAQ
    • Disclosure Policy
    • Contact Us
  • Crafts
    • Crochet
    • DIY
    • Embroidery/Cross stitch
    • Gift Wrapping
    • Knitting
    • Miscellaneous
    • Paper Crafts
  • Holidays
    • New Year’s
    • Australia Day
    • Back to School
    • Valentines Day
    • Easter
    • ANZAC Day
    • Mother’s Day
    • Father’s Day
    • Halloween
    • Christmas
  • Recipes
    • Appetizers
    • Bars & Slices
    • Bread & Pastries
    • Cakes
    • Cookies
    • Confectionery
    • Cupcakes & Muffins
    • Desserts
    • Drinks
    • Ice Cream
    • Jams/Preserves
    • Main Meals
  • Sewing
    • Sewing Tutorials
    • Quilting
    • Sewing & Quilting Patterns
  • Family
    • Back to School
    • Family Fun
    • Our Home
    • Parenting
    • Travel
  • Shop
    • Pattern Store
    • Etsy Store

How To Freeze Basil

March 28, 2013 By Spoonful of Sugar - 11 Comments

The weather is finally starting to cool here after a long hot summer. We enjoy making lots of soups, casseroles, and pasta dishes in cooler weather. Our basil plant is thriving so we have frozen some of the fresh basil for use in our winter cooking.

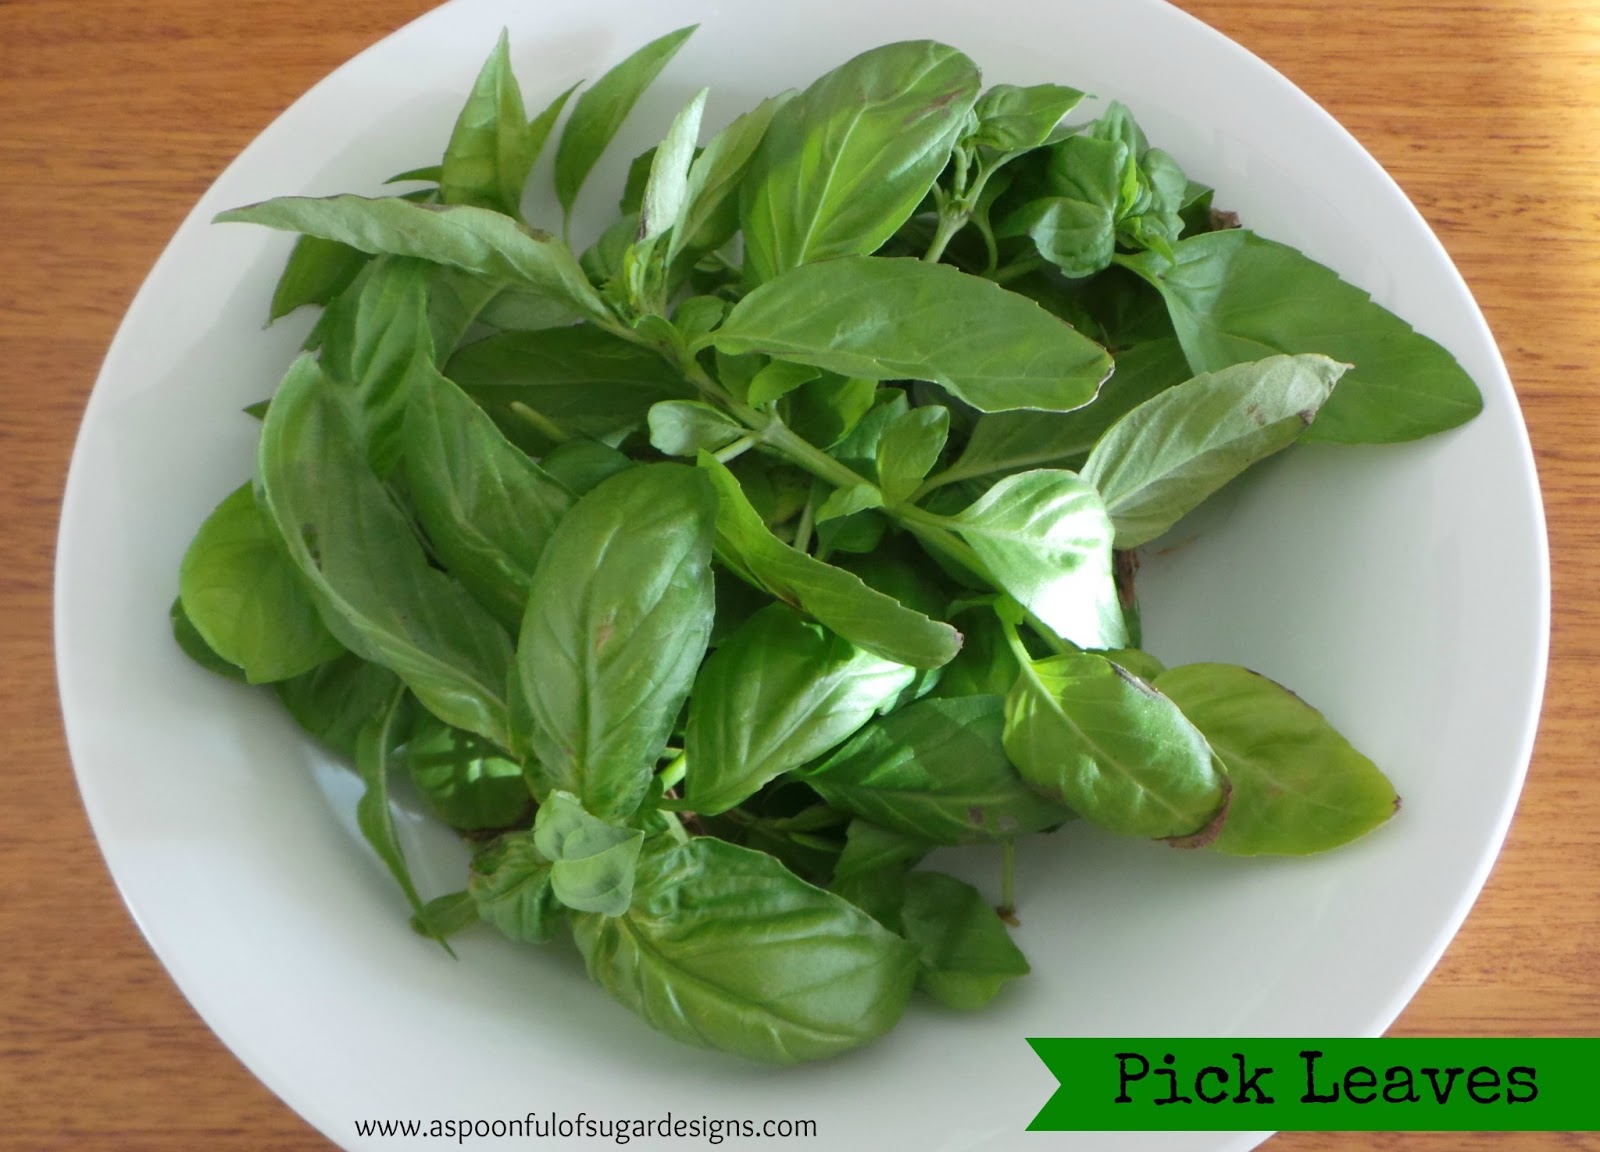
Basil is an easy herb to freeze. Pick a couple of handfuls of leaves.

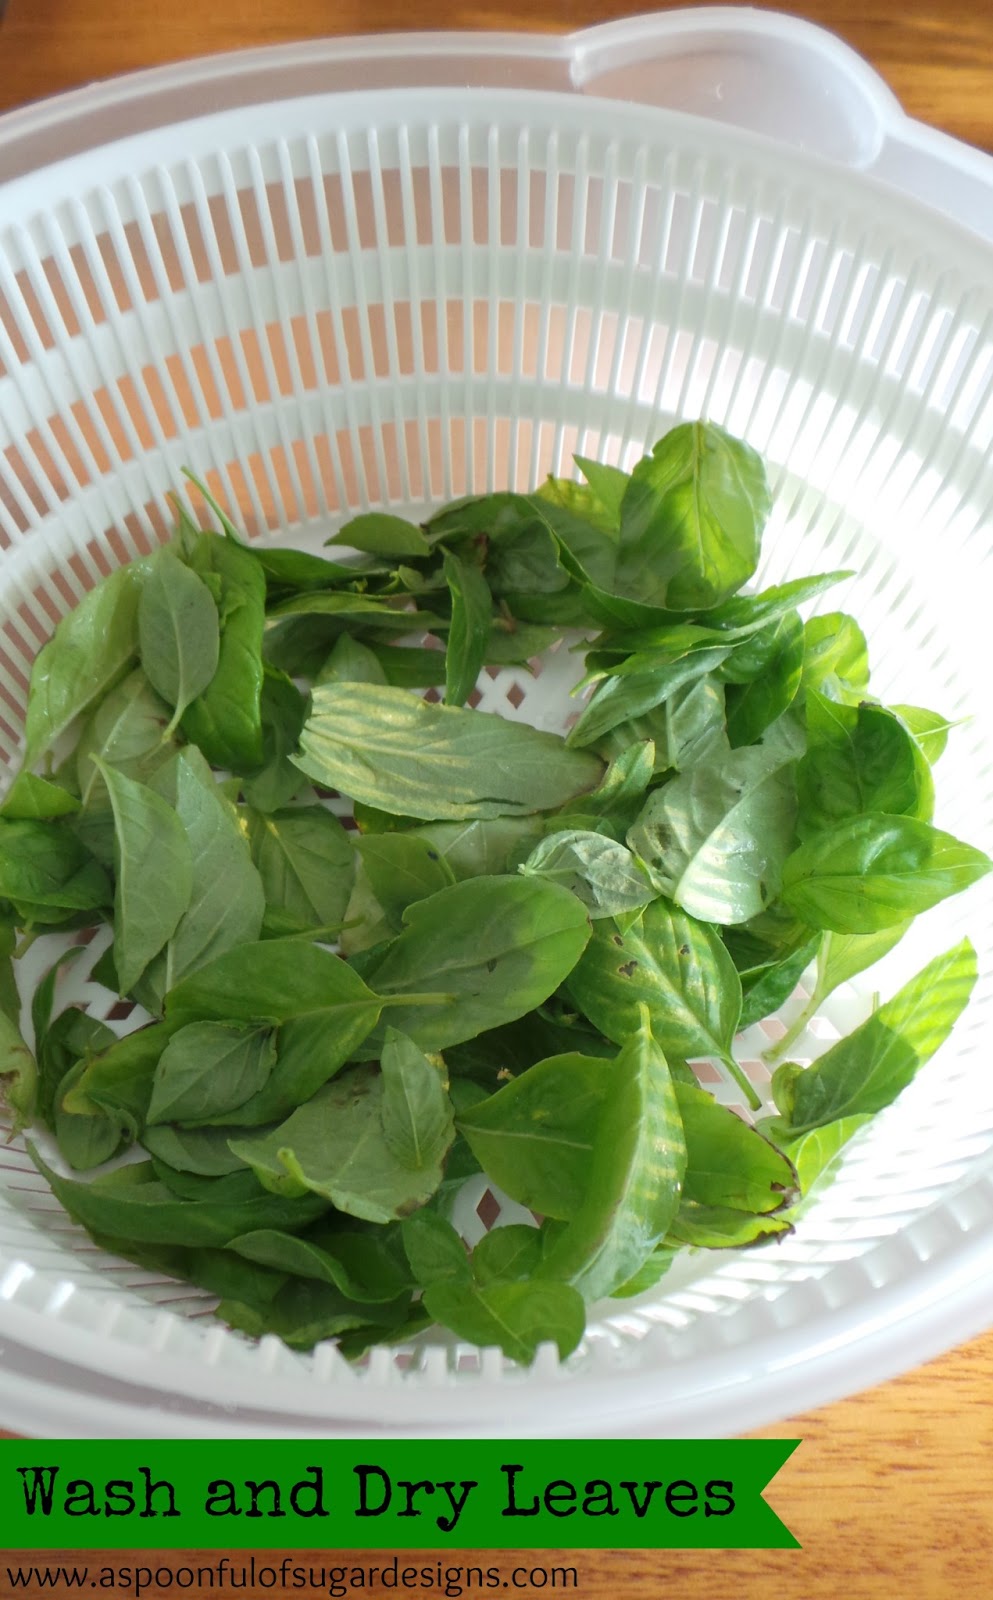
Remove the stems and any brown leaves. Wash the leaves and dry them in a salad spinner or with paper towels.

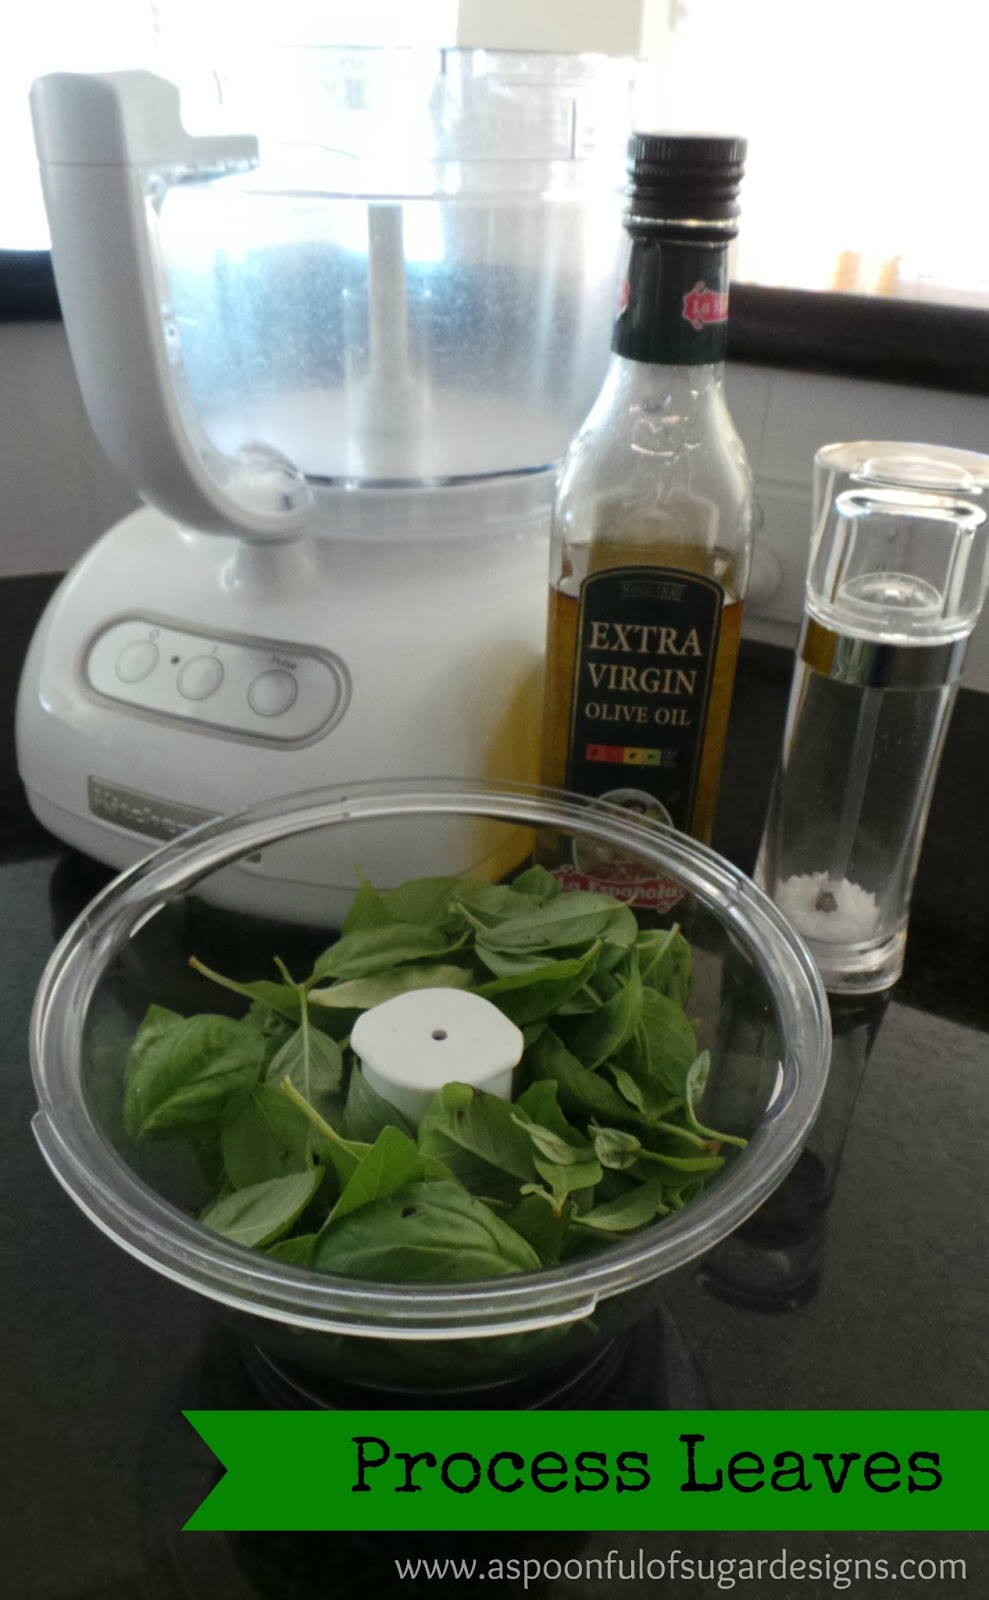
Place the leaves in the food processor. Process to roughly shred the leaves.  Add a tablespoon of extra virgin olive oil and a pinch of salt to coat the leaves. (This prevents the basil from turning black in the freezer).

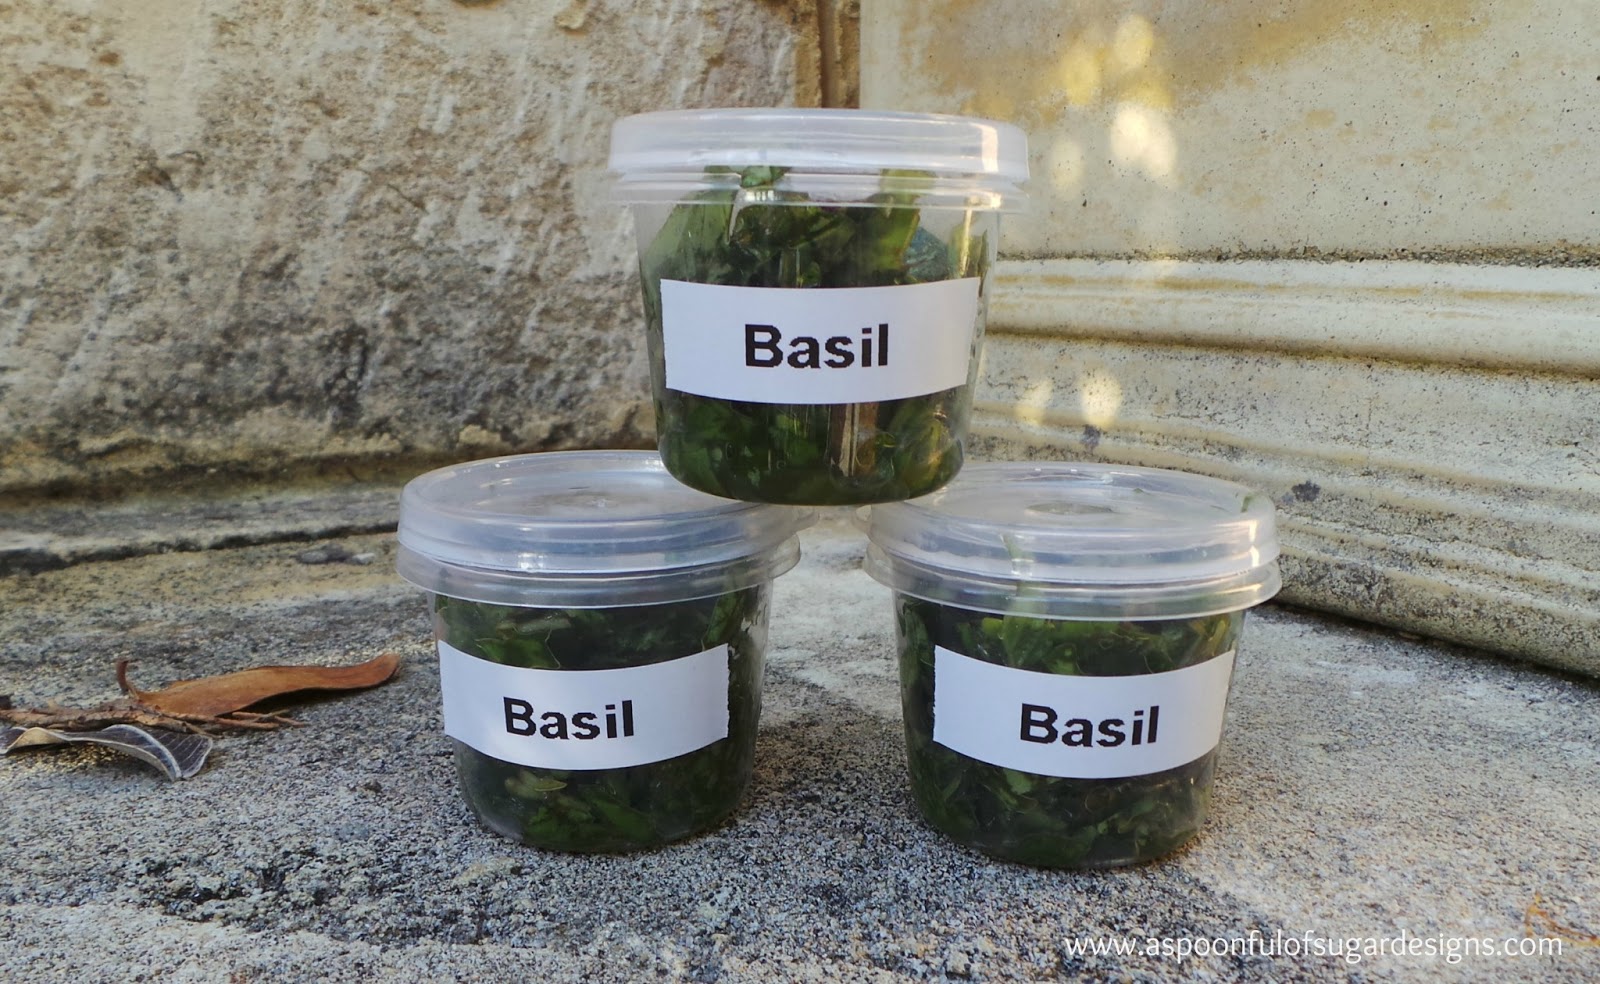
Spoon into small containers or ice cube trays to freeze. Label and pop into the freezer until you need some basil.

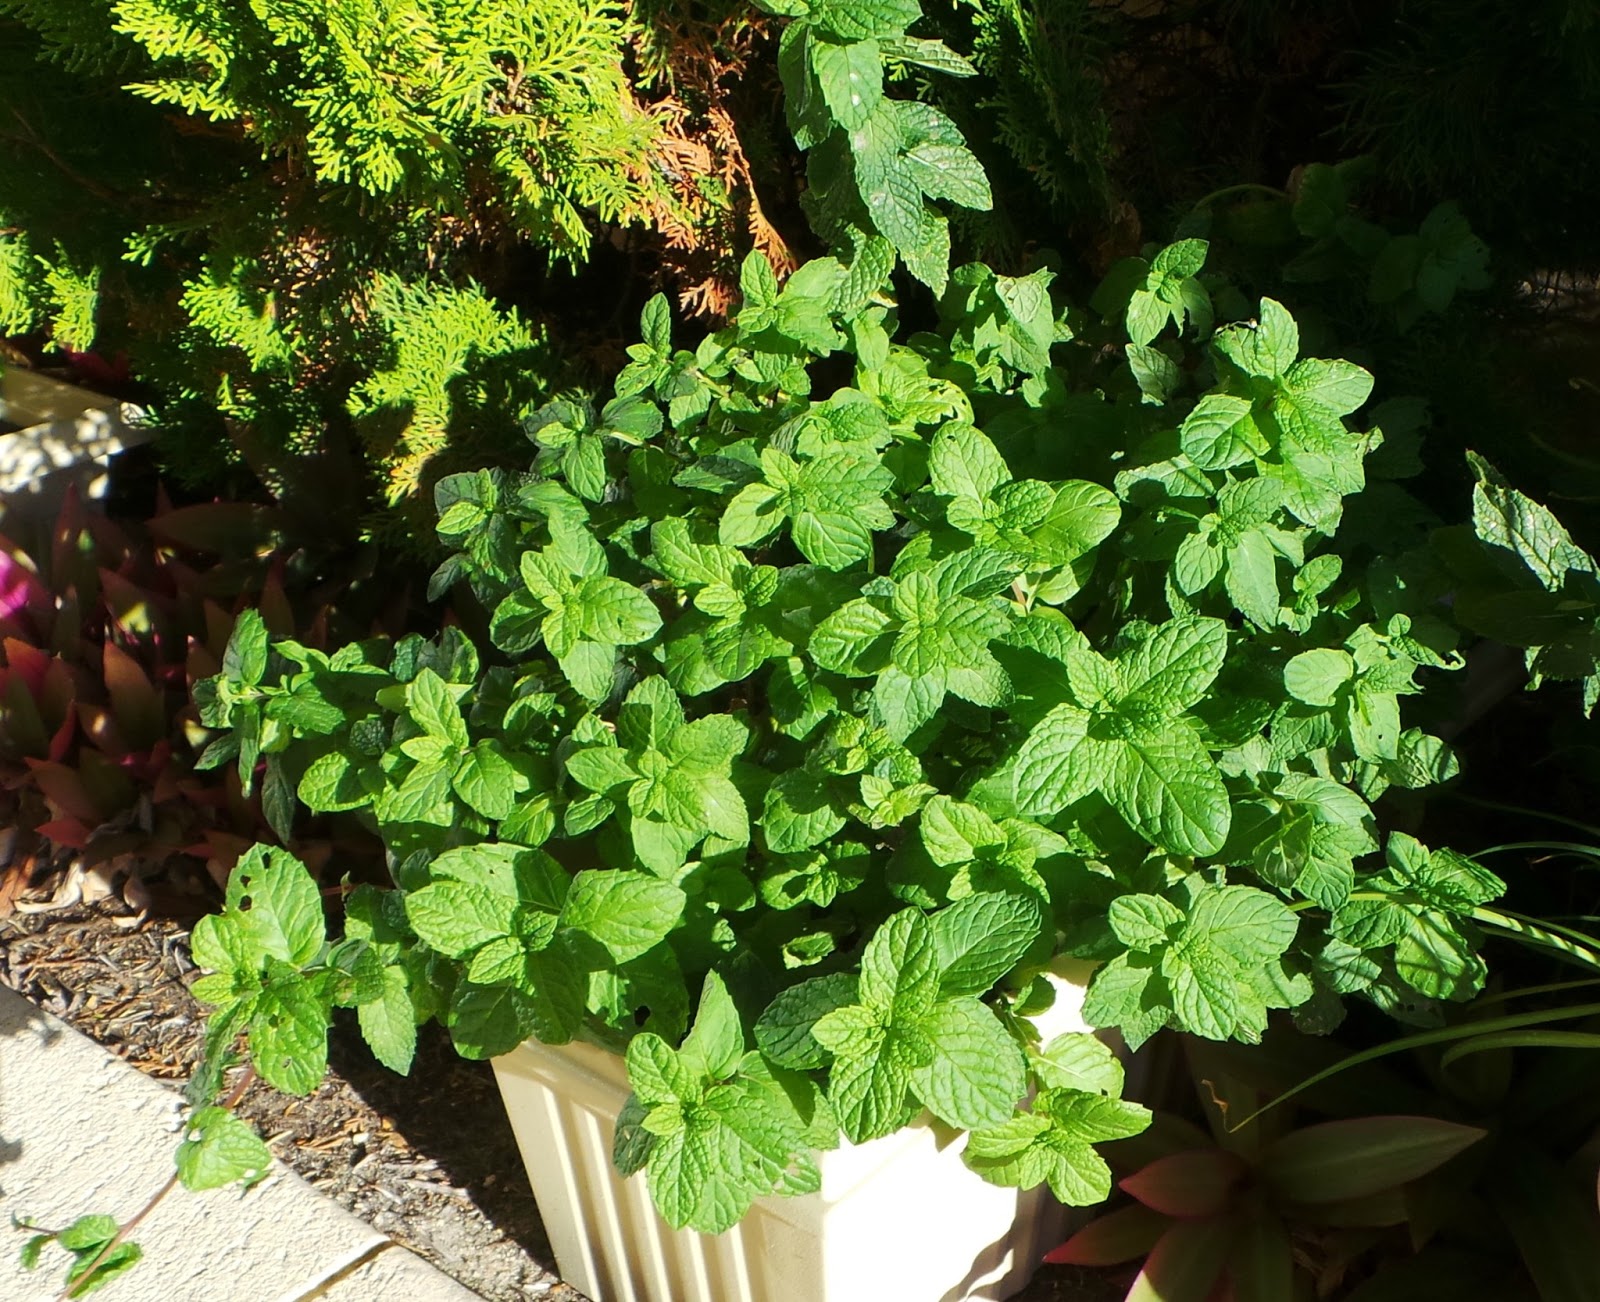
Next we are going to harvest some of our Mint.

Filed Under: Jams/Preserves Tagged With: basil, herbs

« Almond Cake
Plum Friands »

Comments

  1. Bettina Groh says

    March 28, 2013 at 7:10 am

    I’ve tried freezing basil leaves plain, in a bag. Sometimes it works… sometimes it doesn’t. I will have to give your method a try… say in September (lol). But why the salt?

    Reply
  2. Jan Baker says

    March 28, 2013 at 7:18 am

    I am going to send your post to my sister, she is going big with her garden this year and I know she will love the information on how to freeze her herbs.

    Reply
  3. Kate says

    March 28, 2013 at 9:43 am

    Thank you for this tip …. definitely will try it.

    Reply
  4. ~ko says

    March 28, 2013 at 10:22 am

    We freeze ours every year, and each winter I’m so thankful I did! It always brightens up a dreary day dish reminding me that summer will eventually arrive again 🙂

    Reply
  5. Anne Marie says

    March 28, 2013 at 1:14 pm

    How lucky you are for being able to grow basil! I don’t think we have warm enough summers for that here.

    Reply
  6. Erica at Sew So Crafty says

    March 28, 2013 at 1:26 pm

    As I am a horticulturist by trade and also love pottering about my herb & veggie garden, it’s so nice to read your blog encouraging & hopefully inspiring people to garden … when not sewing of course 🙂

    Reply
  7. Queen Of The Armchair aka Dzintra Stitcheries says

    March 28, 2013 at 3:08 pm

    Thank you for this…I wqsn’t really sure how to freeze the basil!

    Reply
  8. Melody says

    March 28, 2013 at 9:48 pm

    Such a fabulous tip. Wishing you much happiness at Easter time.

    Reply
  9. Coffeebean's Dailies says

    April 6, 2013 at 9:30 pm

    This is a lovely tutorial, thank you! I live in the Middle East and we don’t grow basil. There is a variety but I don’t like it as much as the western basil. Anyway, you gave me the idea to buy the little imported and expensive pots and freezing them until I need them! It’s a project for the weekend! Oh, and we don’t always get the basil either!!

    Reply
  10. Melissa says

    September 27, 2015 at 10:43 pm

    I took the basil leaves, washed them, laid them out on a cookie shhet, placed them.in the freezer for a couple hours. Removed from the pan and placed in a Ziploc bag. Returned to the freezer.

    Reply
    • A Spoonful of Sugar says

      September 28, 2015 at 12:26 pm

      Must try this method next time. Love having basil on hand.

      Reply

Leave a Reply Cancel reply

Your email address will not be published. Required fields are marked *

  • Email
  • Facebook
  • Instagram
  • Pinterest
  • Threads
  • TikTok
SUBSCRIBE TO NEWSLETTER
×

Categories

Archives

PURCHASE PDF PATTERNS

We offer over 100 affordable PDF sewing patterns available for download from our store website or Etsy store. Each pattern includes detailed instructions, numerous photos, and templates.

WEB STORE ETSY STORE

Instagram

The Scrappy Strips Pouch is one of my favourite wa The Scrappy Strips Pouch is one of my favourite ways to use up leftover fabric strings. Today’s version is made from patchwork strips — a fun, relaxing sew that turns scraps into something beautiful and practical.The Scrappy Strips Pouch pattern has two versions - patchwork strings and selvedges - and two sizes. Comment SELVEDGE (or SELVAGE) for a link to the pattern.Pattern Details: Scrappy Strips Pouch Sewing Pattern is in our Pattern Store and Etsy Shop.#ScrappyStripsPouch #ScrapBustingSewing #PatchworkPouch #StringQuilting #SewingProjects
If you’ve ever wanted to add eyelets or grommets t If you’ve ever wanted to add eyelets or grommets to your sewing projects, here’s a quick look at how I install them using my DK93 snap press. It’s the same tool I use for snaps — and it makes installing eyelets beautifully quick and consistent.Here’s how I install the eyelets:Punch out the four holes using a hole‑cutting die.Place the eyelet into the hole.Press it into place using the snap press.That’s it — simple, sturdy, and it gives the Ribbon Pouch such an elevated, professional finish. I love how clean and secure the result is.Fabric shown: Tilda Something Blue, releasing June 1 — thank you @tilda_australia for the beautiful fabric.✨ If you’d like the Ribbon Pouch pattern (3 sizes), comment RIBBON and I’ll send the link straight to you.Ribbon Pouch Sewing Pattern: available in my Pattern Store and Etsy Shop (links in profile).#tildasomethingblue #tildafabric #sewingtips #handmadeeveryday #sewingtools
The Ribbon Pouch is one of my favourite quick‑to‑s The Ribbon Pouch is one of my favourite quick‑to‑sew gift bags, and I couldn’t resist making a light and dark version using the new Tilda Something Blue collection. Both pouches use the same print in different colourways — such a pretty way to show how fabric choice changes the whole mood.They’re finished with satin ribbon threaded through grommets, and topped with a tiny star tag. The boxed base helps them stand beautifully, and the ribbon closure makes them perfect for birthdays, thank‑you gifts, treats, or little treasures.This is a beginner‑friendly, scrap‑friendly, quick project you’ll want to sew again and again. Pattern includes 3 sizes.If you’d like the pattern, comment RIBBON and I’ll send the link straight to you.Pattern Details: Ribbon Pouch (3 Sizes) available in my Pattern Store and Etsy Shop.Fabric Details: Tilda Something Blue - releasing on 1 June 2026. Thanks to @tilda_australia#TildaSomethingBlue #TildaFabric #SewingPattern #BeginnerSewingProject #QuickSewingProject   
Sewing with scraps is one of my favourite ways to Sewing with scraps is one of my favourite ways to get creative — small pieces, leftover corners, charm‑square offcuts… they all have so much potential.Here are 10 scrap‑friendly projects that use small pieces beautifully. They’re quick to sew, beginner‑friendly, and perfect for gifting ✂️✨Save this for the next time you want to turn your scraps into something pretty.Which one would you sew first?  Tell me in the comments — I love seeing what you’re making.Patterns are available in my pattern store (link in profile) or comment PATTERNS and I will send you the link. #scrapsewing #scrapbusting #scrapfriendly #sewinginspiration #sewingideas
I save every selvedge (or selvage) — the colour do I save every selvedge (or selvage) — the colour dots, the tiny prints, the designer names… they’re too pretty to throw away.Here’s how I turn them into something useful:
• lay them diagonally on a square of fusible interfacing
• overlap slightly
• stitch close to the printed edge
• keep building until you have a panelIt’s such a fun way to use scraps and create something totally unique ✂️✨If you’d like the Scrappy Strips Pouch pattern, comment SELVEDGE or SELVAGE and I’ll send you the link.Pattern Details: Scrappy Strips Pouch Pattern is available in my Pattern Store and Etsy Shop.#scrappystripspouch #selvage #scrapbuster #sewingcommunity #sewingtip
A little Something Blue for tonight’s sewing sessi A little Something Blue for tonight’s sewing session 💙I’m packing my Makers Caddy with supplies for my next project — fabric, thread, tassels, lavender… I can’t wait to share it with you soon.There’s something so calming about soft blues, tidy supplies, and a project all ready to go — it makes the whole sewing process feel extra special.Hope this brings a little mid‑week inspiration to your feed ✂️✨If you’d like the link to the Makers Caddy, comment CADDY and I’ll send it to you.Fabric: Tilda Something Blue with thanks to @tilda_australiaPattern Details: Makers Caddy Sewing Pattern - available in our Pattern Store and Etsy Shop.#tildasomethingblue #ilovetilda #sewingcommunity #tildaaustralia #sewingpattern
Follow on Instagram

Featured Pattern

Travel Sewing Kit Pattern

Featured Tutorial

Retro Drawstring Bag

Featured Recipe

Lemon Pound Cake

Connect

  • Email
  • Facebook
  • Instagram
  • Pinterest
  • Threads
  • TikTok
SUBSCRIBE TO NEWSLETTER
×

Popular Posts

  • Tips for Threading a Needle
  • Cord Cosy
  • Travel Accessories to Sew
  • Liberty Tissue Cover
  • Charm Square Fabric Tray
  • Happy Scrappy Cards
  • Crocheted Scarf {Free Pattern}

Copyright © 2026 Lisa. K. Cox - A Spoonful of Sugar