A Spoonful of Sugar

Make. Bake. Create.

Menu
  • Home
  • About
    • About Us
    • Press
    • FAQ
    • Disclosure Policy
    • Contact Us
  • Crafts
    • Crochet
    • DIY
    • Embroidery/Cross stitch
    • Gift Wrapping
    • Knitting
    • Miscellaneous
    • Paper Crafts
  • Holidays
    • New Year’s
    • Australia Day
    • Back to School
    • Valentines Day
    • Easter
    • ANZAC Day
    • Mother’s Day
    • Father’s Day
    • Halloween
    • Christmas
  • Recipes
    • Appetizers
    • Bars & Slices
    • Bread & Pastries
    • Cakes
    • Cookies
    • Confectionery
    • Cupcakes & Muffins
    • Desserts
    • Drinks
    • Ice Cream
    • Jams/Preserves
    • Main Meals
  • Sewing
    • Sewing Tutorials
    • Quilting
    • Sewing & Quilting Patterns
  • Family
    • Back to School
    • Family Fun
    • Our Home
    • Parenting
    • Travel
  • Shop
    • Pattern Store
    • Etsy Store

Honey Castella Cake

September 18, 2012 By Spoonful of Sugar - 4 Comments

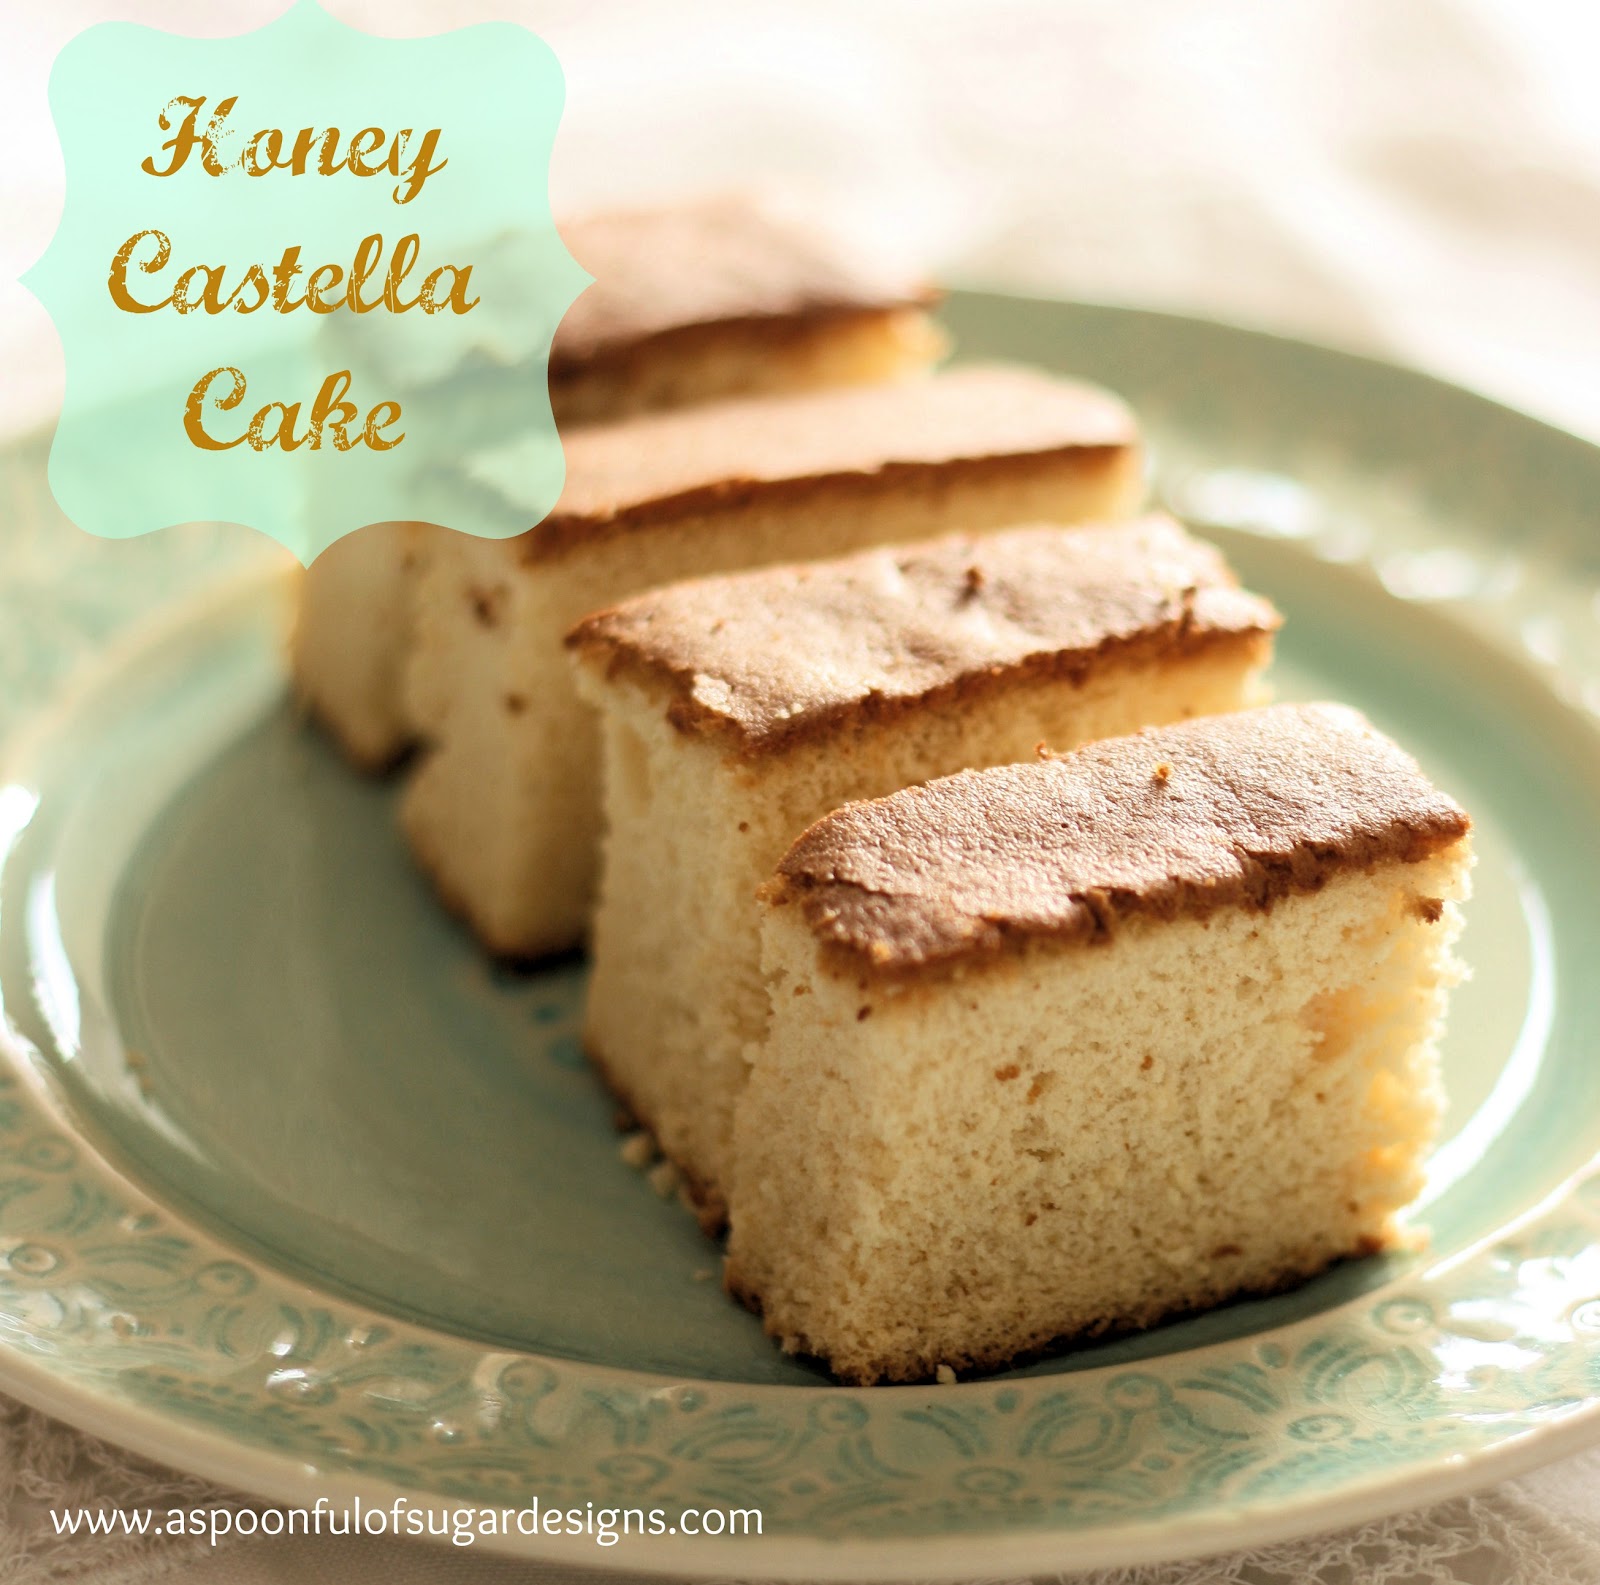
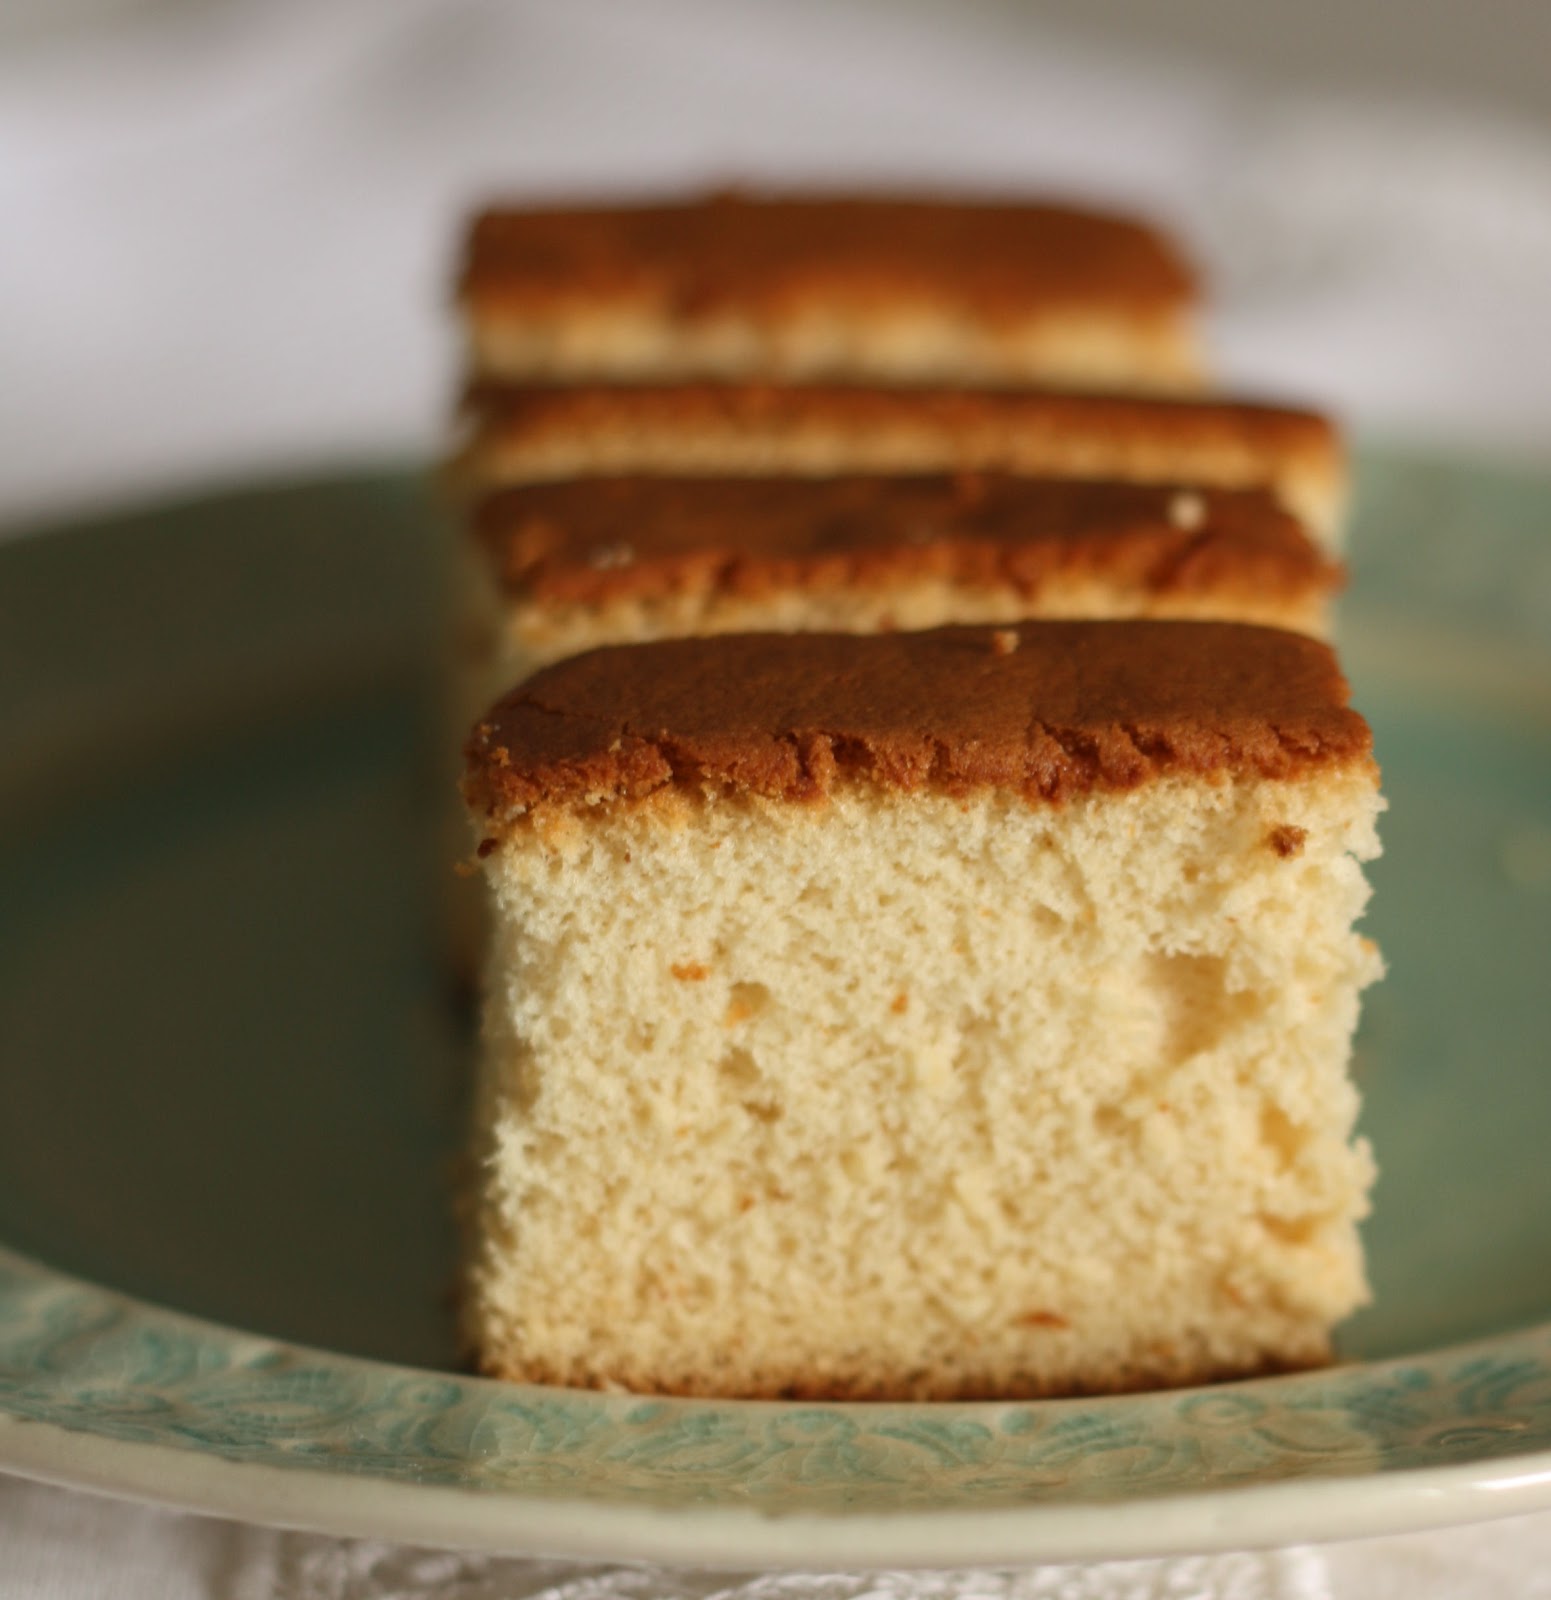
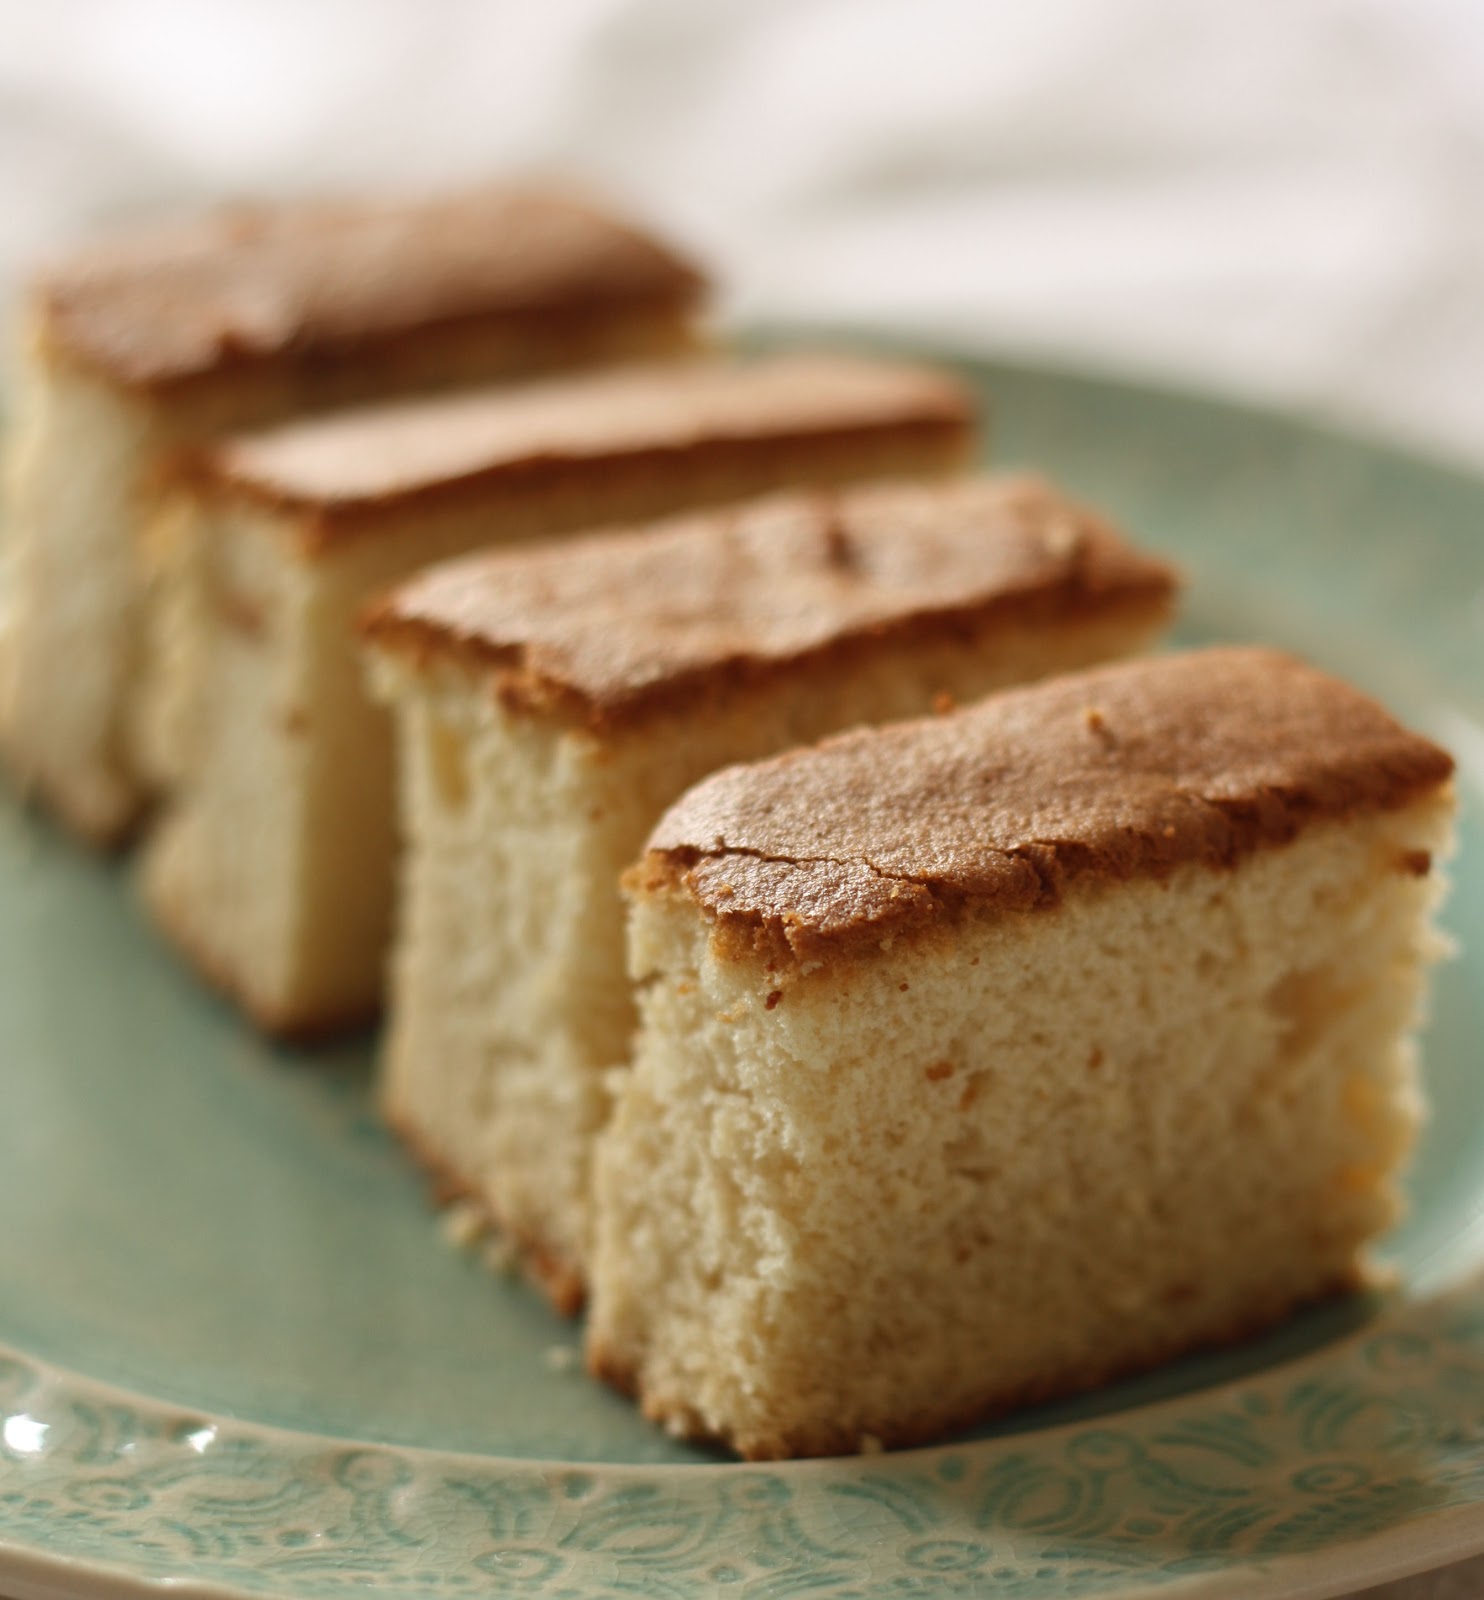
We love everything Japanese here at A Spoonful of Sugar, and Sarah is always keen to try out recipes for Japanese sweet treats. This week she treated us to a Honey Castella Cake which is a traditional Japanese sponge cake –  made without any oils or rising agents. It uses bread flour which gives it a chewy texture, and honey adds sweetness to the cake. It is a really moist, light cake, and is best eaten plain with a cup of tea.

Honey Castella Cake
  • 5 Egg Yolks (room temperature)
  • 4 Egg Whites (room temperature)
  • 125g  (1/2 cup) Sugar
  • 100g (0.8 cup) Bread Flour (sifted)
  • 50g (2 1/2 tablespoons) Honey (diluted with 2–3 tbsp. hot water)


  1. Line base and sides of a 7 inch square pan with baking paper. Preheat oven to 160 C (325 deg F)
  2. Place egg whites in the bowl of your electric mixer and whisk on high speed for about 30 seconds, then add sugar a tablespoon at a time. Beat until firm peaks are formed.
  3. Add egg yolks one at a time, and mix on low speed until well combined.
  4. Add sifted bread flour and mix on low speed until just combined.
  5. Add honey and hot water mix­ture and mix on low speed until combined.
  6. Pour bat­ter through a sieve into cake pan, use a spat­ula or whisk to help the thick bat­ter go through the sieve.
  7. Tap pan on the counter to remove any large bub­bles in the batter.
  8. Bake in pre­heated oven for about 60 min­utes or until golden brown on top — check with a skewer to see if cake is ready.
  9. If ready, take out of oven (with oven mitts) and drop the pan on the counter from about a foot in height to pre­vent shrinkage.
  10. Cool cake. Place cake onto a piece of baking paper and wrap in plas­tic wrap, and leave in the fridge until ready to serve (at least overnight) to pre­serve mois­ture in cake.

Sarah was inspired by the recipe she found at Yummy Workshop. It reminds us of the cake we have eaten from bakeries in Japan.


For your daily sugar fix you can subscribe or follow us on facebook, twitter, google plus and pinterest.   

Filed Under: Cakes, Recipes Tagged With: honey, Japan

« Drawstring Pouch
Chocolate Whoopie Pies »

Comments

  1. Handmade in Israel says

    September 19, 2012 at 12:03 am

    Delicious! Perfect timing for Rosh Hashanah (the Jewish New Year) too! We eat honey cake to symbolize our desire to have a new year filled with sweetness.

    Reply
  2. Katie says

    September 19, 2012 at 3:54 am

    This looks and sounds great. I love the idea of using bread flour!

    Reply
  3. janice15 says

    September 20, 2012 at 3:02 pm

    It looks so yummy and wonderful…I can’t wait to try it…Happy Thursday..with love Janice

    Reply
  4. Clare Maree says

    March 27, 2013 at 12:18 am

    Hello Lisa and Sarah

    I just wanted to let you know that I made this castella on the weekend to take to my son’s graduation party at Japanese school and it was wonderful. It tasted just like the real thing. I only managed to get a taste of it before I took it to the party and it was all gone before I had a chance to have any more. My son said he did get a slice, though, and told his friends that I made it, so he must have approved. Thanks for the great recipe. I’ll definitely be making it again.

    Reply

Leave a Reply Cancel reply

Your email address will not be published. Required fields are marked *

  • Email
  • Facebook
  • Instagram
  • Pinterest
  • Threads
  • TikTok
SUBSCRIBE TO NEWSLETTER
×

Categories

Archives

PURCHASE PDF PATTERNS

We offer over 100 affordable PDF sewing patterns available for download from our store website or Etsy store. Each pattern includes detailed instructions, numerous photos, and templates.

WEB STORE ETSY STORE

Instagram

A tiny pyramid that does it all — a pattern weight A tiny pyramid that does it all — a pattern weight for your sewing table, a book weight for cosy reading, or a scented sachet for your drawers. Small, sweet, and so satisfying to sew. Comment PYRAMID for the free pattern.Fabric: Something Blue by Tilda
@tilda_australia#sewingproject #tildafabric #beginnersewing #scrapsewing #Tildasomethingblue
Meet the sweetest little project you can sew in mi Meet the sweetest little project you can sew in minutes — the Pyramid Weight. Use it as a pattern weight, scented sachet, or even a book weight… all from one triangle of fabric. Comment PYRAMID for the free pattern.Fabric is Something Blue by Tilda, releasing 1 June 2026 — with thanks to @tilda_australia.#tildasomethingblue #tildafabric #freepattern #sewingtutorial #sewinglove
The Scrappy Strips Pouch is one of my favourite wa The Scrappy Strips Pouch is one of my favourite ways to use up leftover fabric strings. Today’s version is made from patchwork strips — a fun, relaxing sew that turns scraps into something beautiful and practical.The Scrappy Strips Pouch pattern has two versions - patchwork strings and selvedges - and two sizes. Comment SELVEDGE (or SELVAGE) for a link to the pattern.Pattern Details: Scrappy Strips Pouch Sewing Pattern is in our Pattern Store and Etsy Shop.#ScrappyStripsPouch #ScrapBustingSewing #PatchworkPouch #StringQuilting #SewingProjects
If you’ve ever wanted to add eyelets or grommets t If you’ve ever wanted to add eyelets or grommets to your sewing projects, here’s a quick look at how I install them using my DK93 snap press. It’s the same tool I use for snaps — and it makes installing eyelets beautifully quick and consistent.Here’s how I install the eyelets:Punch out the four holes using a hole‑cutting die.Place the eyelet into the hole.Press it into place using the snap press.That’s it — simple, sturdy, and it gives the Ribbon Pouch such an elevated, professional finish. I love how clean and secure the result is.Fabric shown: Tilda Something Blue, releasing June 1 — thank you @tilda_australia for the beautiful fabric.✨ If you’d like the Ribbon Pouch pattern (3 sizes), comment RIBBON and I’ll send the link straight to you.Ribbon Pouch Sewing Pattern: available in my Pattern Store and Etsy Shop (links in profile).#tildasomethingblue #tildafabric #sewingtips #handmadeeveryday #sewingtools
The Ribbon Pouch is one of my favourite quick‑to‑s The Ribbon Pouch is one of my favourite quick‑to‑sew gift bags, and I couldn’t resist making a light and dark version using the new Tilda Something Blue collection. Both pouches use the same print in different colourways — such a pretty way to show how fabric choice changes the whole mood.They’re finished with satin ribbon threaded through grommets, and topped with a tiny star tag. The boxed base helps them stand beautifully, and the ribbon closure makes them perfect for birthdays, thank‑you gifts, treats, or little treasures.This is a beginner‑friendly, scrap‑friendly, quick project you’ll want to sew again and again. Pattern includes 3 sizes.If you’d like the pattern, comment RIBBON and I’ll send the link straight to you.Pattern Details: Ribbon Pouch (3 Sizes) available in my Pattern Store and Etsy Shop.Fabric Details: Tilda Something Blue - releasing on 1 June 2026. Thanks to @tilda_australia#TildaSomethingBlue #TildaFabric #SewingPattern #BeginnerSewingProject #QuickSewingProject   
Sewing with scraps is one of my favourite ways to Sewing with scraps is one of my favourite ways to get creative — small pieces, leftover corners, charm‑square offcuts… they all have so much potential.Here are 10 scrap‑friendly projects that use small pieces beautifully. They’re quick to sew, beginner‑friendly, and perfect for gifting ✂️✨Save this for the next time you want to turn your scraps into something pretty.Which one would you sew first?  Tell me in the comments — I love seeing what you’re making.Patterns are available in my pattern store (link in profile) or comment PATTERNS and I will send you the link. #scrapsewing #scrapbusting #scrapfriendly #sewinginspiration #sewingideas
Follow on Instagram

Featured Pattern

Travel Sewing Kit Pattern

Featured Tutorial

Retro Drawstring Bag

Featured Recipe

Lemon Pound Cake

Connect

  • Email
  • Facebook
  • Instagram
  • Pinterest
  • Threads
  • TikTok
SUBSCRIBE TO NEWSLETTER
×

Popular Posts

  • Cord Cosy
  • Tips for Threading a Needle
  • Travel Accessories to Sew
  • Liberty Tissue Cover
  • Charm Square Fabric Tray
  • Happy Scrappy Cards
  • Life Lessons from Sewing and Quilting

Copyright © 2026 Lisa. K. Cox - A Spoonful of Sugar