Nothings beats homemade jam when it comes to taste. You can preserve the fruit when it is at its peak, to really capture the flavours of the season. Don’t be put off by the process of jam making – simmering the fruit and waiting for it to reach the gel point. There is a much easier and faster way with no-cook Strawberry Freezer Jam which uses powered Jam Setta with Pectin. Using only four ingredients, and spending around 30 minutes in the kitchen you will have some delicious jam.
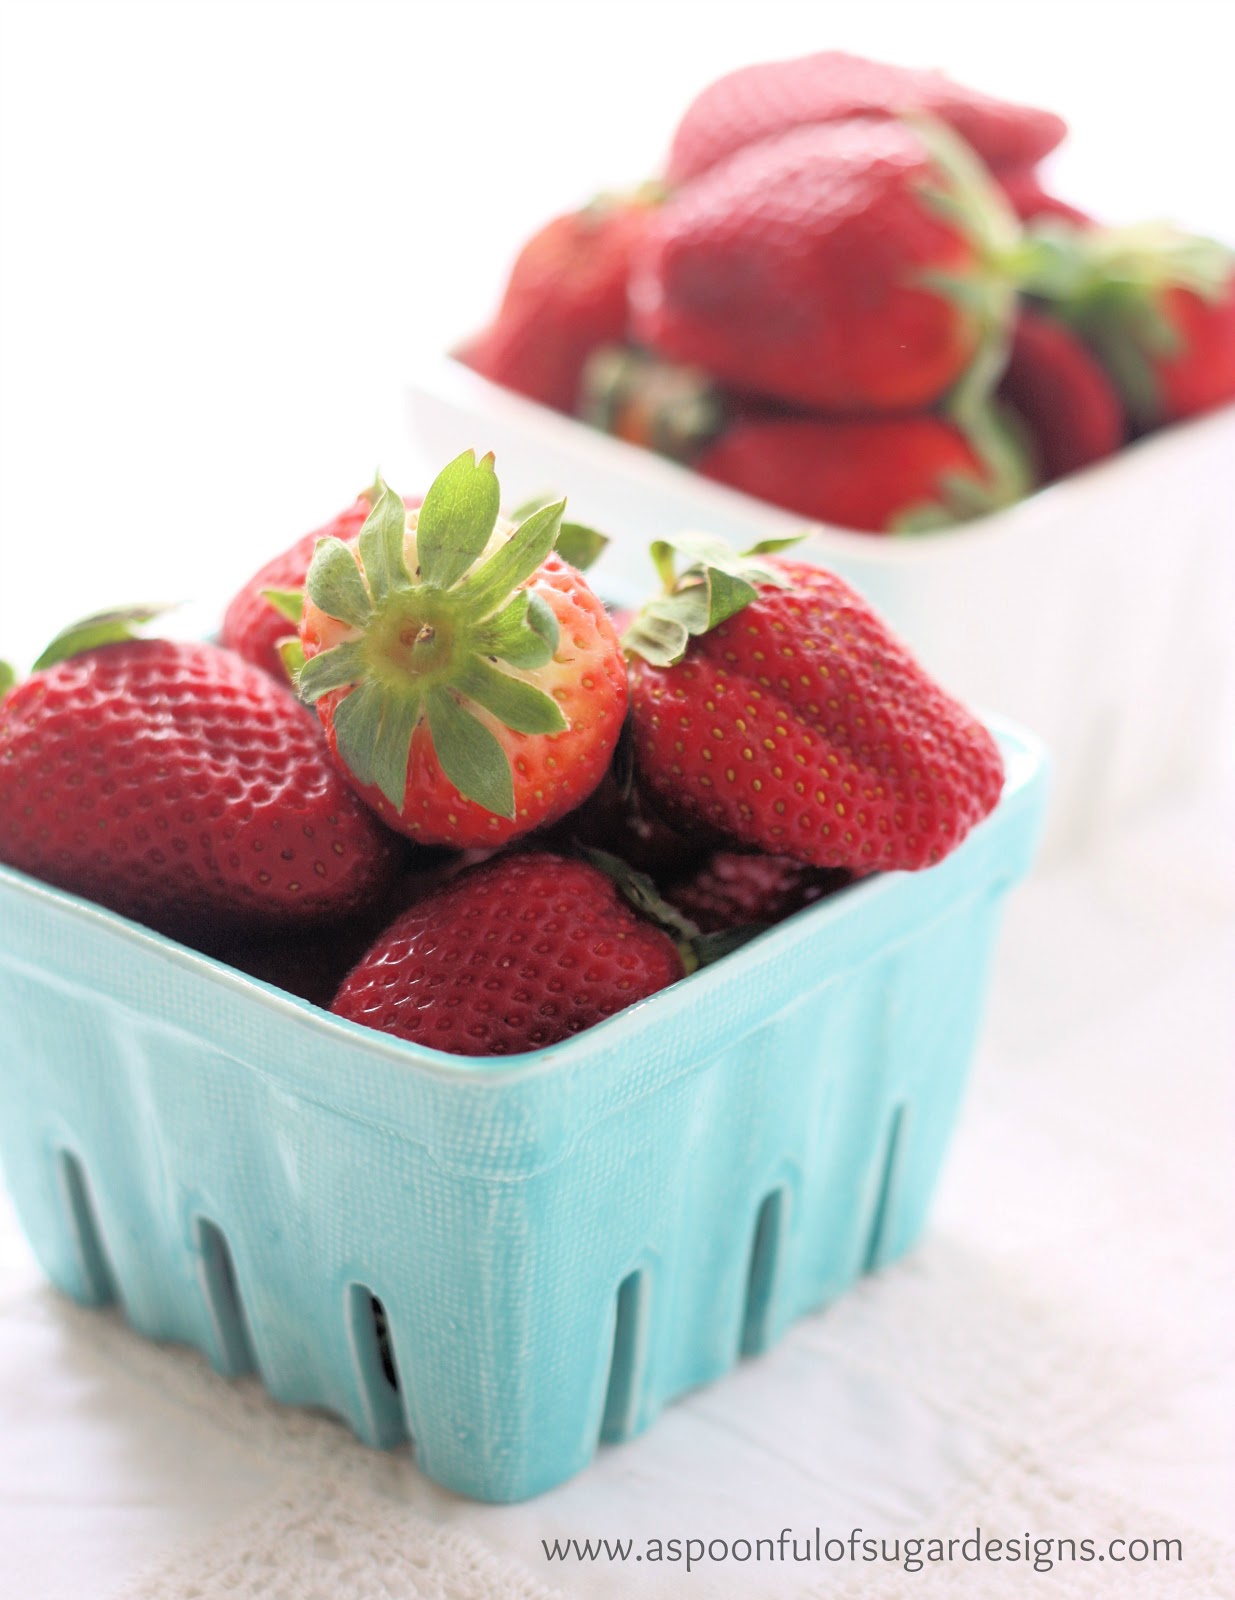
Strawberries are plentiful and cheap at the moment in our part of the world. We have been buying punnets of strawberries over the past few weeks, and wanted to make some jam while they are still available.
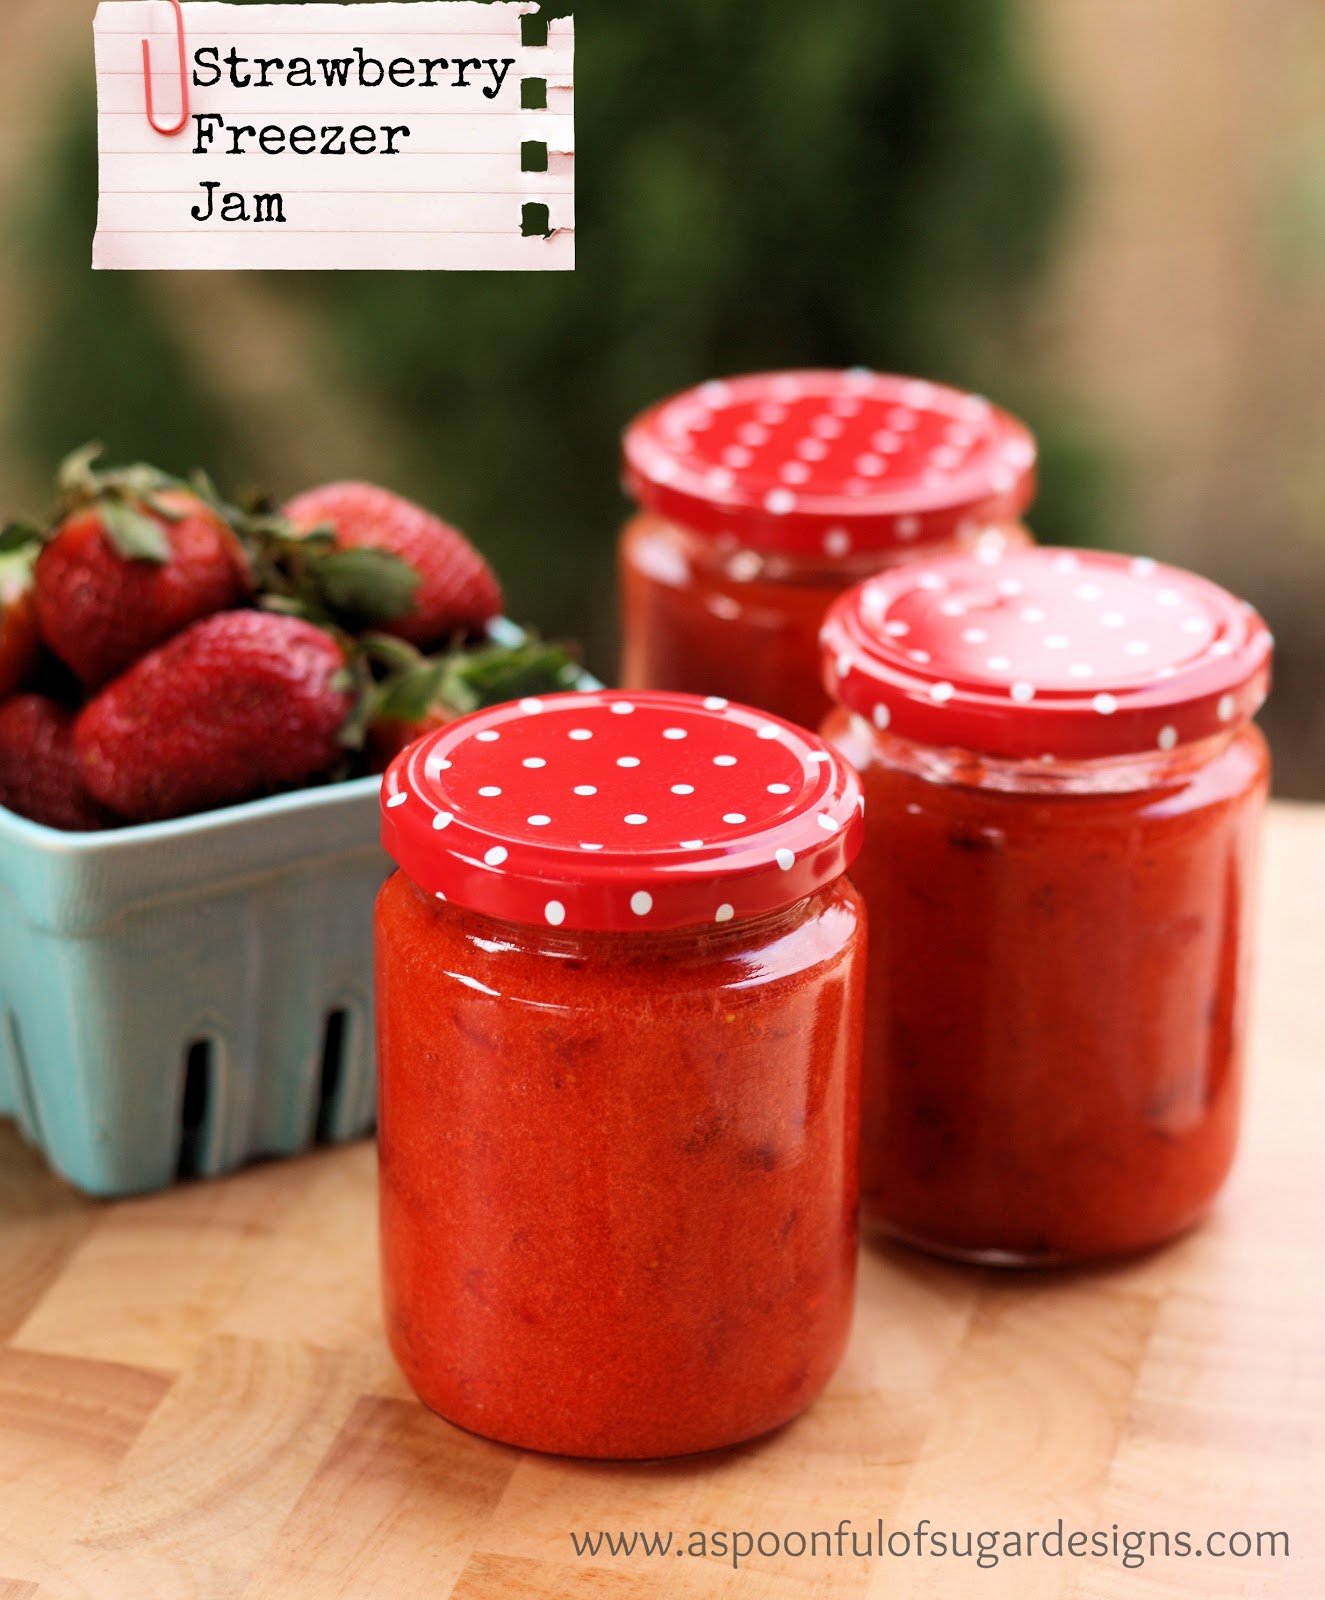
Strawberry Freezer Jam
Ingredients
(yield – 3 x 225g jars of jam/approx 3 cups)
250g (approx 9 oz) punnet of strawberries
2 cups sugar
One third cup of water
25 g jam setta with pectin
3 x Glass jars with lids

Method:
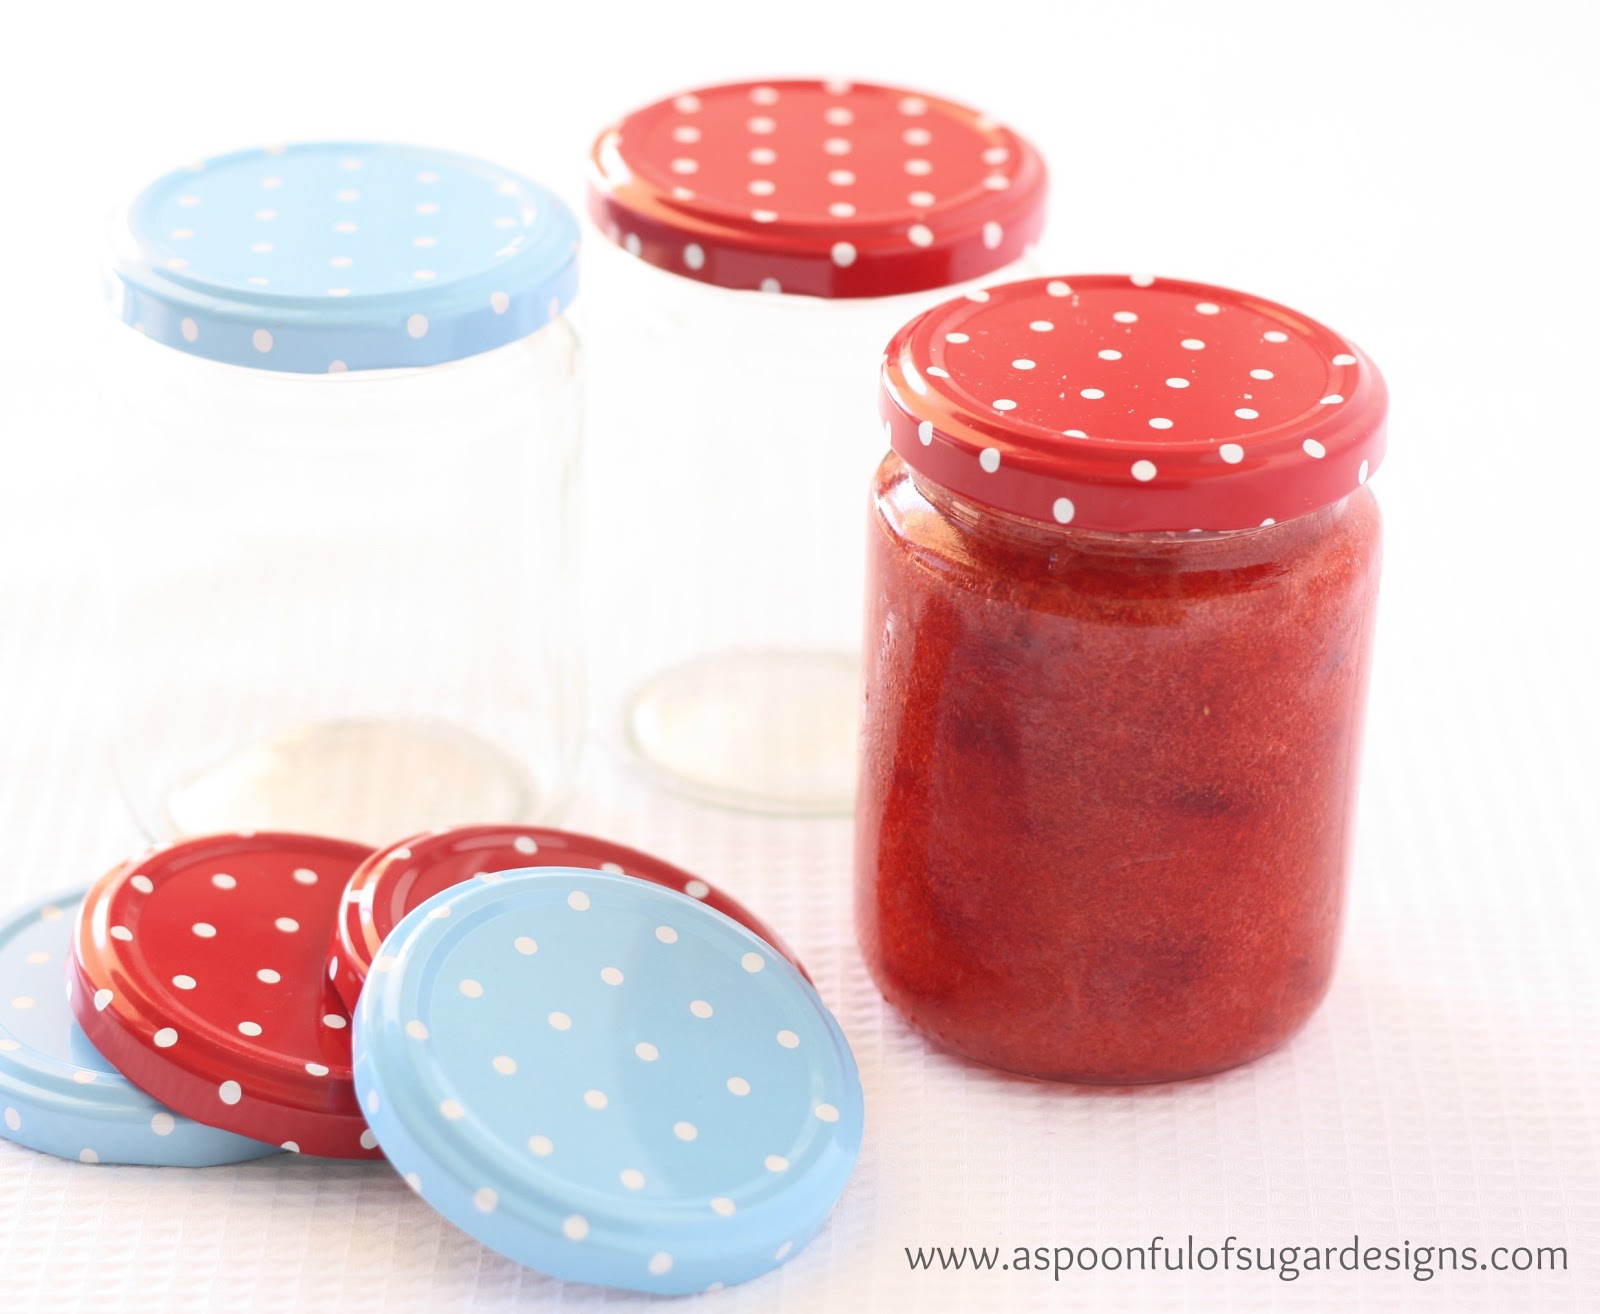
1. Thoroughly wash and dry jars. Place empty jars in an oven set at 150 degrees C (300 deg F) for 10 minutes to sterilise them.
2. Wash and hull strawberries. Slice berries; place berries in a bowl and crush them with a fork or masher. You can use a blender if you prefer a smoother consistency to your jam.
3. Measure one cup of crushed berries, and add the sugar. Let the strawberry mix stand for 10 minutes, stirring occasionally.
4. Mix water and jam setta in a saucepan on low heat. Bring to the boil and allow to boil for 1 mixture while stirring constantly. Add jam setta mixture to the berries mix and stir constantly for 3 minutes until the sugar is dissolved.
5. Fill prepared jars. Let stand at room temperature for 24 hours. Jam will keep for up to 3 weeks in the fridge or in the freezer for up to one year.
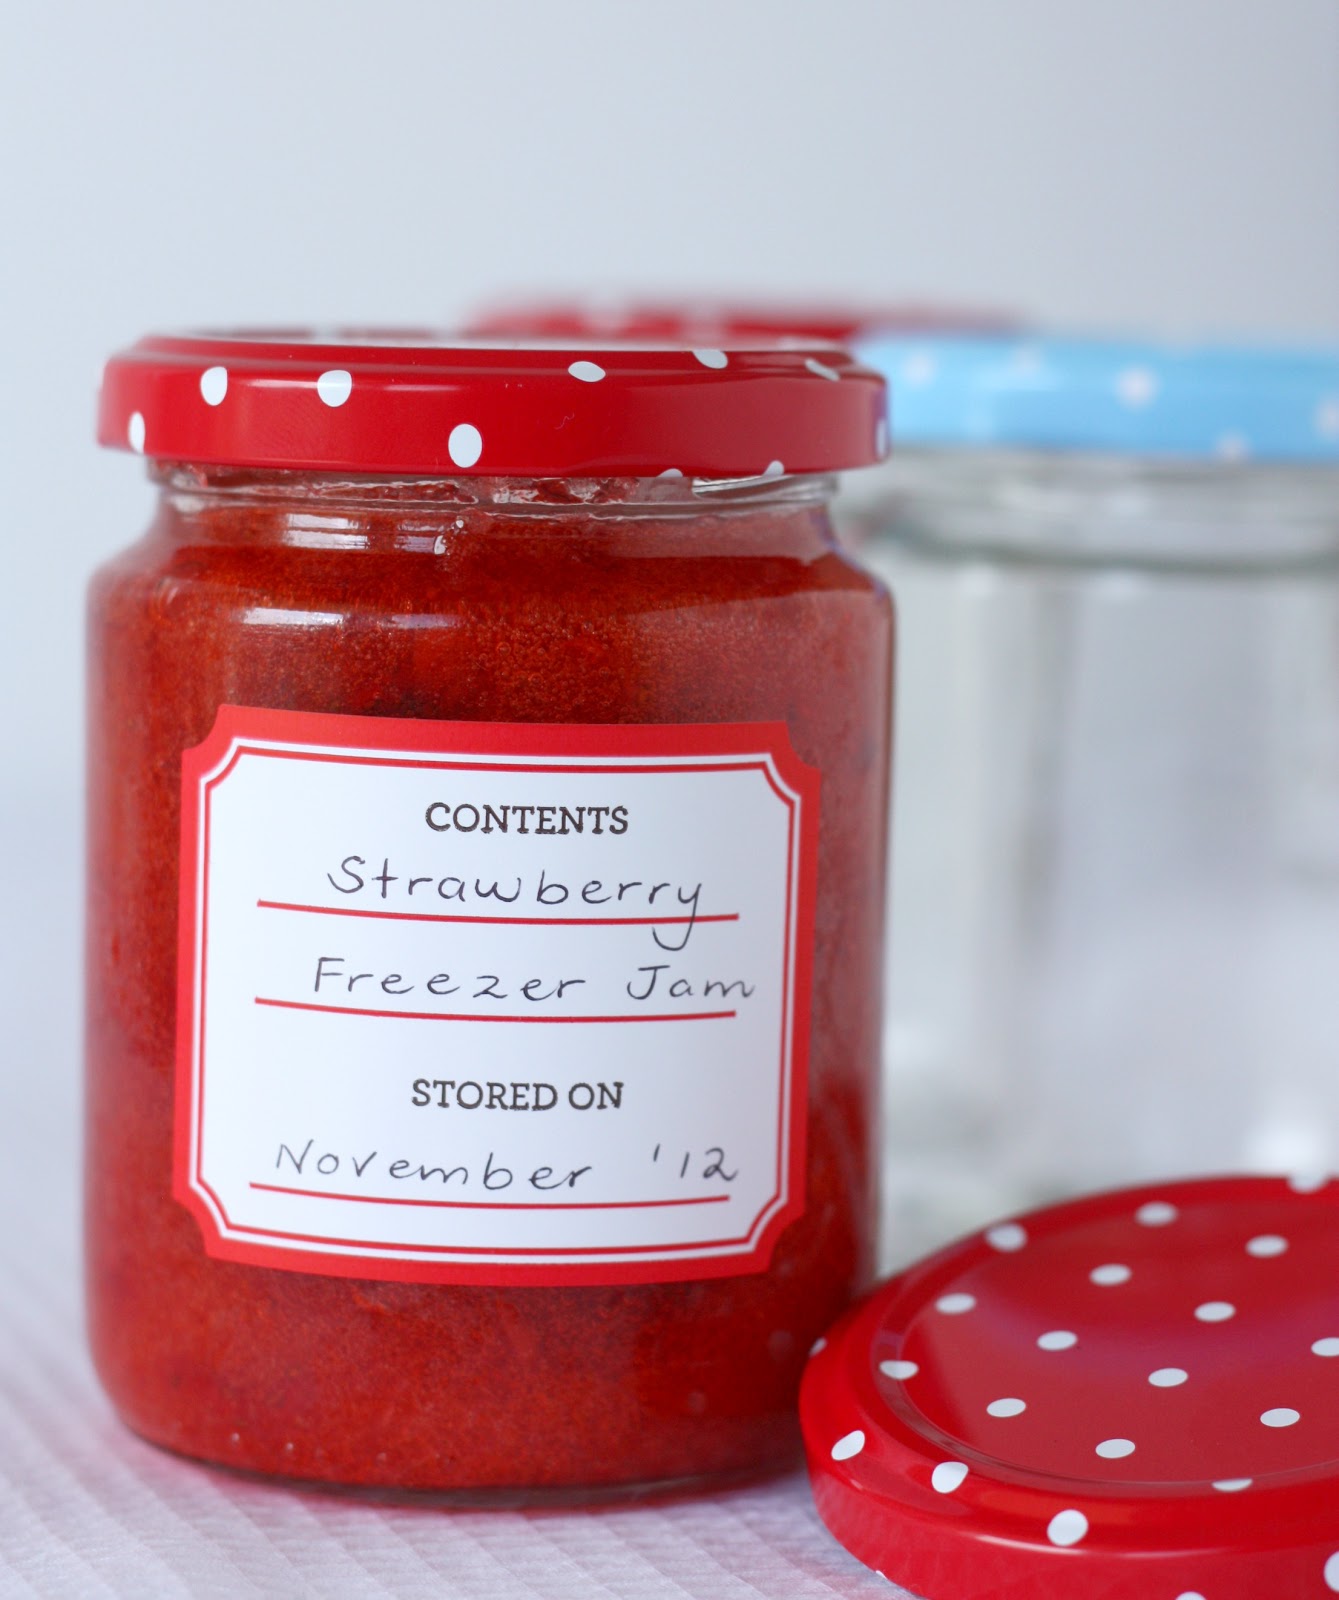
Strawberry Jam is so easy to make. Before freezing, it is recommended to add a label to your jam so you can recall when it was frozen. We used the Martha Stewart Home Office Labels by Avery. We love that they come in red and aqua to match our kitchen, are moisture resistant, and can be easily removed without any residue.

Jam is a great gift to give around Christmas time. You can find some of our other favourite jam and preserve recipes here:

Disclaimer: We received a sample pack of Martha Stewart Home Office with Avery products. All opinions and images are our own.
For your daily sugar fix you can subscribe or follow us on facebook, twitter, google plus and pinterest.


What a beautiful cap! Mmmm, yummy 🙂
is it ok to freeze glass jars – I was under the impression it could shatter?
I love strawberry freezer jam. Haven’t made it in years so this is a great reminder. Your jars, especially the covers, are always perfect for the contents. Wish I could find a good local source for such pretty jars.
Can I water bath the jars instead of freezing to bake them shelf stable?
It is important that the jars are well sterilised. Water bath will work well for this.