A Spoonful of Sugar

Make. Bake. Create.

Menu
  • Home
  • About
    • About Us
    • Press
    • FAQ
    • Disclosure Policy
    • Contact Us
  • Crafts
    • Crochet
    • DIY
    • Embroidery/Cross stitch
    • Gift Wrapping
    • Knitting
    • Miscellaneous
    • Paper Crafts
  • Holidays
    • New Year’s
    • Australia Day
    • Back to School
    • Valentines Day
    • Easter
    • ANZAC Day
    • Mother’s Day
    • Father’s Day
    • Halloween
    • Christmas
  • Recipes
    • Appetizers
    • Bars & Slices
    • Bread & Pastries
    • Cakes
    • Cookies
    • Confectionery
    • Cupcakes & Muffins
    • Desserts
    • Drinks
    • Ice Cream
    • Jams/Preserves
    • Main Meals
  • Sewing
    • Sewing Tutorials
    • Quilting
    • Sewing & Quilting Patterns
  • Family
    • Back to School
    • Family Fun
    • Our Home
    • Parenting
    • Travel
  • Shop
    • Pattern Store
    • Etsy Store

Patchwork Triangle Pouch

February 21, 2015 By A Spoonful of Sugar - 19 Comments

Patchwork Triangle Pouch Sewing Tutorial by A Spoonful of Sugar

We have just returned home from a wonderful three week family holiday to the USA and the Bahamas. It has been great to have such a long break away from our usual busy routine. I ventured back into the sewing/craft room yesterday. I was having withdrawal symptoms from my absence of crafty time so it was nice to fire up the machine and work on a quick project.

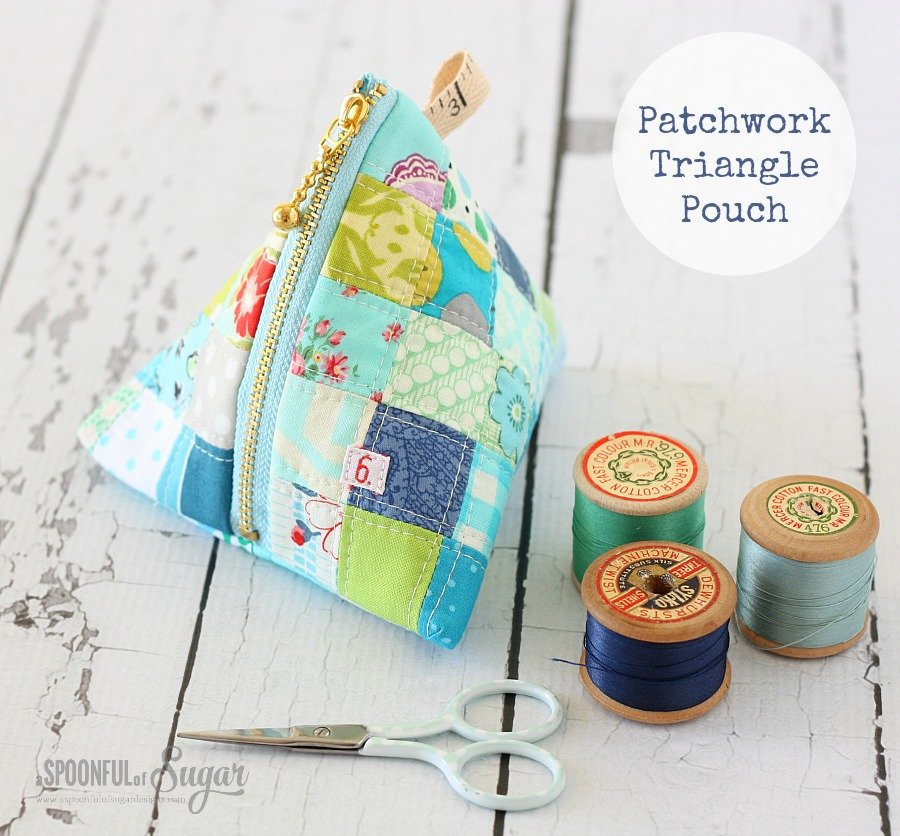
Our tutorial for the Triangle Pouch has been very popular and it has been great to see so many pretty versions popping up on instagram. Some of our IG friends have been having trouble sourcing the 10 cm (4 inch zippers) used in our tutorial. Here are some amended instructions for making a variation –  the Patchwork Triangle Pouch – which uses a longer 12 cm (4.7 inch zipper).

Patchwork Triangle Pouch Sewing Tutorial by A Spoonful of Sugar

Note on zippers:

  • Longer zippers can be shortened. There are some instructions on how to do that here and here.
  • I bought some 10 cm zippers from Studio Mio.
  • I bought some 12 cm zippers from Yeah Shop.

Materials:

  • 50, 1 1/2 inch squares (I raided my scrap tub of 1 1/2 inch squares in shades of blue, aqua and green).
  • 2, 5 1/2 x 5 1/2 inch squares of batting
  • 1, 10 1/2 x 5 1/2 inch rectangle of cotton fabric for the lining
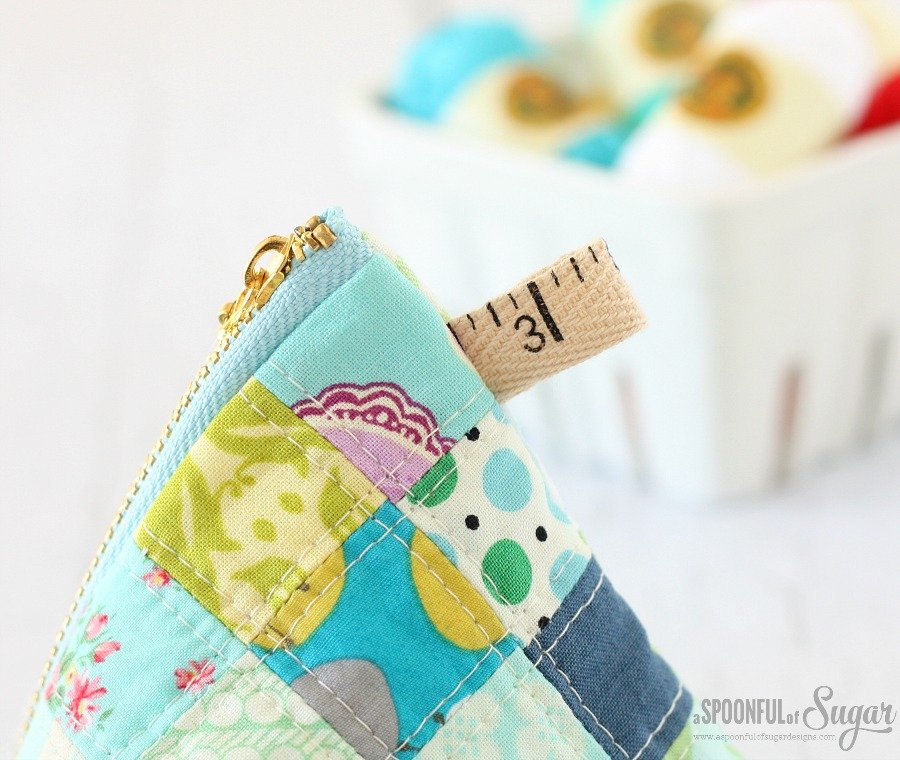
  • 2 1/2 inch length of printed tape
  • 12 cm (4.7 inch) metal zipper
  • (optional) small piece of ribbon (I used numerical brocaded ribbon from Purl Soho).

Method:

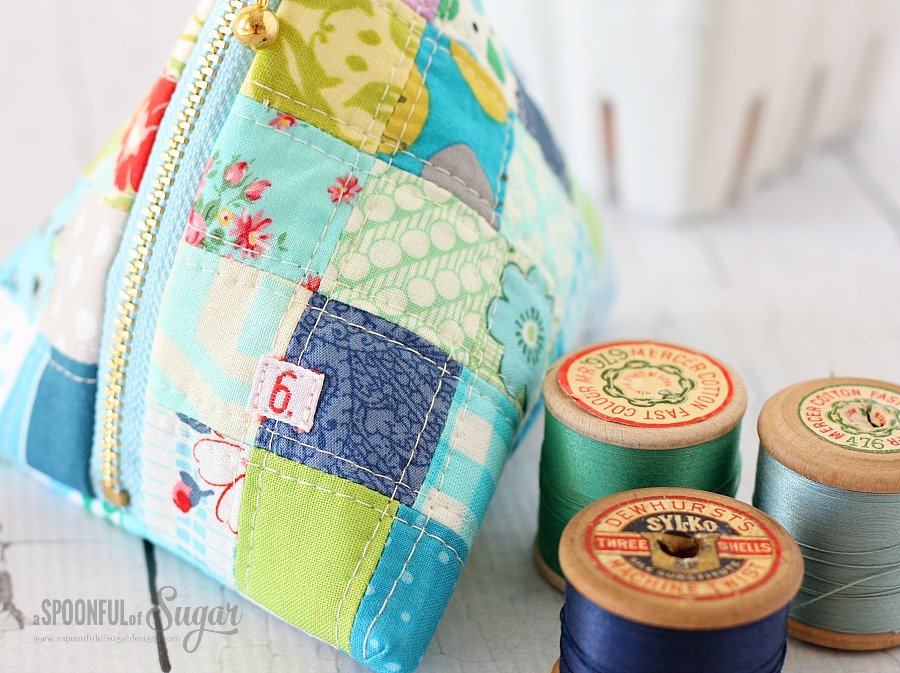
1. Position 25 squares into 5 rows, each containing 5 squares. Stitch the squares together into 5 rows. Stitch the 5 rows together so that you have a patchwork square measuring 5 1/2 x 5 1/2 inches. Position the patchwork square on top of the batting square and secure with safety pins. Quilt as desired. Repeat for the remaining fabric squares.

Triangle Pouch Construction

Complete the pouch using the instructions detailed in the original Triangle Pouch tutorial.

Patchwork Triangle Pouch Sewing Tutorial by A Spoonful of Sugar

Patchwork Triangle Pouch Sewing Tutorial by A Spoonful of Sugar

Here is a comparison of our original pouch with the larger pouch.

Patchwork Triangle Pouch tutorial from A Spoonful of Sugar

Patchwork Triangle Pouch Sewing Tutorial by A Spoonful of Sugar

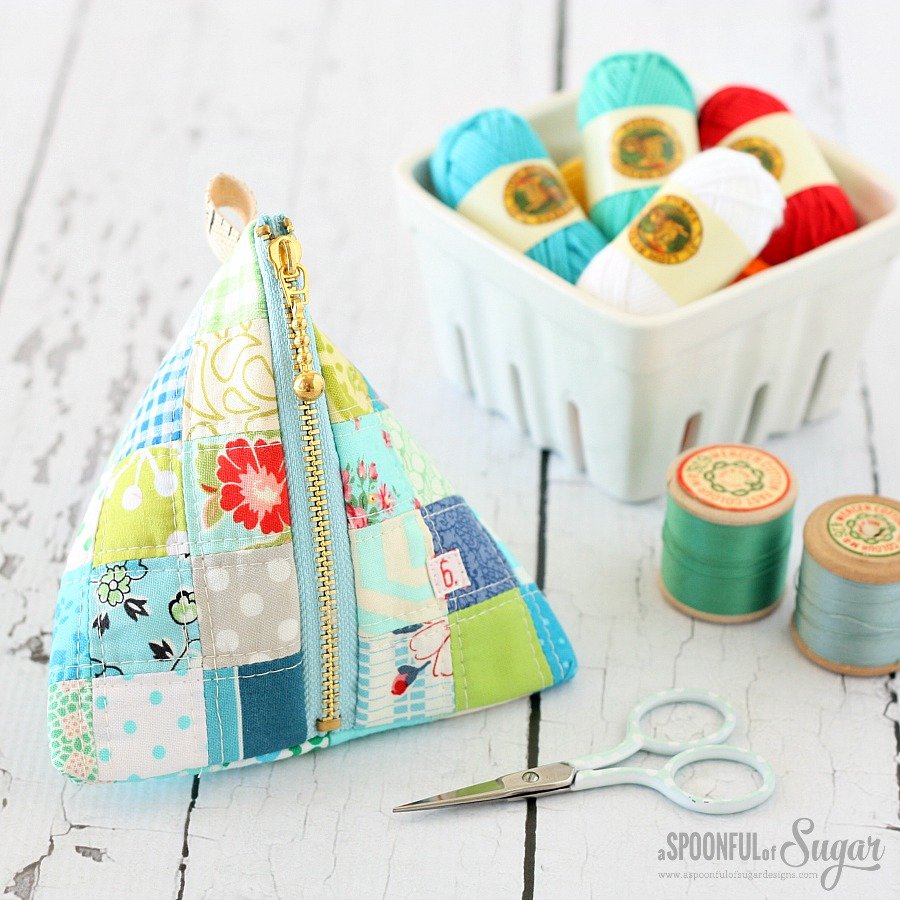
How sweet are these miniature balls of yarn (aptly called Bonbons) which I found at Michael’s in Manhattan.

Bonbons

Filed Under: Sewing, Sewing Tutorials Tagged With: patchwork, pouch, triangle pouch

« Taking a Short Break
Banana Bread »

Comments

  1. Nell Ward says

    February 21, 2015 at 5:00 pm

    Ooh these are so cute. I think I might be making these tomorrow (it is a stinking 40 degrees here so a good day to be inside sewing!) Thanks for the inspiration!

    Reply
    • A Spoonful of Sugar says

      February 22, 2015 at 9:46 am

      Stay cool Nell! Sewing is the perfect activity n a hot day.

      Reply
  2. Sigi G says

    February 22, 2015 at 8:31 am

    Found these beautiful zippers priced very reasonably at Lens Mill Fabric Store – in Canada. They are a treasure trove for quilting supplies. Thank you for this pouch tutorial in two sizes. Yours are so beautiful!!

    Reply
    • A Spoonful of Sugar says

      February 22, 2015 at 9:45 am

      Thanks Sigi – glad you enjoyed the tutorial. Thanks for the info on your zipper supplier. Nice zips make all the difference to this simple pouch.

      Reply
  3. Elvira says

    February 22, 2015 at 9:07 pm

    Wow, they really look great! Marvellous. Greetings, Elvira

    Reply
    • A Spoonful of Sugar says

      March 2, 2015 at 8:05 pm

      Thanks heaps Elvira!

      Reply
  4. Abigail Smycken says

    February 22, 2015 at 10:45 pm

    These are so cute! I love how colorful they are and they seem fun to make.

    Reply
    • A Spoonful of Sugar says

      March 2, 2015 at 8:06 pm

      They are really fun to sew Abigail and a great way to use up those precious scraps. Lisa

      Reply
  5. Kindred Stitches Magazine says

    February 23, 2015 at 6:36 am

    This little pouch is so sweet, just love it!

    Reply
  6. Natashalh says

    February 27, 2015 at 12:26 am

    I have those same cute balls of yarn! I saw them at Michael’s and bought them because there isn’t a location near me and I figured I’d find use for them later. =)

    Super cute project! I love the tape measure tag, too. Pinning to my sewing board.

    Reply
    • A Spoonful of Sugar says

      March 2, 2015 at 8:09 pm

      Thanks Natashalh 🙂

      Reply
  7. Jordan says

    February 28, 2015 at 5:56 am

    These are so cute! Perfect little coin purses. Can’t wait to try this out.

    Reply
  8. babette says

    March 1, 2015 at 12:00 am

    wahou super mignones vos petites pochettes triangulaires bravo

    Reply
    • A Spoonful of Sugar says

      March 2, 2015 at 8:10 pm

      Merci Babette! Lisa

      Reply
  9. Sandi King says

    March 5, 2015 at 7:54 am

    love these little triangles. how much of a seam allowance do you use ? i’ m a quilter so i automatically go for the 1/4 inch. by the way, i love your tutorials. i can “shop around” on your site for hours at a time.

    Reply
    • A Spoonful of Sugar says

      March 7, 2015 at 7:39 am

      Hi Sandi – We use a 1/4 inch seam allowance as standard in all our tutorials. Thanks for your lovely feedback – glad you enjoy visiting us 🙂

      Reply

Leave a Reply Cancel reply

Your email address will not be published. Required fields are marked *

  • Email
  • Facebook
  • Instagram
  • Pinterest
  • Threads
  • TikTok
SUBSCRIBE TO NEWSLETTER
×

Categories

Archives

PURCHASE PDF PATTERNS

We offer over 100 affordable PDF sewing patterns available for download from our store website or Etsy store. Each pattern includes detailed instructions, numerous photos, and templates.

WEB STORE ETSY STORE

Instagram

The Scrappy Strips Pouch is one of my favourite wa The Scrappy Strips Pouch is one of my favourite ways to use up leftover fabric strings. Today’s version is made from patchwork strips — a fun, relaxing sew that turns scraps into something beautiful and practical.The Scrappy Strips Pouch pattern has two versions - patchwork strings and selvedges - and two sizes. Comment SELVEDGE (or SELVAGE) for a link to the pattern.Pattern Details: Scrappy Strips Pouch Sewing Pattern is in our Pattern Store and Etsy Shop.#ScrappyStripsPouch #ScrapBustingSewing #PatchworkPouch #StringQuilting #SewingProjects
If you’ve ever wanted to add eyelets or grommets t If you’ve ever wanted to add eyelets or grommets to your sewing projects, here’s a quick look at how I install them using my DK93 snap press. It’s the same tool I use for snaps — and it makes installing eyelets beautifully quick and consistent.Here’s how I install the eyelets:Punch out the four holes using a hole‑cutting die.Place the eyelet into the hole.Press it into place using the snap press.That’s it — simple, sturdy, and it gives the Ribbon Pouch such an elevated, professional finish. I love how clean and secure the result is.Fabric shown: Tilda Something Blue, releasing June 1 — thank you @tilda_australia for the beautiful fabric.✨ If you’d like the Ribbon Pouch pattern (3 sizes), comment RIBBON and I’ll send the link straight to you.Ribbon Pouch Sewing Pattern: available in my Pattern Store and Etsy Shop (links in profile).#tildasomethingblue #tildafabric #sewingtips #handmadeeveryday #sewingtools
The Ribbon Pouch is one of my favourite quick‑to‑s The Ribbon Pouch is one of my favourite quick‑to‑sew gift bags, and I couldn’t resist making a light and dark version using the new Tilda Something Blue collection. Both pouches use the same print in different colourways — such a pretty way to show how fabric choice changes the whole mood.They’re finished with satin ribbon threaded through grommets, and topped with a tiny star tag. The boxed base helps them stand beautifully, and the ribbon closure makes them perfect for birthdays, thank‑you gifts, treats, or little treasures.This is a beginner‑friendly, scrap‑friendly, quick project you’ll want to sew again and again. Pattern includes 3 sizes.If you’d like the pattern, comment RIBBON and I’ll send the link straight to you.Pattern Details: Ribbon Pouch (3 Sizes) available in my Pattern Store and Etsy Shop.Fabric Details: Tilda Something Blue - releasing on 1 June 2026. Thanks to @tilda_australia#TildaSomethingBlue #TildaFabric #SewingPattern #BeginnerSewingProject #QuickSewingProject   
Sewing with scraps is one of my favourite ways to Sewing with scraps is one of my favourite ways to get creative — small pieces, leftover corners, charm‑square offcuts… they all have so much potential.Here are 10 scrap‑friendly projects that use small pieces beautifully. They’re quick to sew, beginner‑friendly, and perfect for gifting ✂️✨Save this for the next time you want to turn your scraps into something pretty.Which one would you sew first?  Tell me in the comments — I love seeing what you’re making.Patterns are available in my pattern store (link in profile) or comment PATTERNS and I will send you the link. #scrapsewing #scrapbusting #scrapfriendly #sewinginspiration #sewingideas
I save every selvedge (or selvage) — the colour do I save every selvedge (or selvage) — the colour dots, the tiny prints, the designer names… they’re too pretty to throw away.Here’s how I turn them into something useful:
• lay them diagonally on a square of fusible interfacing
• overlap slightly
• stitch close to the printed edge
• keep building until you have a panelIt’s such a fun way to use scraps and create something totally unique ✂️✨If you’d like the Scrappy Strips Pouch pattern, comment SELVEDGE or SELVAGE and I’ll send you the link.Pattern Details: Scrappy Strips Pouch Pattern is available in my Pattern Store and Etsy Shop.#scrappystripspouch #selvage #scrapbuster #sewingcommunity #sewingtip
A little Something Blue for tonight’s sewing sessi A little Something Blue for tonight’s sewing session 💙I’m packing my Makers Caddy with supplies for my next project — fabric, thread, tassels, lavender… I can’t wait to share it with you soon.There’s something so calming about soft blues, tidy supplies, and a project all ready to go — it makes the whole sewing process feel extra special.Hope this brings a little mid‑week inspiration to your feed ✂️✨If you’d like the link to the Makers Caddy, comment CADDY and I’ll send it to you.Fabric: Tilda Something Blue with thanks to @tilda_australiaPattern Details: Makers Caddy Sewing Pattern - available in our Pattern Store and Etsy Shop.#tildasomethingblue #ilovetilda #sewingcommunity #tildaaustralia #sewingpattern
Follow on Instagram

Featured Pattern

Travel Sewing Kit Pattern

Featured Tutorial

Retro Drawstring Bag

Featured Recipe

Lemon Pound Cake

Connect

  • Email
  • Facebook
  • Instagram
  • Pinterest
  • Threads
  • TikTok
SUBSCRIBE TO NEWSLETTER
×

Popular Posts

  • Cord Cosy
  • Tips for Threading a Needle
  • Travel Accessories to Sew
  • Liberty Tissue Cover
  • Charm Square Fabric Tray
  • Happy Scrappy Cards
  • Crocheted Scarf {Free Pattern}

Copyright © 2026 Lisa. K. Cox - A Spoonful of Sugar