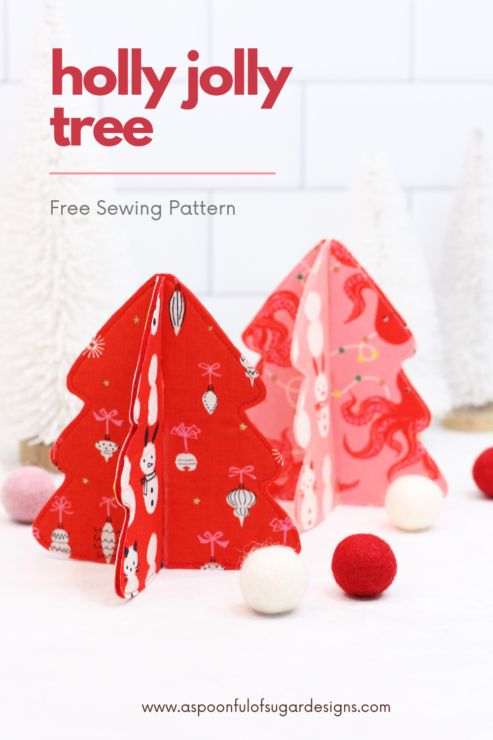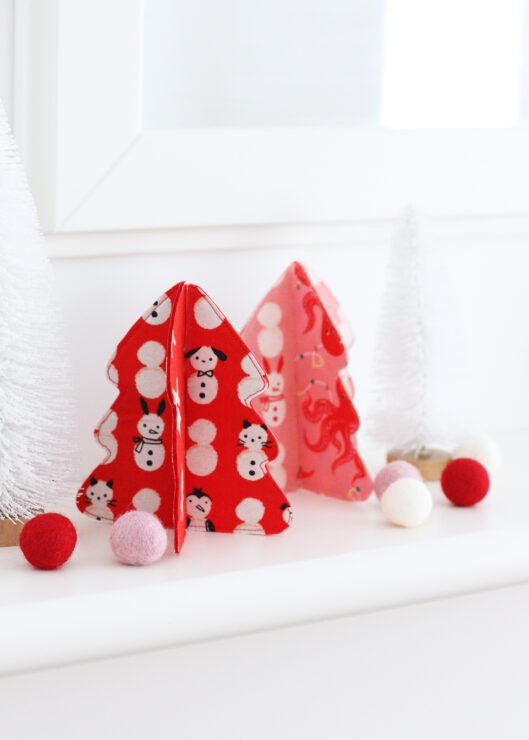
Holly Jolly Tree is a fun and festive 3D tree that can be quickly made from fabric and felt using our free pattern. Each one takes less than 30 minutes to make so you can easily sew a whole Christmas forest in an afternoon.
You can use your Holly Jolly Trees to decorate your Christmas table, mantle, or other parts of your home. They can be easily disassembled and stored flat between holiday seasons. You can make them to suit your holiday decor. I made these using 4 different fabrics int he same colour family. You can make them using one fabric for a more classic look.

To make this pattern you will need:
- Four 5 inch squares of quilting cotton. I used 4 charm squares from the Little Darlings range by Ruby Star Society.
- Two five inch squares of wool felt
- Fusible web
- spray starch

Holly Jolly Trees are suitable for a confident beginner sewist. You will need to be able to sew straight and curved lines.
Free pattern includes full sized template in both A4 and Letter size to suit your home printer. Illustrated steps, and photographs. You can also watch our instagram reel which guides you through the process.

If you would like to make your own Holly Jolly Trees, you can grab your free pattern here.
Download your free Holly Jolly Tree Pattern
If you enjoyed this pattern, check out our growing range of Christmas patterns.


I absolutely LOVE, LOVE this!!! Thank you so much for the freebie! I plan on making these for my family and friends for Christmas 2025!!
You are so welcome Janice. Hope you enjoy making them.
Loving the trees. Trying to find wool felt but not finding. Would regular felt work?
Yes – acrylic felt will work but it may not be as thick as the wool felt. If it is too floppy, spray it with starch first.
I made five of these little trees for the employees in my husband’s office. I finished two of them last evening and finished the last three this morning. They will look festive on their desks.
But I have an additional suggestion for your instructions. When I looked at last night’s trees, I noticed that the top and bottom cuts had already begun to fray and curl. So I added very narrow stitches on each cut, up, around and back down the edges of the cuts. This stabilizes those cuts and make the trees stand better. I hope this helps!
Great tip – thanks for sharing Jackie! Hope your husbands’ colleagues enjoy their little trees.
Not able to download holly jolly tree after several email attempts
I will email it to you directly. Not sure why you were having download issues.