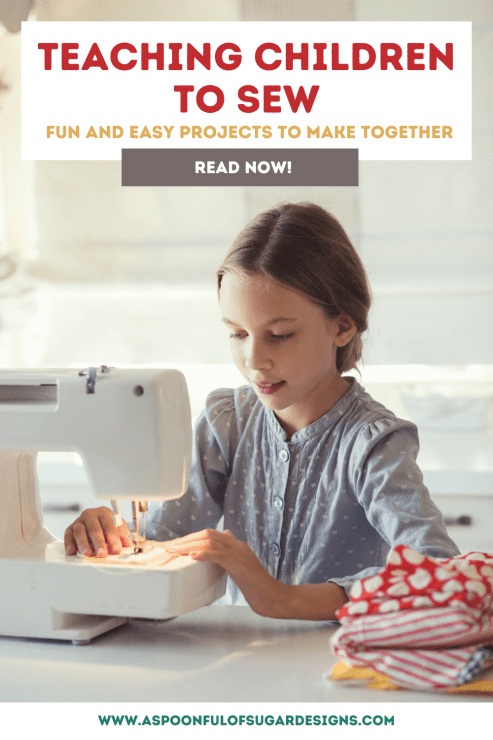
If you’re looking for a fun and creative way to spend some quality time with your kids, why not teach them how to sew using a sewing machine? Sewing is a valuable skill that can foster their imagination, confidence, and independence. Plus, it’s a great way to make some cute and useful items for themselves or as gifts. In this article, I’ll share with you some sewing basics, safety tips, tips and tricks to get started, how to choose the right fabrics, and then some awesome projects that are simple, easy, and quick to make. Let’s get sewing!

Sewing Safety
Teaching children to sew can be a rewarding and fun experience but it does require some safety precautions.
Let them use a real sewing machine, but make sure they are supervised and know how to operate it correctly.
Teach them how to handle scissors and needles carefully and responsibly. Remind them to cut away from themselves and store the scissors in a safe place. Never run with scissors.
Use painters’ tape or a needle guard to mark the safe distance for their fingers from the needle. This will help them avoid getting their fingers too close to the needle.
Control the speed of the sewing machine by using the foot pedal or adjusting the speed settings.
Turn off the sewing machine when threading the needle, changing the bobbin, or making any adjustments.
Choose age-appropriate and easy sewing projects that can be completed in one session.
Let them choose their own fabrics and colors and encourage their creativity. This will make them more excited and proud of their work.
Don’t worry about perfection or neatness at first. Focus on the process and the fun of sewing, rather than the outcome. Their skills will improve with practice.
Sewing Basics
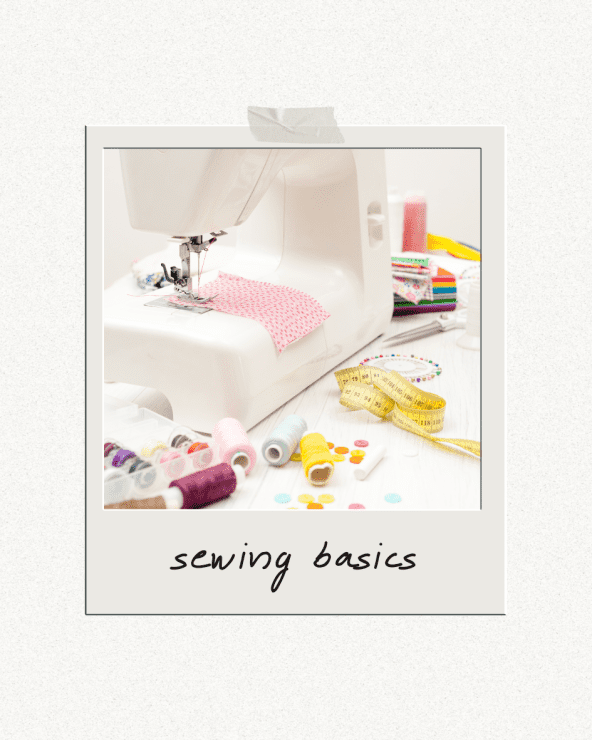
Before you dive into the projects, you’ll need to get familiar with your sewing machine and some basic techniques. Here are some things you should know and you can teach these sewing foundations over a number of sessions:
– How to thread your machine and wind a bobbin. This is essential for making stitches. You can find instructions in your machine’s manual or online.
– How to adjust the stitch length and width. Different fabrics and projects may require different settings. Generally, a shorter stitch length is stronger and more secure, while a longer stitch length is faster and easier to remove. A wider stitch width is used for decorative stitches or zigzag stitches.
– How to sew a straight line. This may sound simple, but it takes some practice to keep your fabric aligned with the edge of the presser foot or the markings on the needle plate. You can use pins or clips to hold your fabric together before sewing, and make sure you guide the fabric gently without pulling or pushing it.
– How to sew a curve or a corner. When sewing a curve, you’ll need to slow down and slightly pivot the fabric as you go. When sewing a corner, you’ll need to stop with the needle down, lift the presser foot, turn the fabric 90 degrees, lower the presser foot, and continue sewing.
– How to finish the edges of your fabric. This will prevent them from fraying and make your projects look more neat and professional. You can use a zigzag stitch, an overlock stitch, or a serger if you have one.
Tips and Tricks
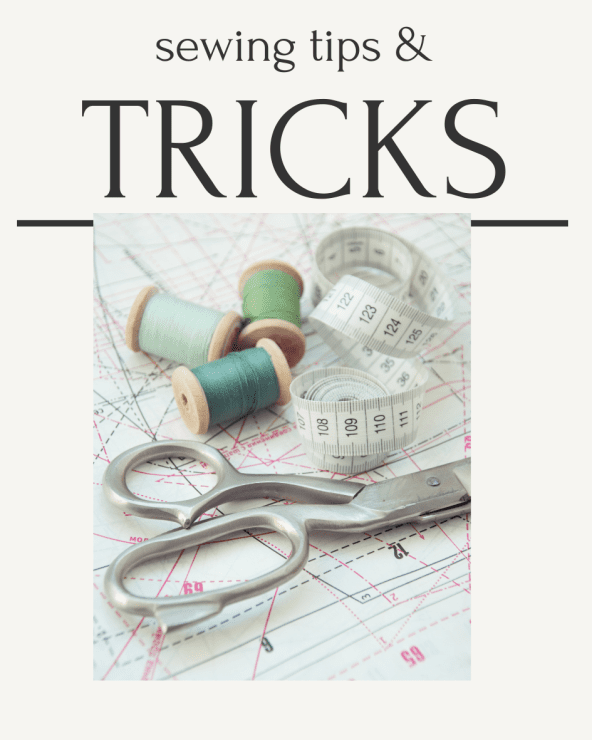
Here are some tips and tricks to make your sewing experience more enjoyable and successful:
– Choose a beginner-friendly sewing machine. You don’t need a fancy or expensive machine to start sewing. Look for one that has basic features like straight stitch, zigzag stitch, reverse stitch, and buttonhole stitch. You can also look for one that has speed control, automatic needle threader, and drop-in bobbin for convenience.
– Choose simple and easy patterns. You don’t want to overwhelm yourself or your kids with complicated patterns that have too many pieces, seams, or details. Start with patterns that have clear instructions, minimal cutting, and simple shapes. You can find many free patterns online or in books and magazines.
– Choose the right fabrics. Different fabrics have different properties, such as weight, stretch, texture, and drape. Some fabrics are easier to sew than others, especially for beginners. Look for fabrics that are light to medium weight, woven (not knit), smooth (not slippery or fuzzy), and preferably 100% cotton or cotton blends. Avoid fabrics that are too thick, thin, stretchy, slippery, or delicate.
– Use quality sewing tools. Having good tools and supplies can make a big difference in your sewing results. Invest in some sharp scissors, pins or clips, measuring tape or ruler, seam ripper, iron and ironing board, and of course thread that matches your fabric.
– Have fun and be creative. The best part of sewing is that you can customize your projects to suit your style and preferences. You can mix and match fabrics, colors, patterns, embellishments, buttons, zippers, etc. You can also add appliques, embroidery, patches, or labels to personalize your creations.
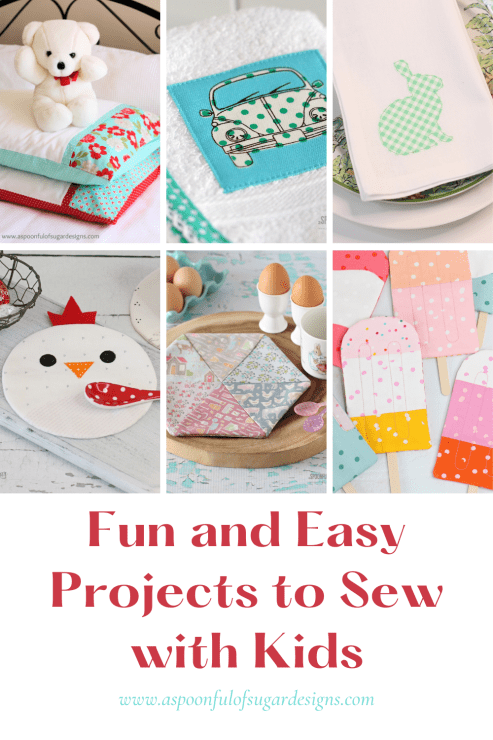
Projects:
Now you have covered the basics, it’s time to try some fun projects that you and your kids will love. Here are some projects that are simple, easy, and quick to sew.

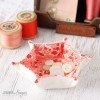
Combine your favourite printed and solid fabrics in this scrap buster project. The hexagon trivet and coasters can be easily constructed in around an hour using this beginner friendly pdf pattern and they make great gifts.
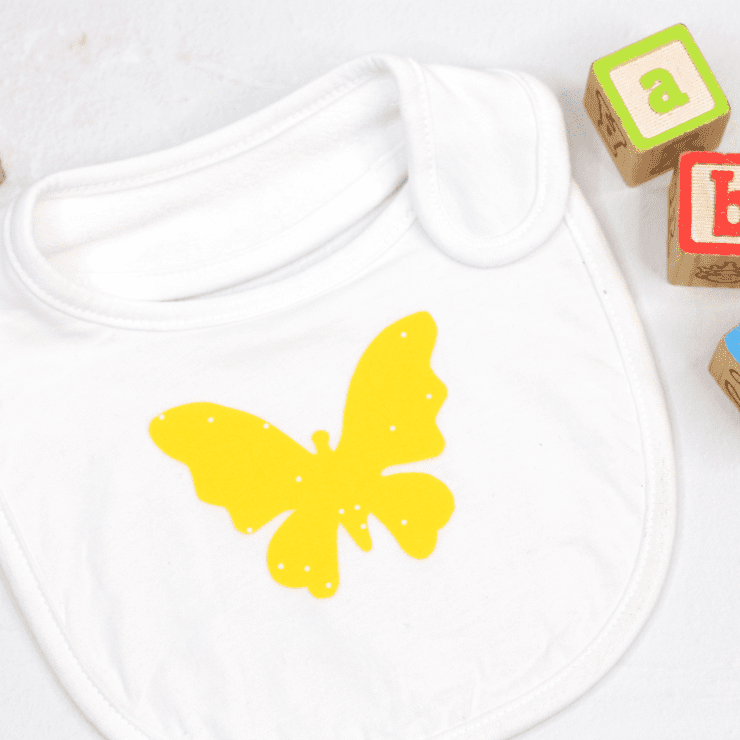
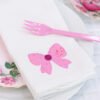
Add a colourful applique to a ready made items such as a T Shirt, Pillowcase, napakin, bag or more! Check out our range of simple applique shapes. This is a fun way to practice your sewing. Simply trace, cut, iron and sew.

Check out our free sewing tutorial to make these easy pillowcases featuring a contrasting band. You only need to sew in a straight line to make these pillowcases.
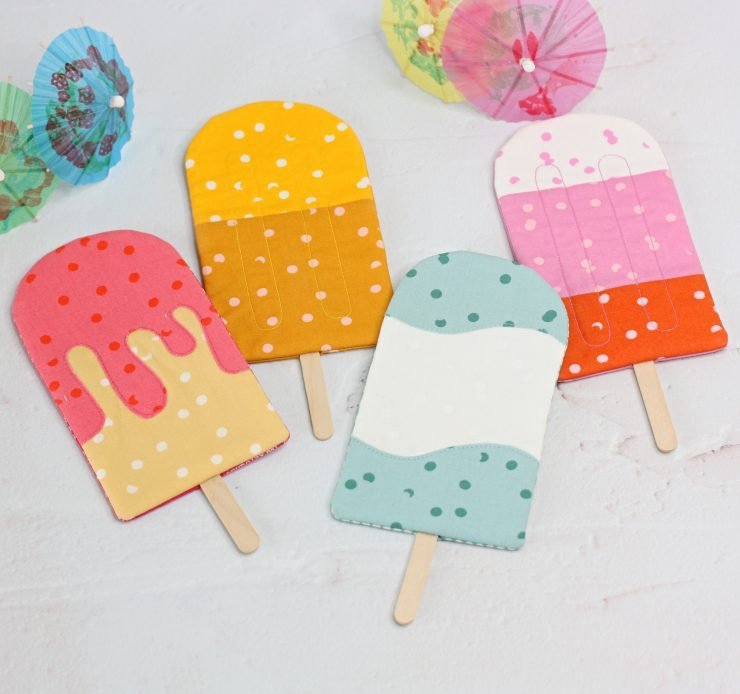
Celebrate summer with this sweet Popsicle Parade – perfect for drinks on the deck, at a BBQ, or by the pool. Featuring four different popsicle coaster mugrug designs, this beginner friendly project can be easily made in an hour.
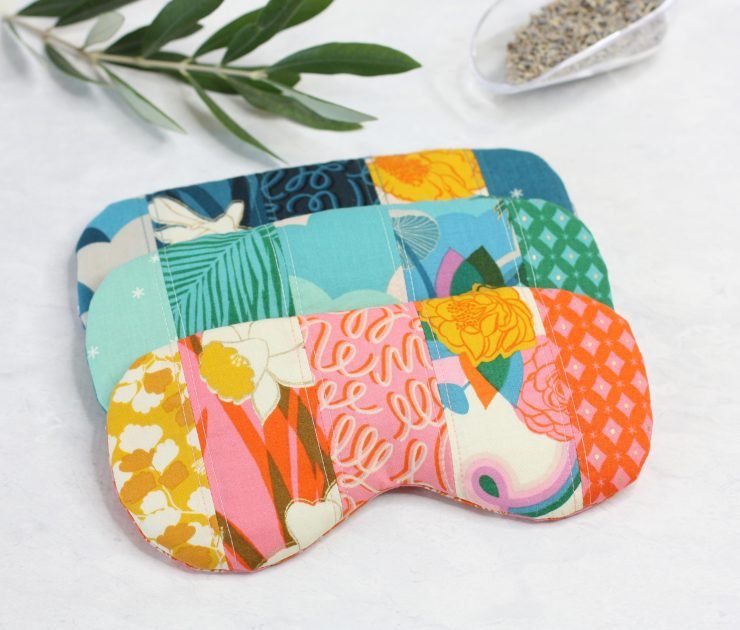
Create a weighted scented eye pillow to soothe and relax tired eyes by providing gentle pressure around the eye area. Perfect for yoga and meditation. Fill with your choice of organic filling such as flaxseed, wheat, rice, dried lavender. Place in the freezer for a cooling treat to assist with headache. Place in the microwave to warm to body temperature for warming comfort. Eco-friendly and non-toxic, these patchwork eye pillows can be made in under an hour and can be made with or without an elastic strap.
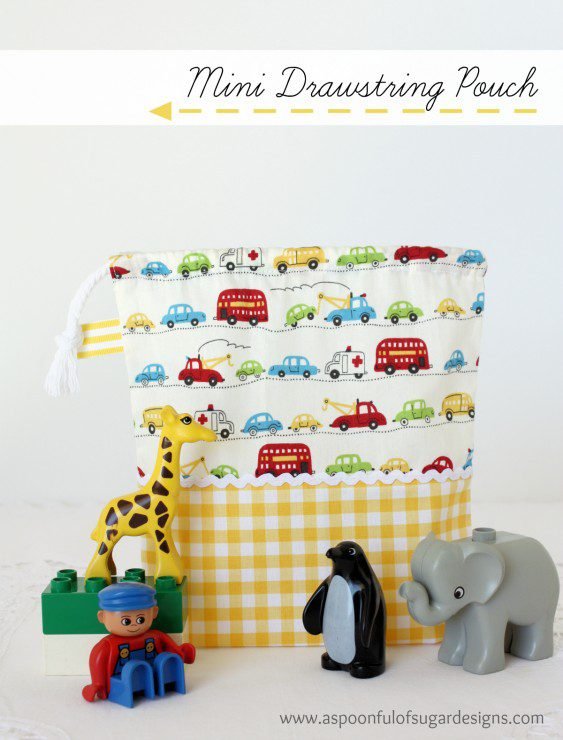
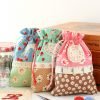
Create a mini drawstring pouch using our free tutorial. These little bags are handy to store items in the playroom, school bag, or car.
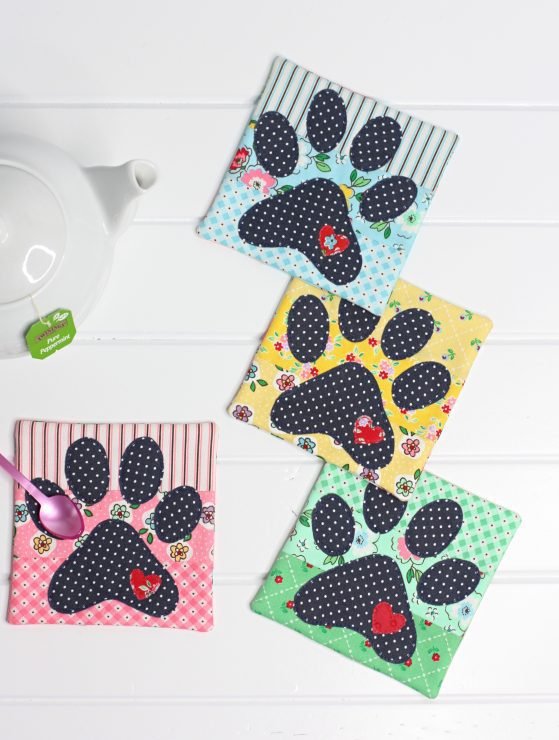
Make snack time fun with this darling dog paw coaster– perfect for dog lovers everywhere! Featuring a monochromatic strip patchwork background with an appliqued dog paw, they are sized to hold a glass or coffee cup. This project can be easily made in an afternoon.
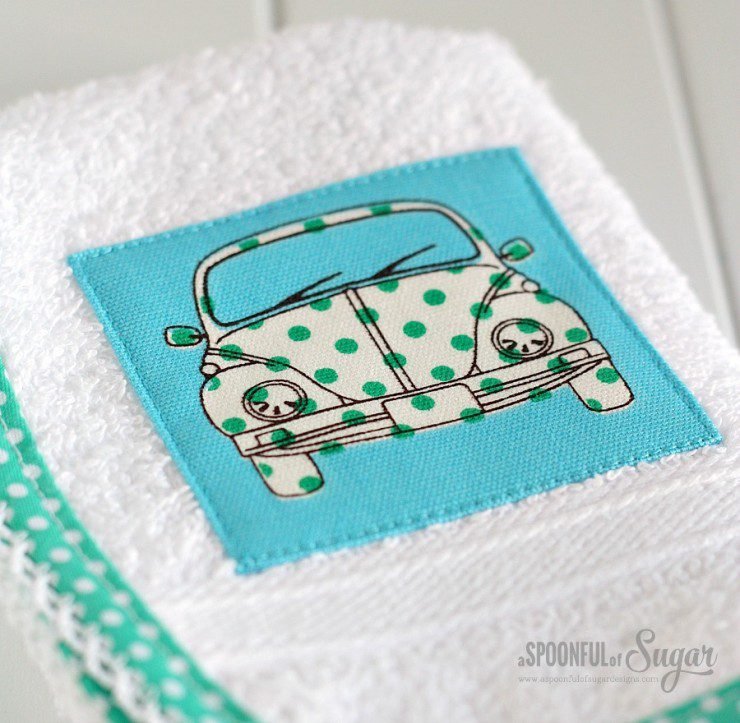
Practice attaching bias binding on this easy washcloth project. Head to our free tutorial for full project detail.

Super easy beginner project. All you need to do is punch out the circles of felt and then sew in a straight line. These are great to decorate your Christmas tree, bedroom, playroom, or party. Head to our free tutorial for more details.

Make snack time fun, with this cute Chick Coaster – perfect for Easter, spring time, or any time of year! Featuring a sweet chick, complete with appliqued details and a wool felt comb. This project can be easily made in an hour and is a fun way to use your favourite “scraps”.
These are just some of the many projects you can make with your kids. Teaching children to sew is a rewarding experience. There are so many more possibilities to explore and enjoy. Sewing is not only fun and rewarding, but also educational and beneficial for your kids’ development. So grab your sewing machine and some fabric, and start creating some wonderful memories with your kids! Check out more of our beginner friendly patterns in our Pattern Store and Etsy Shop.
Need more inspiration? Check out our free pattern for Reusable Makeup Pads – this is a popular project with tween and teen girls.
Hello! Are you new here? If so, be sure to sign up for our newsletter here and receive a bonus sewing pattern and welcome discount. Our newsletter includes free tutorials, articles, and new patterns. Welcome to the world of sewing enthusiasts.
Disclaimer: This article includes affiliate links. This blog generates income from advertising.



With your post about teaching children to sew , I’d like to add . .. explain the importance of machine maintenance and teach your child hoe to clean a sewing machine and change the needle . When my small grandaughter had her first sewing machine , before she sat in front of it to use it , I taught her about cleaning her machine , to me this was an important lesson as it gives confidence and understanding about how a machine works . She was just 5 years old at the time and machine care has become as important to her as sewing or repairing items .
I was really loving this, thinking “I can do a sewing lesson with my granddaughters” – up until I got to the suggested projects. You kind of lost me there. While some of them are great – I liked the felt garland and the pillowcase ideas – some others seemed like they might be easy but not necessarily age appropriate in the sense of being something a child would get excited about. There are many easy – and more “I can use that” – projects out there that might be better than coasters and eye pillows. What about making an apron (to use in a later cooking project), or a very easy clothing item that they can wear and be proud of? I would also add something to your “Sewing Basics” section. While I hated Home Ec in Junior High School (I was already cooking for my family, making my own clothes, and earning blue ribbons for my annual 4-H sewing and cooking projects) I was reminded of a teaching tools they used in the sewing instruction. The had practice sheets – one had straight lines, one curved, and one wavy – that we “sewed” on an unthreaded machine. It was a great way to help kids learn these vital techniques in a way that they could easily see how well they were doing.
Very interesting. Wish you had sewing lessons in Durham for young kids