Our Quick Craft this week is a Business Card Wallet. I needed a small wallet to store a pile of business cards in my handbag. Using small pieces of fabric, a tag and printed tape, I put together a business card wallet with a snap closure. The wallet took less than an hour to make. We are all about quick results lately – this is the perfect project to sew in an evening or afternoon. You could make a batch from your favourite scraps to have on hand for gifts or for a craft stall.
The Business Card Wallet is a handy size and would be suitable to hold gift cards or to use when gifting cash. It could also be used for storing loyalty cards or other small items. They are really fun to make – choosing fabrics and adding tags and trims. I think I will be making some more!

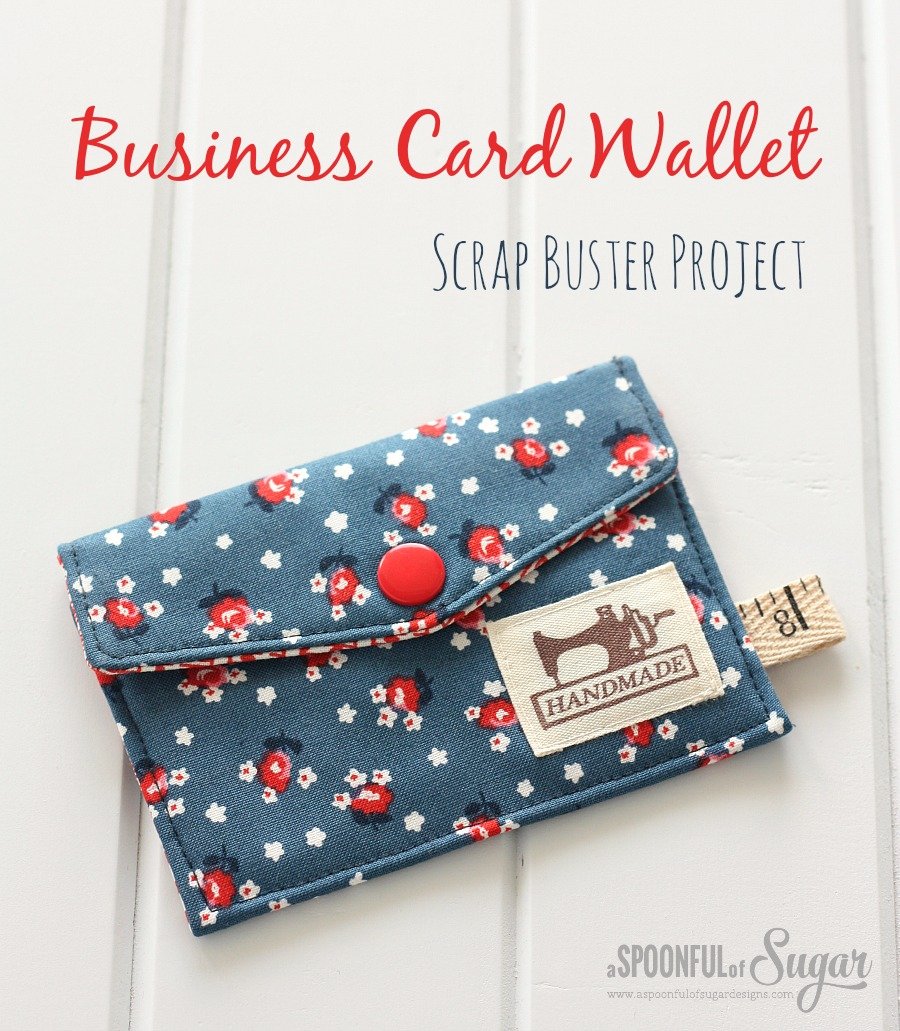
Finished Size: 4 1/2 x 3 1/4 inches (11.5 x 8 cm)
If you would like to make your own, here are some basic directions:
Materials:
- Floral fabric – 8 x 5 inches
- striped fabric – 8 x 5 inches
- flannel fabric – 8 x 5 inches
- 2 small pieces of fusible interfacing 1 1/4 x 1 1/4 inches
- snap closure
- printed tape – 2 1/4 inches
- small tag (optional)
Template:
Business Card Wallet
* Note: I used a layer of flannel for the interfacing. It makes the little wallet sturdier when constructed from quilting cotton without being stiff. I often use flannel to interface small bags and pouches.

Directions to Make a Business Card Wallet:
1. Using the template provided, cut out the fabric for wallet exterior, lining, and the flannel interfacing.
2. Iron the squares of interfacing onto the back of the exterior fabric around where the snap will be located (approximately 1/2 inch from the pointed end, and from the flat end). This strengthens the area where the snap is located.
3. Lay out the flannel interfacing on a flat surface. Top with the wallet exterior with the right side facing upwards. Place the lining on top with the wrong side facing upwards. Ensure all the fabric pieces are aligned and pin to hold the layers in place. Stitch around the outside of the wallet using a 1/4 inch seam allowance. Leave a 2 inch gap along the small straight edge for turning. Clip corners. Turn out the right way through the gap in the stitching. Press. Top-stitch along the bottom, straight edge, to enclose the gap in the lining.
4. Position the small tag where shown below. Stitch around the outside of the tag to secure. Fold the flat edge up approx 2 3/4 inches as shown. Pin the sides together. Fold the tape in half and position in the right side seam, approx 1/2 inch above the fold at the bottom of the wallet.

5. Stitch around the outside of the pouch. To do this, start on the flap, and stitch right around the outside of the wallet clockwise, including across the bottom of the wallet. The folded part of the wallet is quite thick, so it is better to start and finish on the flap area which is only a single layer. Press. (Tip: use a denim needle or needle suited to sewing through multiple layers of fabric. I just used my regular needle which did affect the quality of the stitching). Press the wallet.
6. Apply the snap using a snap press or snap tool, following manufacturers directions.

I recently invested in a snap press and it is proving to be a handy tool in the sewing room. I can’t believe how fast and easy it is to attach snaps. They work every time. I will probably be dreaming up lots of projects that use snaps. So much easier that my old method that involved a hammer and a snap setting tool, and was a bit hit and miss (literally ….). If you don’t like attaching snaps, you could also use velcro, a button, or a press stud – whatever closure method you prefer.

The Business Card Wallet was a fun quick project to work on in between my design work that is keeping me busy at the moment.
If you like this project, check out our Loyalty Card Wallet.
Check out the Men’s Business Card Wallet variation.


What a cute business card wallet. Can you tell me where to purchase the printed tape and small tag. They would look nice on lots of projects. Thanks.
Hi Joan – I bought the Handmade label from Charming Babies
(https://www.etsy.com/shop/Charmingbabies) – it is printed on tape with a few other designs. The twill measuring tape was purchased at a local craft fair but if you search on Etsy there are a number of stores selling similar items. I love adding labels and tags to items.
Hello, may I know that is the printed tape that says “handmade” on your purse in Etsy? I cannot find it there. Also, one more question is, why is the tags are like ¥1,400? Is that Japanese money?
Hi SkyWish – If you search on etsy for zakka tape you will find some similar styles. I bought some of my supplies in japan – so the price was in yen.
So cute and pretty! I love the measure tape!
Very cute. Enjoy using it!
Thank you for sharing! I went to the Etsy site and got me some of that awesome fabric numbered tape! I love it! Thanks again! Your work is both lovely and inspiring!!!
Thanks heaps Danita. Happy sewing!
LOVE your blog!!! All of your projects are so cute and fun!! This has finally given me the push I needed to try my hand at some sewing, we will see what happens! Thanks for all of the wonderful projects/tutorials!!!
Thanks Rachel – your comment has made my day 🙂 Good luck and happy sewing!
This is gorgeous – great tutorial!
This is such a cute idea! Thanks so much, unfortunately, this old broad can’t seem to find your “template” you refer to for cutting out the fabrics. Thanks so much for sharing!
Hi Deb – Look for template (in bold – under the materials list). It then has the word Business Card Wallet Template that is underlined and is shown in red. Click on the word and the template will open up. It is a pdf so you will need to have a reader installed. Hope that helps!
This is so cute and looks really easy. I think even my girls would love a little wallet for themselves. Great for gifting too. Thanks a lot for sharing. I wanted to buy a snap press a long time ago when they were having a big sale. Might have to see how much they are now.
I am loving our snap press – it really makes a huge difference to attaching the snaps. I bought mine from – http://www.gbau.com.au/snaps.html
Where do I find the template for this lovely and absolutely adorable idea? They would make really great gifts.
Thanks Linda! The template is found under the materials list – click on the bold/underlined word “template” and it will open up the pdf template.
Where did your source of inspiration come from for this wallet?
Hi Lisa – Thanks for stopping by! I wanted to make a simple wallet so I could try out my new snap press. I measured a business card and then worked out what size I needed to make the wallet and went from there. I love to add ribbons and tags to finish off my projects. Hope that answers your question. Lisa
I love the fabric where in the world did you get it? I have a few see projects I want to do but can’t seem to find cute fabric like this. Any help would be appreciated!
LOVE THIS!!! Need to make a few! Where did you purchase the snap press? I need to buy one and I have no idea where to get it. Also, can you tell me where you found the roll of tags you sewed on the front that says “HANDMADE”? THANK-YOU SO MUCH!! 🙂
Thanks Cheryl! I bought the Snap Press from Green Beans Australia and am finding that i am using it in a lot of projects as it gives them a professional finish. The tags I bought from Charming Babies on Etsy.
THANK-YOU! I found it, but I can’t afford it. So I bought a cheaper version on
e-bay. Hopefully I won’t be using it that much! Cheryl 🙂
Can you send me a picture of your snap tool. I am wondering what it looks like so I can get one.
Hi Anna – You can see a photo of our snap press on this post: http://aspoonfulofsugardesigns.com/2014/06/first-aid-kit-from-a-recycled-milk-jug/
It is really handy to have and works so well.
Loved this idea! Using it as a thank you gift for a workout group I was in so they can hold their ID while working out (the loop hooks easily to a lanyard) I included a business card so they can keep in touch as well as promote my business!
Thanks Patty – great idea to include a business card in your gift.
This is great! I just made one and I love it n__n Thanks for sharing!
ThanksLaura 🙂
Thanks you so much for posting, I made one yesterday and added a another pocket so I can carry my license and money.
This looks so easy! Is there a way to modify this pattern to give the wallet more depth to hold more cards/thicker business cards? I’d like to make one so I could keep about 10 of my business cards on my person. I’m a beginner level stitcher, so I’m open to advice!
Hi Laura – You could make all the wallet slightly bigger by increasing all dimensions by 1/4 inch. Depending on the number of cards/thickness of cards, you may need to make a couple in slightly different sizes to get the capacity you are after.
Thank you!
Where can I find the template for this project? It is too cute!
Could I use these to sell at our Quilt Guild’s fundraiser? We are a non-profit and use our fundraising to pay for guest speakers for the quilting community and to use towards making items that go to other charity organizations.
Lisa and Sarah, I was thinking about making these out of my Dad’s old tweed blazer (memory gifts for the family). Do you think it would work to make the outer layer from the wool and the inside layer from the blazer lining? Is there anything you would change based on using wool instead of the cotton? I don’t have a snap press – any other ideas for a closure that would look interesting, be functional and easy:)
Hi Christine – what a lovely idea! I would make a sample first out of less precious fabric (e.g. something similar to the wool). As the fabric is thicker and bulkier, you may need to cut the pieces a little bigger. A nice button would suit the tweed. Perhaps you could use a small piece of velcro or a sew in snap/press stud, and then attach a button on the outside. A wood button would look great. Good luck – I am sure your family will appreciate the gift. Sorry to hear of your loss.
Do you have a PDF for this pattern?
I do not see anywhere on this pattern that shows a template. Can you repost the link.
Thank you