A Spoonful of Sugar

Make. Bake. Create.

Menu
  • Home
  • About
    • About Us
    • Press
    • FAQ
    • Disclosure Policy
    • Contact Us
  • Crafts
    • Crochet
    • DIY
    • Embroidery/Cross stitch
    • Gift Wrapping
    • Knitting
    • Miscellaneous
    • Paper Crafts
  • Holidays
    • New Year’s
    • Australia Day
    • Back to School
    • Valentines Day
    • Easter
    • ANZAC Day
    • Mother’s Day
    • Father’s Day
    • Halloween
    • Christmas
  • Recipes
    • Appetizers
    • Bars & Slices
    • Bread & Pastries
    • Cakes
    • Cookies
    • Confectionery
    • Cupcakes & Muffins
    • Desserts
    • Drinks
    • Ice Cream
    • Jams/Preserves
    • Main Meals
  • Sewing
    • Sewing Tutorials
    • Quilting
    • Sewing & Quilting Patterns
  • Family
    • Back to School
    • Family Fun
    • Our Home
    • Parenting
    • Travel
  • Shop
    • Pattern Store
    • Etsy Store

Triangle Tray

October 27, 2019 By A Spoonful of Sugar - Leave a Comment

Triangle Tray sewing tutorial by A Spoonful of Sugar Designs.

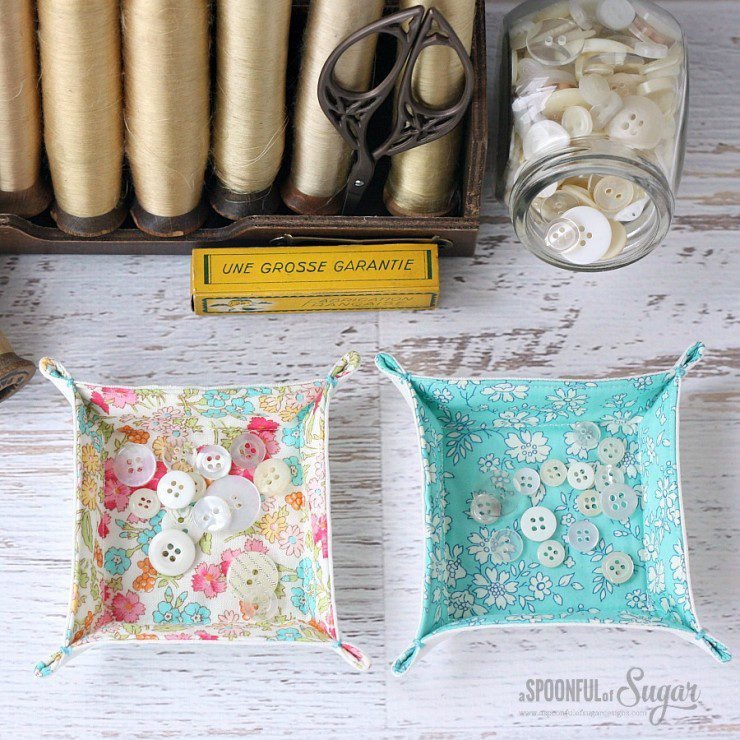
Do you remember our series of tutorials for little trays? First there was the Charm Square Tray, followed by the Hexagon Tray, and the Patchwork Fabric Tray. Well now, there is the Triangle Tray! These little triangle trays are fun to have in your sewing room to hold bits and bobs such as buttons, pins and more! You can also use them in your bedroom to hold jewellery items. The possibilities are endless – best of all , triangle trays can be made from “scraps” of your favourite fabrics, and can be easily made in no time at all. Perfect for beginner sewists.

Triangle Tray sewing tutorial by A Spoonful of Sugar Designs.

To make your own triangle tray you will need:

  • cotton fabric – for exterior and lining
  • cotton batting
  • embroidery floss

Using a quilting ruler, cut the fabric for the lining, exterior, and batting into 7 inch equilateral triangles (each side will measure 7 inches). Use the 60 degree line on your ruler. Each point of the triangle will measure 60 degrees.

Place the batting triangle down on a flat surface. Place the exterior triangle on top with the right side facing upwards, then place the lining on top with the wrong side facing upwards. Make sure all edges and corners are aligned and pin together. Stitch around the outside of the triangle using a 1/4 inch seam and leave a 1.5 inch gap on one side for turning.

Clip corners and turn right side out through the gap in the lining. Press. Hand stitch the gap in the lining closed.

(Optional) Topstitch around the outside of the triangle using a 1/8 inch seam allowance.

Triangle Tray sewing tutorial by A Spoonful of Sugar Designs.

Using a hera marker, mark a triangle in the centre of the tray. I measured 3/4 inch in from each side. (Refer to image below).

Stitch the triangle in the centre. This will form the base of the triangle tray.

Triangle Tray sewing tutorial by A Spoonful of Sugar Designs.

Fold the corners together, and using two strands of embroidery thread, make a couple of stitches 1/2 inch in from each corner.

Triangle tray is such a quick little project. It is fun to combine your favourite fabrics. Which is your favourite shape? Mine is the Hexagon Tray.

Triangle Tray sewing tutorial by A Spoonful of Sugar Designs.

Fabric used in this tray is Old Rose by Tilda. Check out the Flower Power Pouch and Pyramid Weights I made using this pretty fabric range. Thanks to Two Green Zebras for providing the fabric for this project.

Tilda Old Rose Fabric collection

Check out our other trays – clicking on the image will take you to the tutorial.

Patchwork Fabric Tray by A Spoonful of Sugar Designs
Hexagon Fabric Tray by A Spoonful of Sugar Designs
Charm Square Fabric Tray Sewing Tutorial by A Spoonful of Sugar Designs

Filed Under: Sewing, Sewing Tutorials Tagged With: fabric tray, sewing tutorial, Tilda

« Halloween Coaster
Vintage Singer Sewing Machine »

Leave a Reply Cancel reply

Your email address will not be published. Required fields are marked *

  • Email
  • Facebook
  • Instagram
  • Pinterest
  • Threads
  • TikTok
SUBSCRIBE TO NEWSLETTER
×

Categories

Archives

PURCHASE PDF PATTERNS

We offer over 100 affordable PDF sewing patterns available for download from our store website or Etsy store. Each pattern includes detailed instructions, numerous photos, and templates.

WEB STORE ETSY STORE

Instagram

A tiny pyramid that does it all — a pattern weight A tiny pyramid that does it all — a pattern weight for your sewing table, a book weight for cosy reading, or a scented sachet for your drawers. Small, sweet, and so satisfying to sew. Comment PYRAMID for the free pattern.Fabric: Something Blue by Tilda
@tilda_australia#sewingproject #tildafabric #beginnersewing #scrapsewing #Tildasomethingblue
Meet the sweetest little project you can sew in mi Meet the sweetest little project you can sew in minutes — the Pyramid Weight. Use it as a pattern weight, scented sachet, or even a book weight… all from one triangle of fabric. Comment PYRAMID for the free pattern.Fabric is Something Blue by Tilda, releasing 1 June 2026 — with thanks to @tilda_australia.#tildasomethingblue #tildafabric #freepattern #sewingtutorial #sewinglove
The Scrappy Strips Pouch is one of my favourite wa The Scrappy Strips Pouch is one of my favourite ways to use up leftover fabric strings. Today’s version is made from patchwork strips — a fun, relaxing sew that turns scraps into something beautiful and practical.The Scrappy Strips Pouch pattern has two versions - patchwork strings and selvedges - and two sizes. Comment SELVEDGE (or SELVAGE) for a link to the pattern.Pattern Details: Scrappy Strips Pouch Sewing Pattern is in our Pattern Store and Etsy Shop.#ScrappyStripsPouch #ScrapBustingSewing #PatchworkPouch #StringQuilting #SewingProjects
If you’ve ever wanted to add eyelets or grommets t If you’ve ever wanted to add eyelets or grommets to your sewing projects, here’s a quick look at how I install them using my DK93 snap press. It’s the same tool I use for snaps — and it makes installing eyelets beautifully quick and consistent.Here’s how I install the eyelets:Punch out the four holes using a hole‑cutting die.Place the eyelet into the hole.Press it into place using the snap press.That’s it — simple, sturdy, and it gives the Ribbon Pouch such an elevated, professional finish. I love how clean and secure the result is.Fabric shown: Tilda Something Blue, releasing June 1 — thank you @tilda_australia for the beautiful fabric.✨ If you’d like the Ribbon Pouch pattern (3 sizes), comment RIBBON and I’ll send the link straight to you.Ribbon Pouch Sewing Pattern: available in my Pattern Store and Etsy Shop (links in profile).#tildasomethingblue #tildafabric #sewingtips #handmadeeveryday #sewingtools
The Ribbon Pouch is one of my favourite quick‑to‑s The Ribbon Pouch is one of my favourite quick‑to‑sew gift bags, and I couldn’t resist making a light and dark version using the new Tilda Something Blue collection. Both pouches use the same print in different colourways — such a pretty way to show how fabric choice changes the whole mood.They’re finished with satin ribbon threaded through grommets, and topped with a tiny star tag. The boxed base helps them stand beautifully, and the ribbon closure makes them perfect for birthdays, thank‑you gifts, treats, or little treasures.This is a beginner‑friendly, scrap‑friendly, quick project you’ll want to sew again and again. Pattern includes 3 sizes.If you’d like the pattern, comment RIBBON and I’ll send the link straight to you.Pattern Details: Ribbon Pouch (3 Sizes) available in my Pattern Store and Etsy Shop.Fabric Details: Tilda Something Blue - releasing on 1 June 2026. Thanks to @tilda_australia#TildaSomethingBlue #TildaFabric #SewingPattern #BeginnerSewingProject #QuickSewingProject   
Sewing with scraps is one of my favourite ways to Sewing with scraps is one of my favourite ways to get creative — small pieces, leftover corners, charm‑square offcuts… they all have so much potential.Here are 10 scrap‑friendly projects that use small pieces beautifully. They’re quick to sew, beginner‑friendly, and perfect for gifting ✂️✨Save this for the next time you want to turn your scraps into something pretty.Which one would you sew first?  Tell me in the comments — I love seeing what you’re making.Patterns are available in my pattern store (link in profile) or comment PATTERNS and I will send you the link. #scrapsewing #scrapbusting #scrapfriendly #sewinginspiration #sewingideas
Follow on Instagram

Featured Pattern

Travel Sewing Kit Pattern

Featured Tutorial

Retro Drawstring Bag

Featured Recipe

Lemon Pound Cake

Connect

  • Email
  • Facebook
  • Instagram
  • Pinterest
  • Threads
  • TikTok
SUBSCRIBE TO NEWSLETTER
×

Popular Posts

  • Cord Cosy
  • Tips for Threading a Needle
  • Travel Accessories to Sew
  • Liberty Tissue Cover
  • Charm Square Fabric Tray
  • Happy Scrappy Cards
  • Life Lessons from Sewing and Quilting

Copyright © 2026 Lisa. K. Cox - A Spoonful of Sugar