A Spoonful of Sugar

Make. Bake. Create.

Menu
  • Home
  • About
    • About Us
    • Press
    • FAQ
    • Disclosure Policy
    • Contact Us
  • Crafts
    • Crochet
    • DIY
    • Embroidery/Cross stitch
    • Gift Wrapping
    • Knitting
    • Miscellaneous
    • Paper Crafts
  • Holidays
    • New Year’s
    • Australia Day
    • Back to School
    • Valentines Day
    • Easter
    • ANZAC Day
    • Mother’s Day
    • Father’s Day
    • Halloween
    • Christmas
  • Recipes
    • Appetizers
    • Bars & Slices
    • Bread & Pastries
    • Cakes
    • Cookies
    • Confectionery
    • Cupcakes & Muffins
    • Desserts
    • Drinks
    • Ice Cream
    • Jams/Preserves
    • Main Meals
  • Sewing
    • Sewing Tutorials
    • Quilting
    • Sewing & Quilting Patterns
  • Family
    • Back to School
    • Family Fun
    • Our Home
    • Parenting
    • Travel
  • Shop
    • Pattern Store
    • Etsy Store

{Product Review} Dremel 3000 Variable Speed Rotary Tool + Project

August 22, 2012 By Spoonful of Sugar - 3 Comments

As you know, we love to dabble in a wide range of crafts here at A Spoonful of Sugar headquarters – sewing, quilting, paper crafts, knitting etc. We don’t tend to do a lot of DIY home decorating projects as we don’t have access to a workshop or have many of the tools needed to work with wood, metals, plastics, glass etc. We see lots of fantastic ideas for home decorating projects on some of our favourite home decorating blogs but sadly we don’t have the necessary tools/equipment required. Also to be perfectly honest, we don’t really feel that comfortable using big, heavy power tools. A glue gun and a sewing machine are more our style!

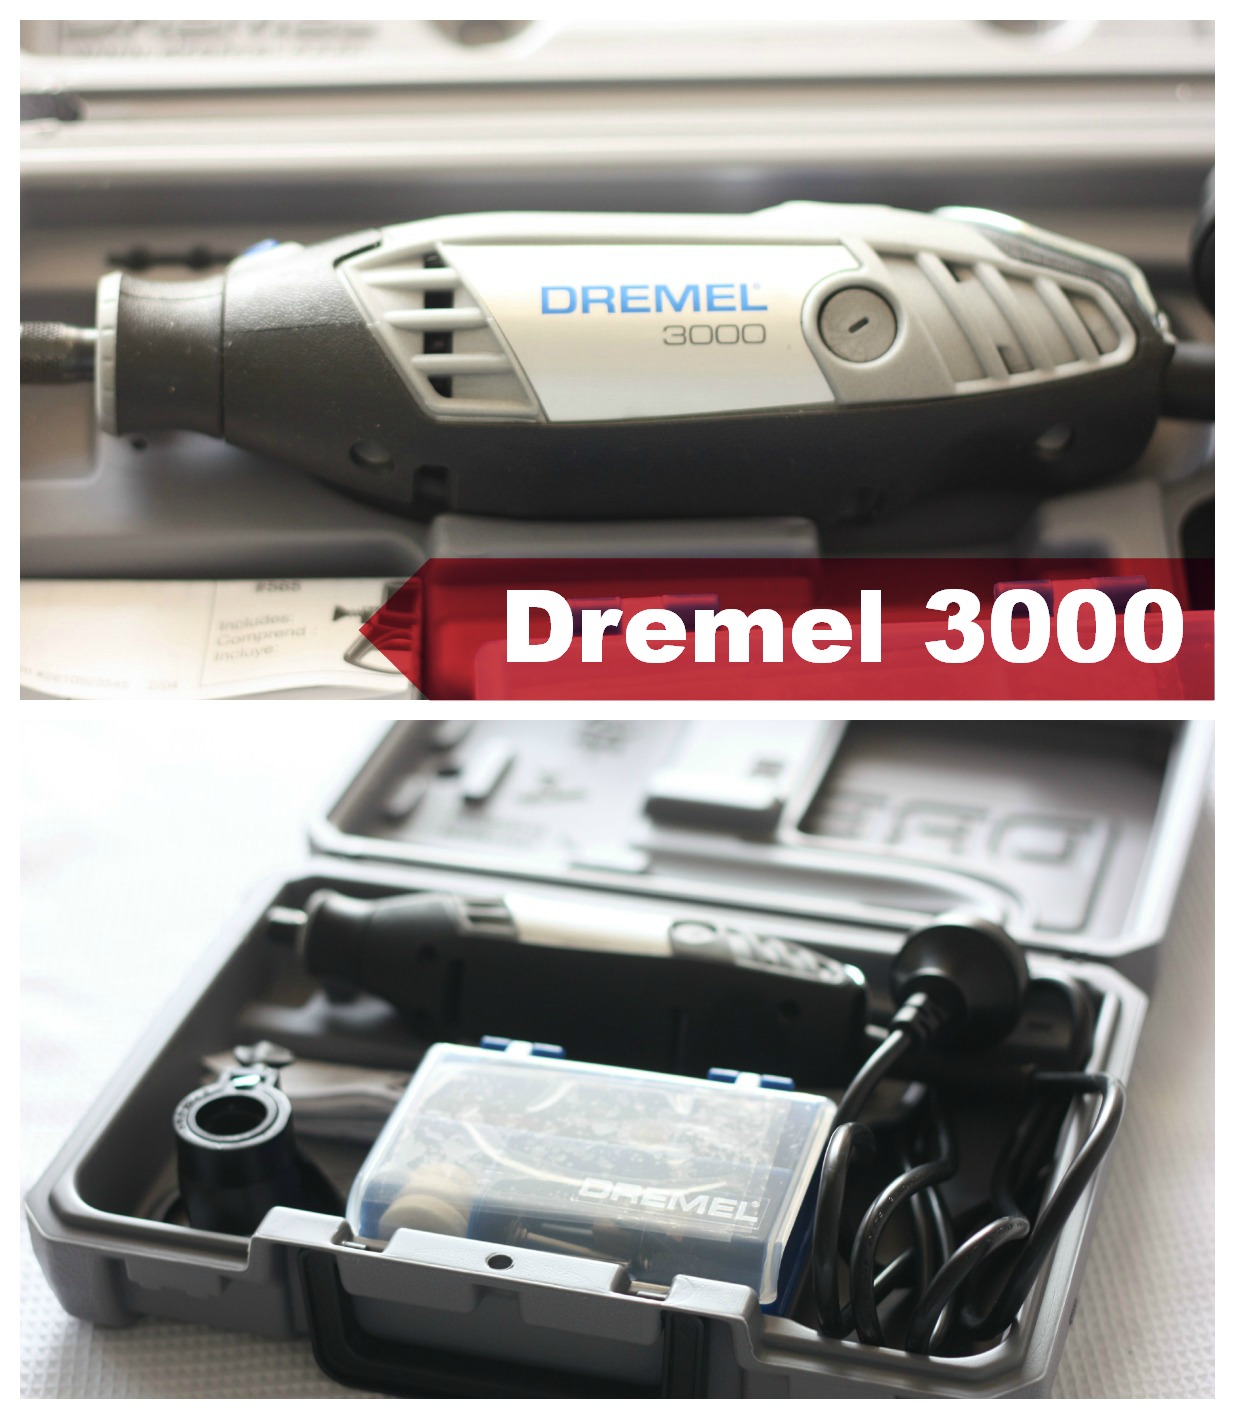
We were sent the Dremel 3000 to review  and it is a lightweight, handy and compact power tool. We were surprised to find that it can grind, cut, sand, drill, carve, etch, buff and polish. It can be used with wood, glass, plastics, metal, laminate, tiles, ceramic, metals, rubber and more. It comes in a plastic storage case with one attachment and 26 accessories. Priced at $99 for Series 1 – it is affordable for a tool that has so many applications. You can purchase additional accessories separately online and from major hardware stores. The Dremel is really easy to operate, even if you don’t have much experience with power tools. You can quickly change the attachments to suit the project you are working on.

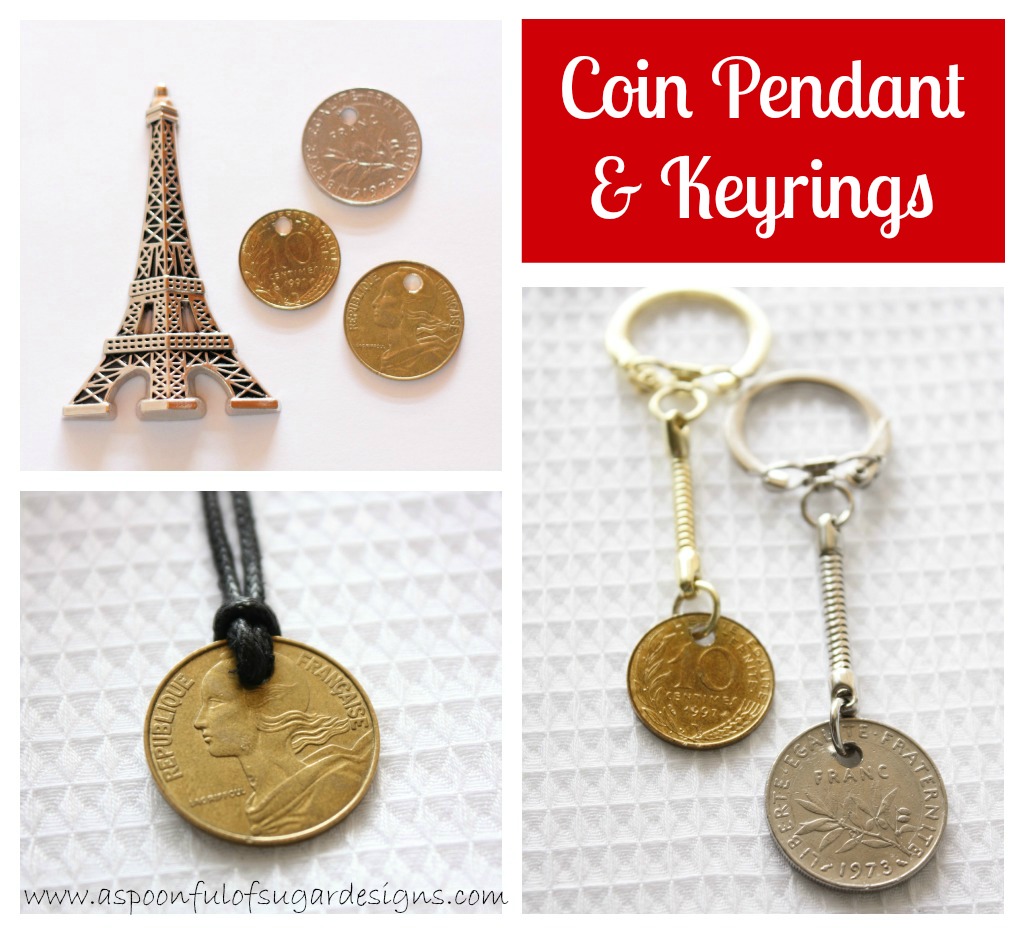
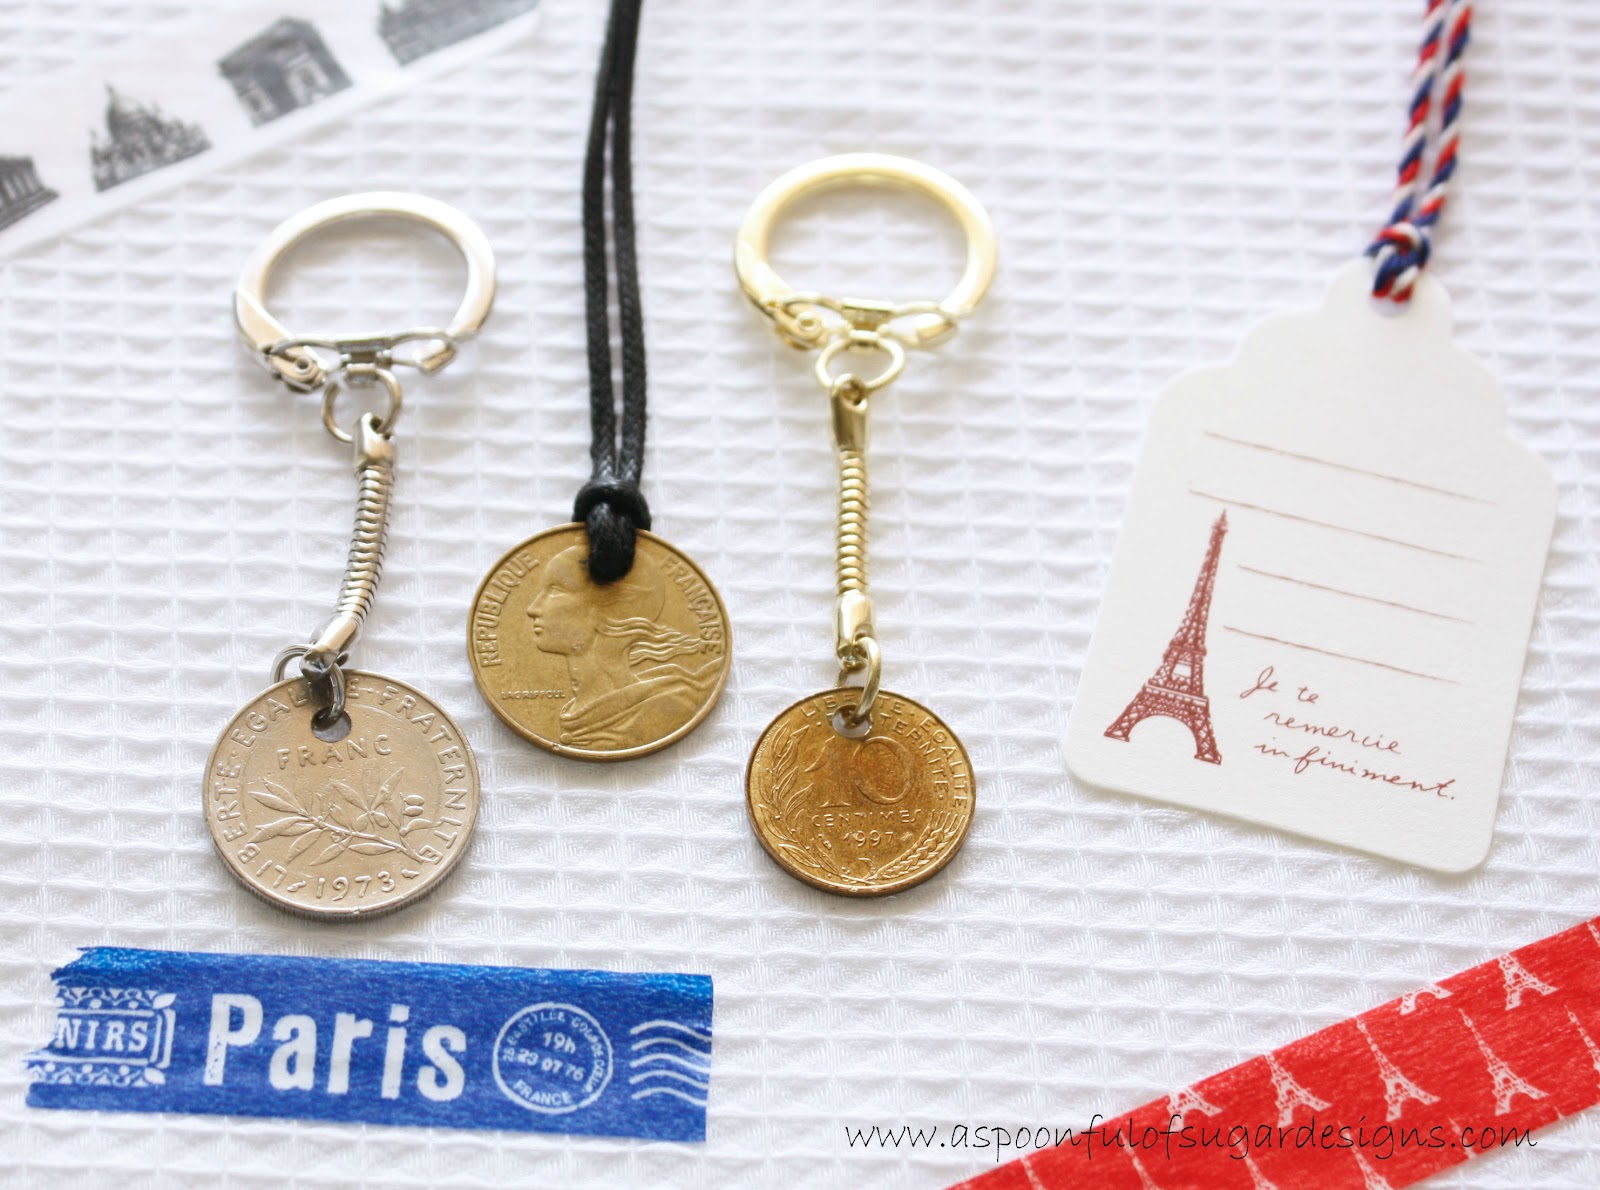
To put the Dremel through its paces, we made some key chains and a pendant from some old coins that we had collected in our travels.

You will need:
Coins ( I used some old French Francs)
Dremel 3000
Drill Bit (#150)
safety glasses
clamp
split ring key ring fittings
long nosed pliers
leather cord

Method:

  • secure coin to workbench with clamp (I just used my sewing table).
  • Using the Dremel with the drill bit attached (and wearing safety glasses), drill a hole in the top of the coins
  • Use pliers to attach key ring fitting to coin or thread leather cord through the hole to make a pendant.

Another great idea would be to make a charm bracelet using coins from different countries you have travelled to.

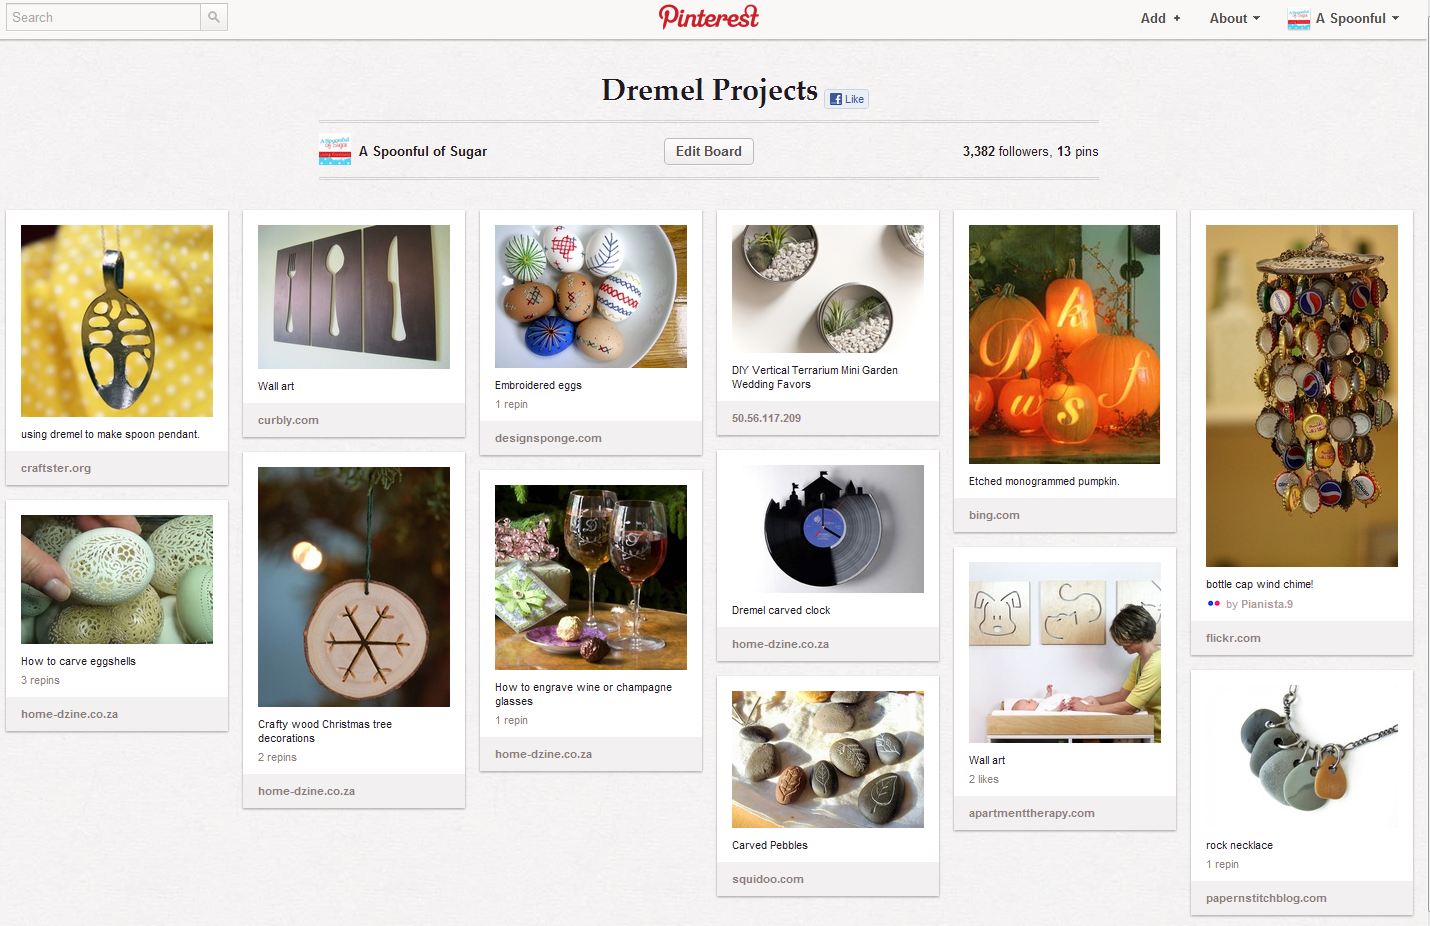
The Dremel 3000 Rotary Tool was easy to use and quick to set up in our craft room. Some other crafty things you can do with the Dremel include: etching on glass and metal; making toys and models; carving pumpkins; distressing jeans; making jewellery; and loads more. The Dremel would be a great addition to any craft kit (but you may need to hide if from your husband and sons!) Now that we have discovered how easy it is to use, we are already dreaming up some more DIY projects using the Dremel. In fact we have started a Dremel Projects Pinterest Board to give us plenty of inspiration.

Disclaimer: This is not a paid sponsored post but we did receive a Dremel 3000 to review.

Filed Under: DIY Tagged With: dremel

« Chocolate Caramel Macadamia Tart
Shades of Aqua »

Comments

  1. Saraccino says

    August 22, 2012 at 4:45 am

    Oh, I would love to try the new dremel too! I have an old one and I don’t know what I would do without my dremel! It is my most used tool for a lot of my crafting projects, going from polymer clay to wood to sea shells… from drilling to polishing to cutting! 🙂

    Reply
  2. Fiona @ Dragonfly-Crafts says

    August 29, 2012 at 3:49 am

    Love the coin projects. Great idea.

    Reply

Leave a Reply Cancel reply

Your email address will not be published. Required fields are marked *

  • Email
  • Facebook
  • Instagram
  • Pinterest
  • Threads
  • TikTok
SUBSCRIBE TO NEWSLETTER
×

Categories

Archives

PURCHASE PDF PATTERNS

We offer over 100 affordable PDF sewing patterns available for download from our store website or Etsy store. Each pattern includes detailed instructions, numerous photos, and templates.

WEB STORE ETSY STORE

Instagram

Meet the sweetest little project you can sew in mi Meet the sweetest little project you can sew in minutes — the Pyramid Weight. Use it as a pattern weight, scented sachet, or even a book weight… all from one triangle of fabric. Comment PYRAMID for the free pattern.Fabric is Something Blue by Tilda, releasing 1 June 2026 — with thanks to @tilda_australia.#tildasomethingblue #tildafabric #freepattern #sewingtutorial #sewinglove
The Scrappy Strips Pouch is one of my favourite wa The Scrappy Strips Pouch is one of my favourite ways to use up leftover fabric strings. Today’s version is made from patchwork strips — a fun, relaxing sew that turns scraps into something beautiful and practical.The Scrappy Strips Pouch pattern has two versions - patchwork strings and selvedges - and two sizes. Comment SELVEDGE (or SELVAGE) for a link to the pattern.Pattern Details: Scrappy Strips Pouch Sewing Pattern is in our Pattern Store and Etsy Shop.#ScrappyStripsPouch #ScrapBustingSewing #PatchworkPouch #StringQuilting #SewingProjects
If you’ve ever wanted to add eyelets or grommets t If you’ve ever wanted to add eyelets or grommets to your sewing projects, here’s a quick look at how I install them using my DK93 snap press. It’s the same tool I use for snaps — and it makes installing eyelets beautifully quick and consistent.Here’s how I install the eyelets:Punch out the four holes using a hole‑cutting die.Place the eyelet into the hole.Press it into place using the snap press.That’s it — simple, sturdy, and it gives the Ribbon Pouch such an elevated, professional finish. I love how clean and secure the result is.Fabric shown: Tilda Something Blue, releasing June 1 — thank you @tilda_australia for the beautiful fabric.✨ If you’d like the Ribbon Pouch pattern (3 sizes), comment RIBBON and I’ll send the link straight to you.Ribbon Pouch Sewing Pattern: available in my Pattern Store and Etsy Shop (links in profile).#tildasomethingblue #tildafabric #sewingtips #handmadeeveryday #sewingtools
The Ribbon Pouch is one of my favourite quick‑to‑s The Ribbon Pouch is one of my favourite quick‑to‑sew gift bags, and I couldn’t resist making a light and dark version using the new Tilda Something Blue collection. Both pouches use the same print in different colourways — such a pretty way to show how fabric choice changes the whole mood.They’re finished with satin ribbon threaded through grommets, and topped with a tiny star tag. The boxed base helps them stand beautifully, and the ribbon closure makes them perfect for birthdays, thank‑you gifts, treats, or little treasures.This is a beginner‑friendly, scrap‑friendly, quick project you’ll want to sew again and again. Pattern includes 3 sizes.If you’d like the pattern, comment RIBBON and I’ll send the link straight to you.Pattern Details: Ribbon Pouch (3 Sizes) available in my Pattern Store and Etsy Shop.Fabric Details: Tilda Something Blue - releasing on 1 June 2026. Thanks to @tilda_australia#TildaSomethingBlue #TildaFabric #SewingPattern #BeginnerSewingProject #QuickSewingProject   
Sewing with scraps is one of my favourite ways to Sewing with scraps is one of my favourite ways to get creative — small pieces, leftover corners, charm‑square offcuts… they all have so much potential.Here are 10 scrap‑friendly projects that use small pieces beautifully. They’re quick to sew, beginner‑friendly, and perfect for gifting ✂️✨Save this for the next time you want to turn your scraps into something pretty.Which one would you sew first?  Tell me in the comments — I love seeing what you’re making.Patterns are available in my pattern store (link in profile) or comment PATTERNS and I will send you the link. #scrapsewing #scrapbusting #scrapfriendly #sewinginspiration #sewingideas
I save every selvedge (or selvage) — the colour do I save every selvedge (or selvage) — the colour dots, the tiny prints, the designer names… they’re too pretty to throw away.Here’s how I turn them into something useful:
• lay them diagonally on a square of fusible interfacing
• overlap slightly
• stitch close to the printed edge
• keep building until you have a panelIt’s such a fun way to use scraps and create something totally unique ✂️✨If you’d like the Scrappy Strips Pouch pattern, comment SELVEDGE or SELVAGE and I’ll send you the link.Pattern Details: Scrappy Strips Pouch Pattern is available in my Pattern Store and Etsy Shop.#scrappystripspouch #selvage #scrapbuster #sewingcommunity #sewingtip
Follow on Instagram

Featured Pattern

Travel Sewing Kit Pattern

Featured Tutorial

Retro Drawstring Bag

Featured Recipe

Lemon Pound Cake

Connect

  • Email
  • Facebook
  • Instagram
  • Pinterest
  • Threads
  • TikTok
SUBSCRIBE TO NEWSLETTER
×

Popular Posts

  • Cord Cosy
  • Tips for Threading a Needle
  • Travel Accessories to Sew
  • Liberty Tissue Cover
  • Charm Square Fabric Tray
  • Happy Scrappy Cards
  • Life Lessons from Sewing and Quilting

Copyright © 2026 Lisa. K. Cox - A Spoonful of Sugar