A Spoonful of Sugar

Make. Bake. Create.

Menu
  • Home
  • About
    • About Us
    • Press
    • FAQ
    • Disclosure Policy
    • Contact Us
  • Crafts
    • Crochet
    • DIY
    • Embroidery/Cross stitch
    • Gift Wrapping
    • Knitting
    • Miscellaneous
    • Paper Crafts
  • Holidays
    • New Year’s
    • Australia Day
    • Back to School
    • Valentines Day
    • Easter
    • ANZAC Day
    • Mother’s Day
    • Father’s Day
    • Halloween
    • Christmas
  • Recipes
    • Appetizers
    • Bars & Slices
    • Bread & Pastries
    • Cakes
    • Cookies
    • Confectionery
    • Cupcakes & Muffins
    • Desserts
    • Drinks
    • Ice Cream
    • Jams/Preserves
    • Main Meals
  • Sewing
    • Sewing Tutorials
    • Quilting
    • Sewing & Quilting Patterns
  • Family
    • Back to School
    • Family Fun
    • Our Home
    • Parenting
    • Travel
  • Shop
    • Pattern Store
    • Etsy Store

Fabric Flower

July 6, 2012 By Spoonful of Sugar - 13 Comments

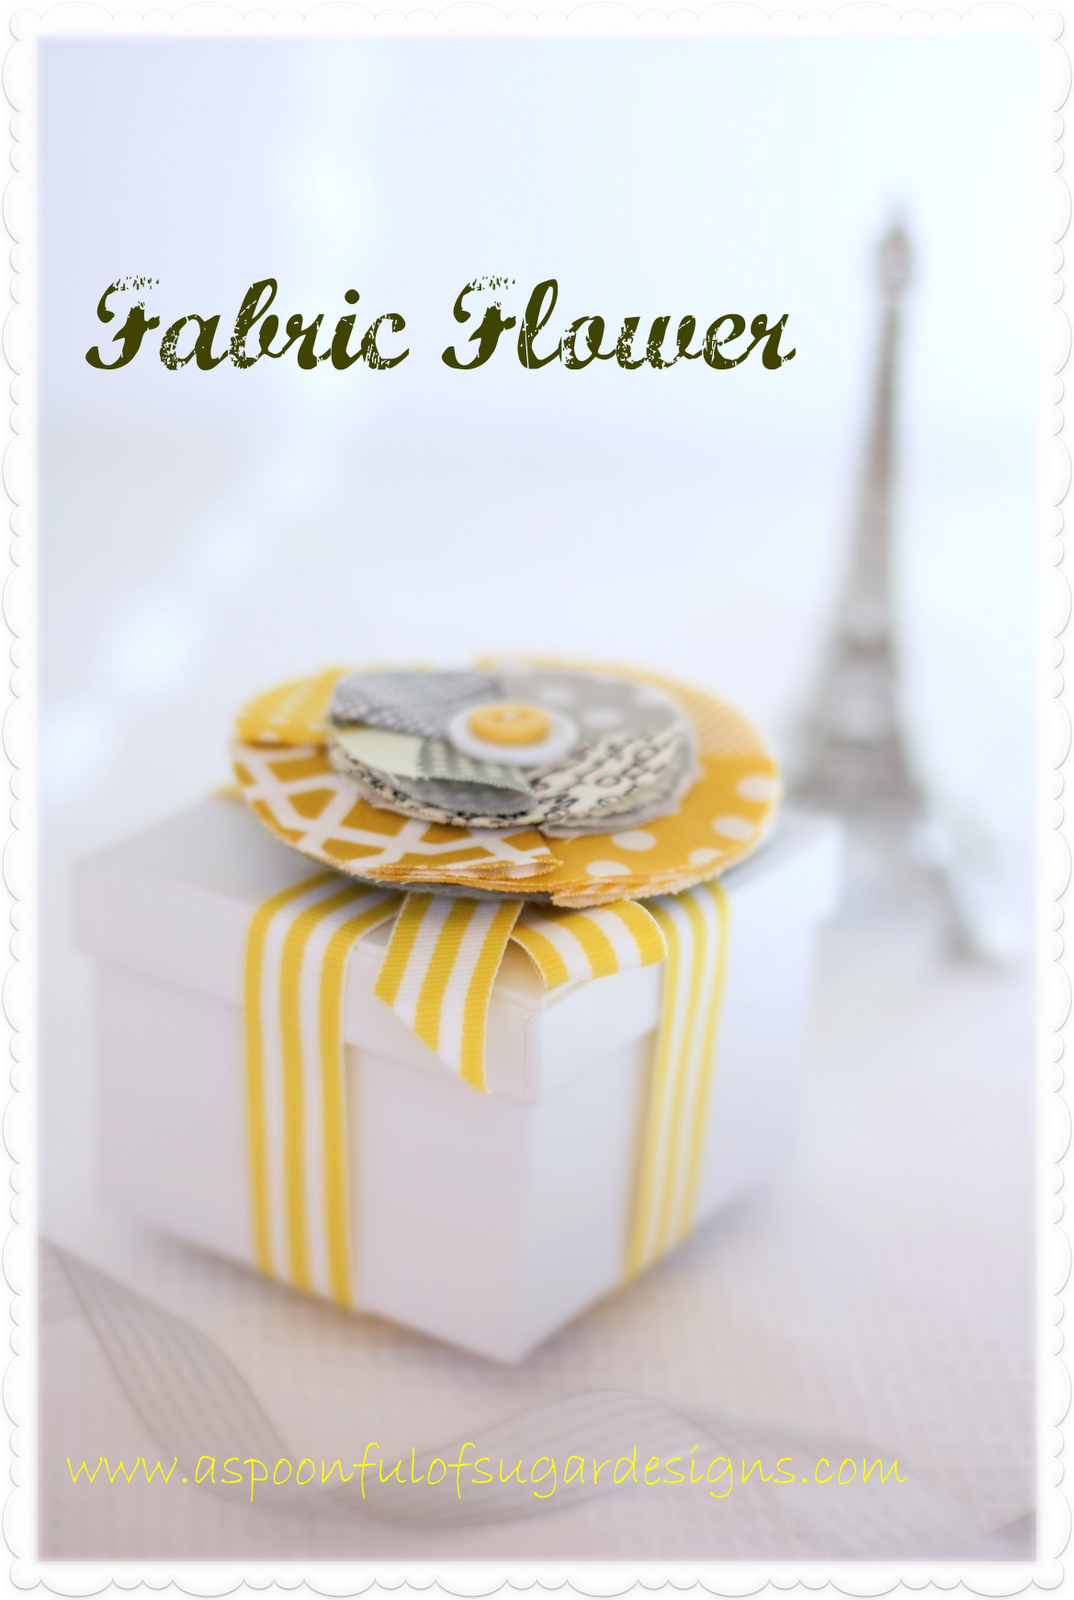
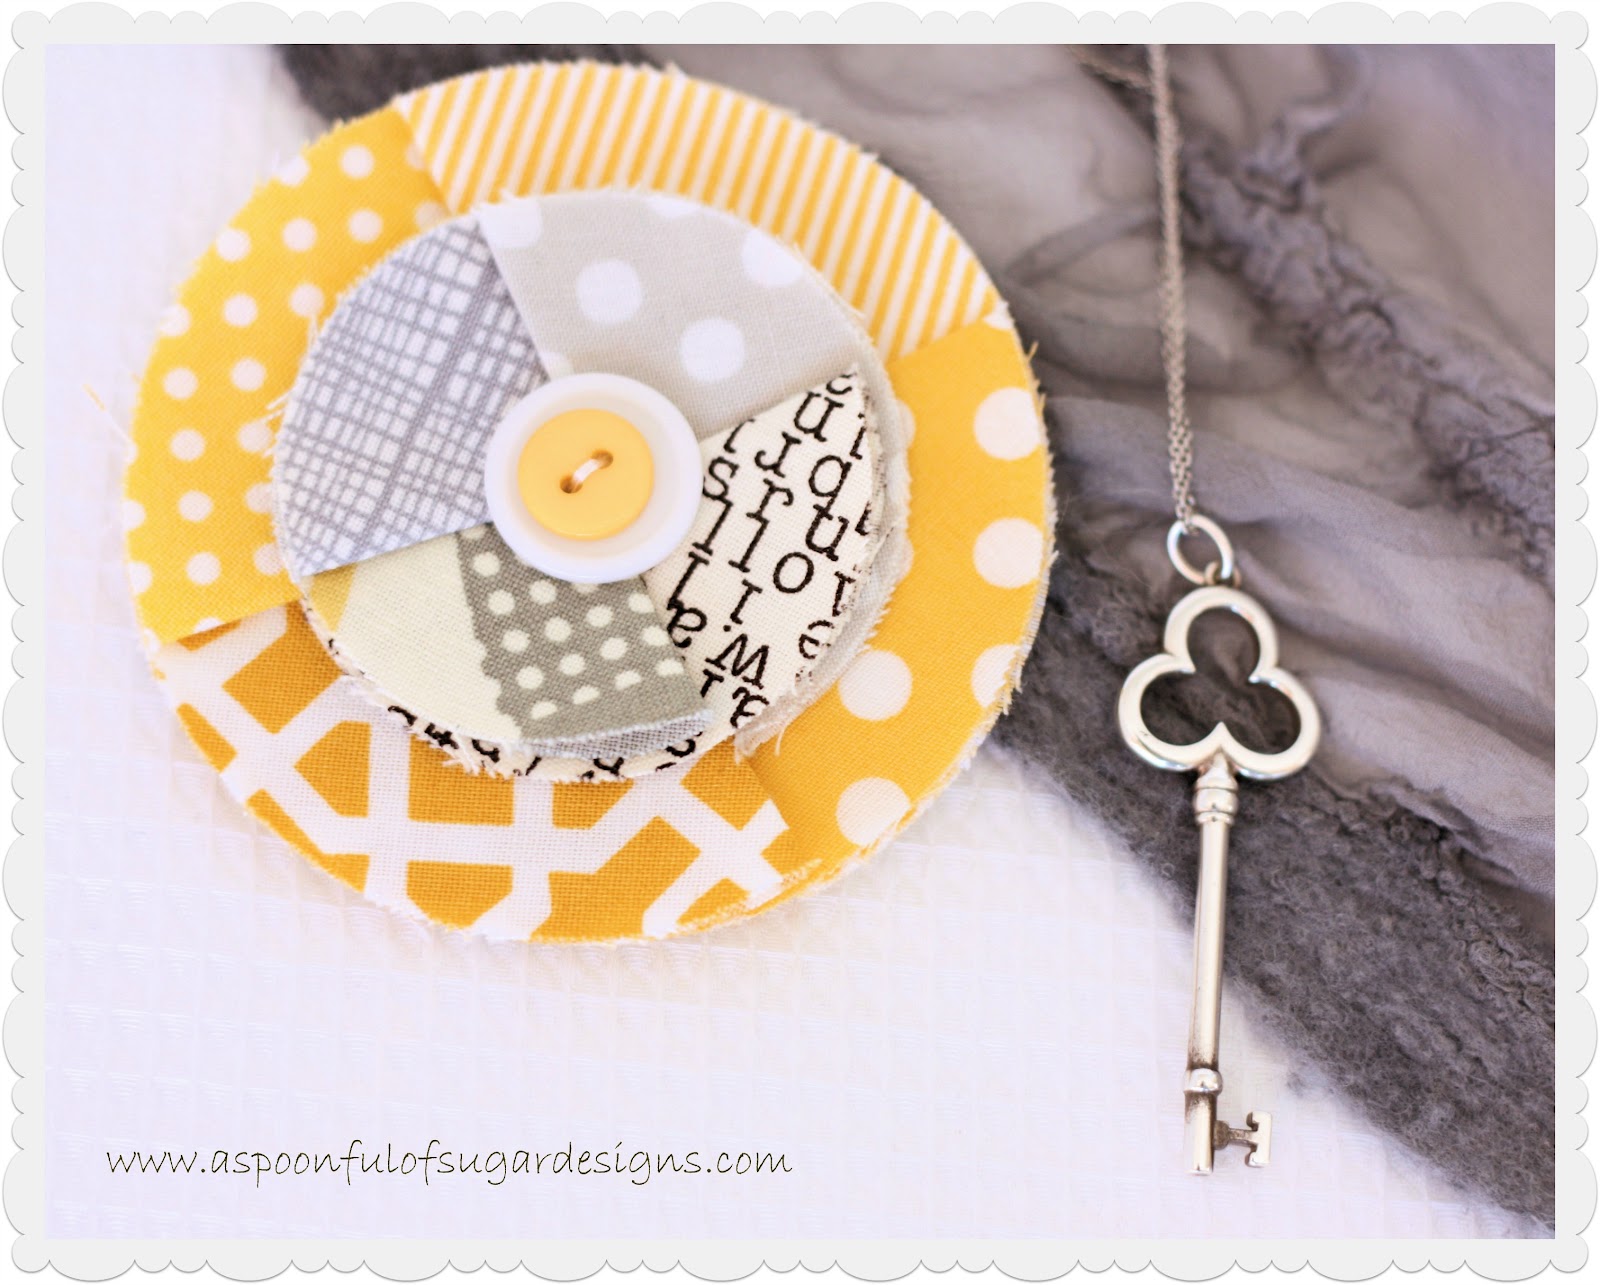
Fabric flowers can be quickly made from small pieces of fabric, and add a special touch to a gift box. If you add a brooch back to the rear side of the flower, it can also be used as a brooch to add some colour to your favourite cardigan or handbag.

I am really loving the combination of yellow and grey at the moment, so raided my fabric scraps to find four yellow and four grey fabrics.

Supplies:

  • felt circle – 3 inches in diameter
  • 4 fabric circles – 3 inches in diameter
  • 4 fabric circles – 2 inches in diameter
  • 2 co-ordinating buttons – one small, one medium
  • brooch clasp
  • needle and thread
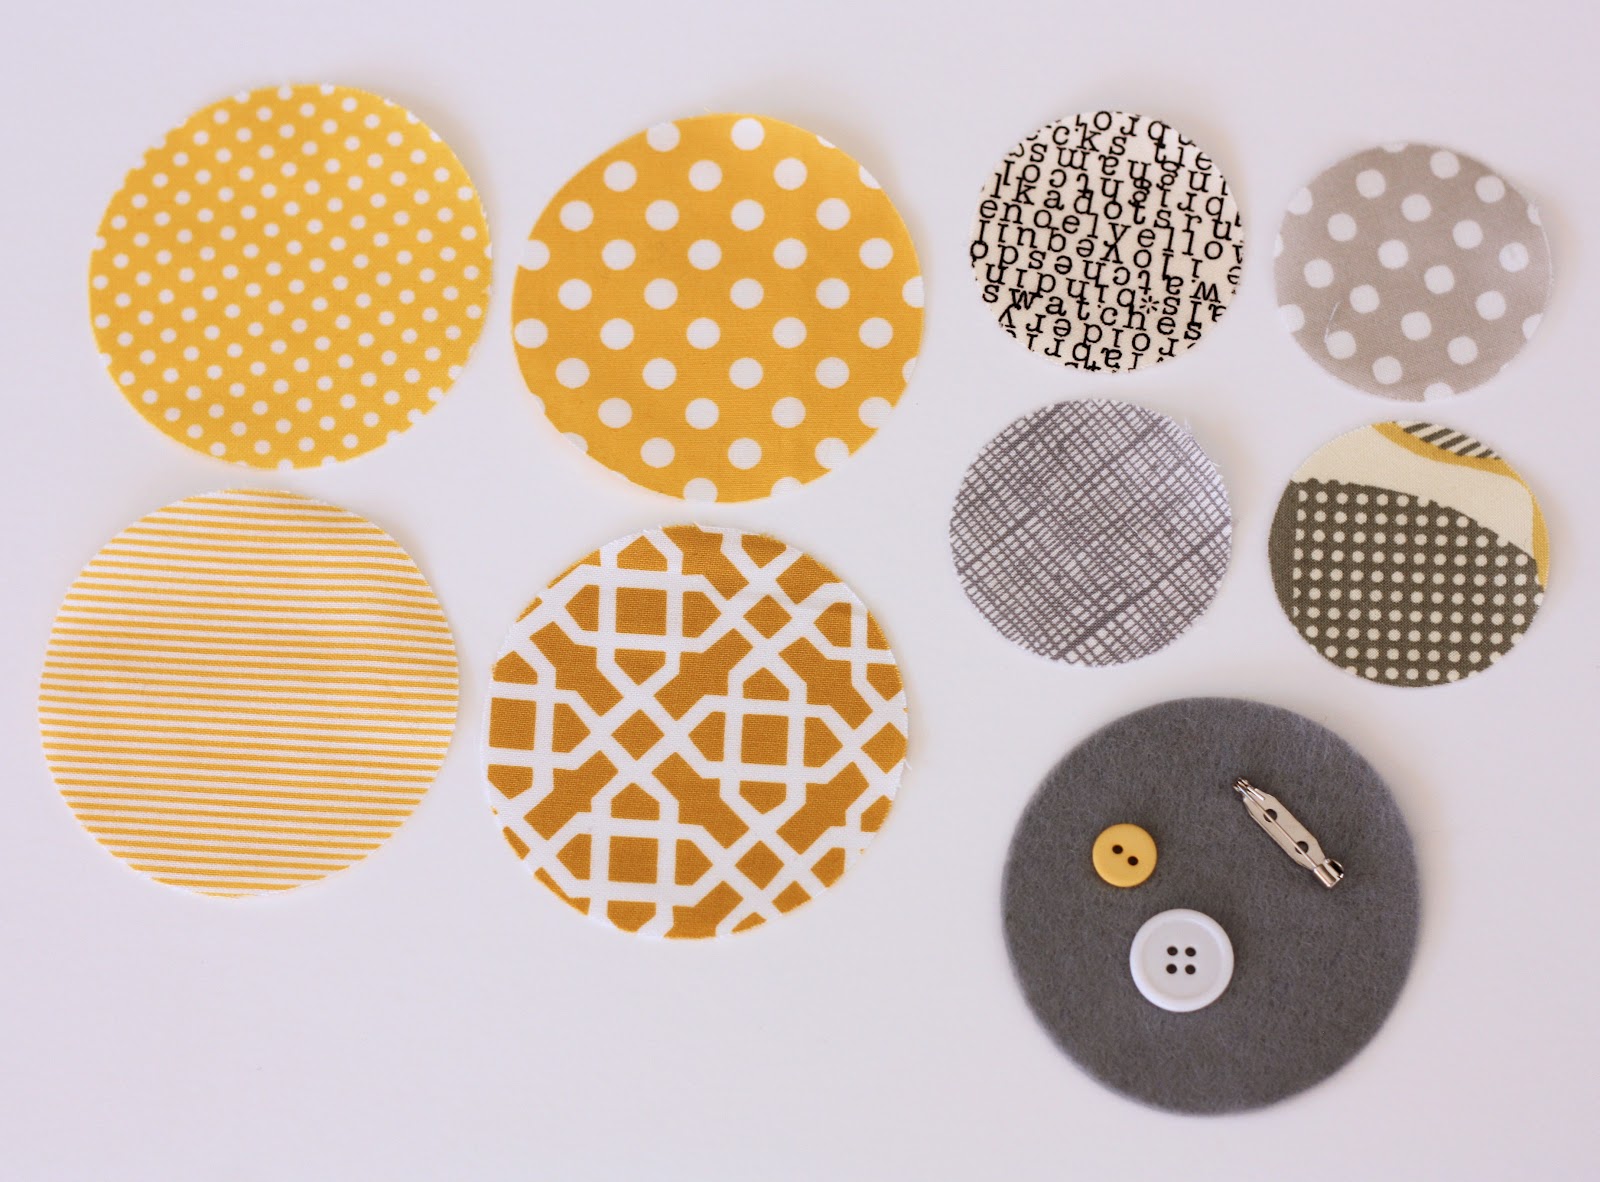
I cut the circles using my Accuquilt Go Cutter with the circle die but they can be easily traced onto the fabric using a compass, and cut to size.
Fold the 3 inch fabric circles in half and finger press. Layer the circles onto the felt so that they overlap (refer to photos below). Stitch the centre of the circles in place onto the felt backing.
Repeat for the 2 inch circles and position them on top of the 3 inch circles, and stitch in place at the centre of the flower.
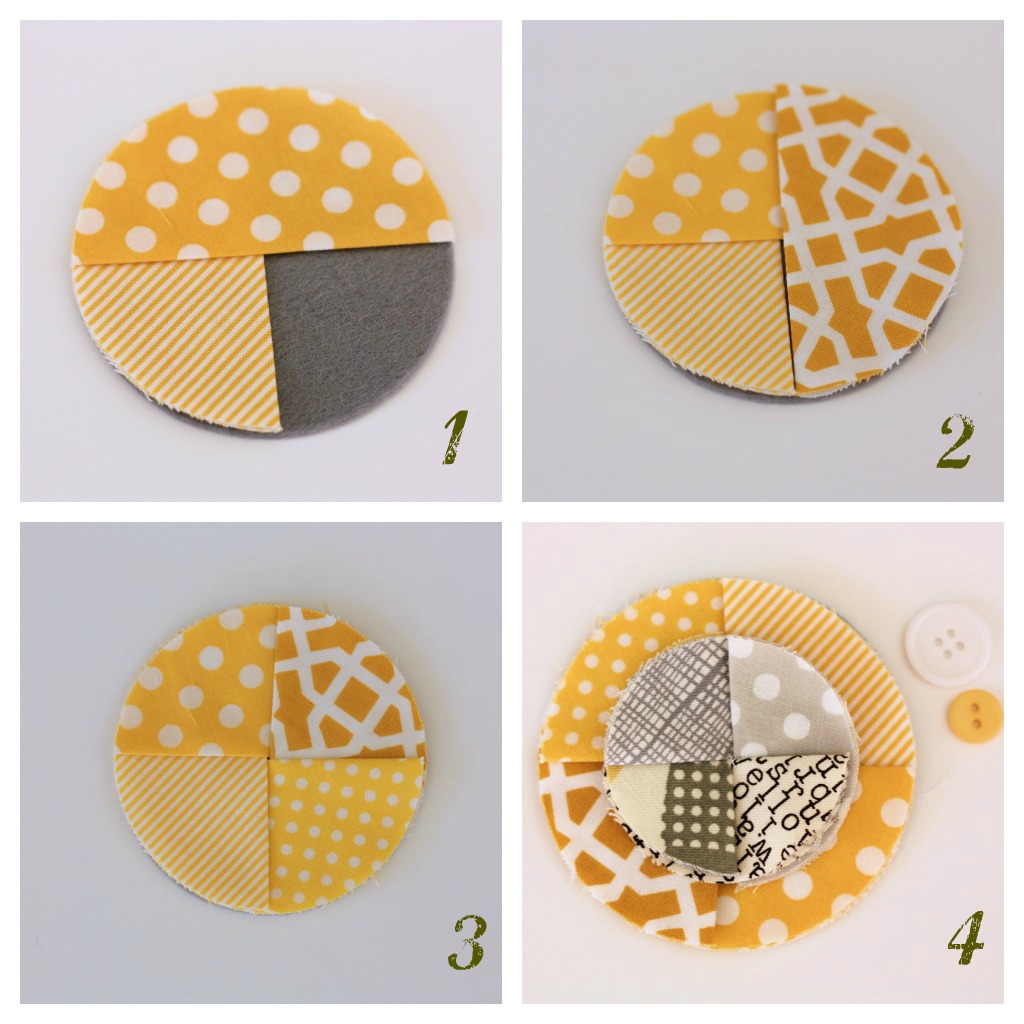
Position the buttons on the centre of the flower and stitch in place. Stitch the brooch clasp to the back of the felt.
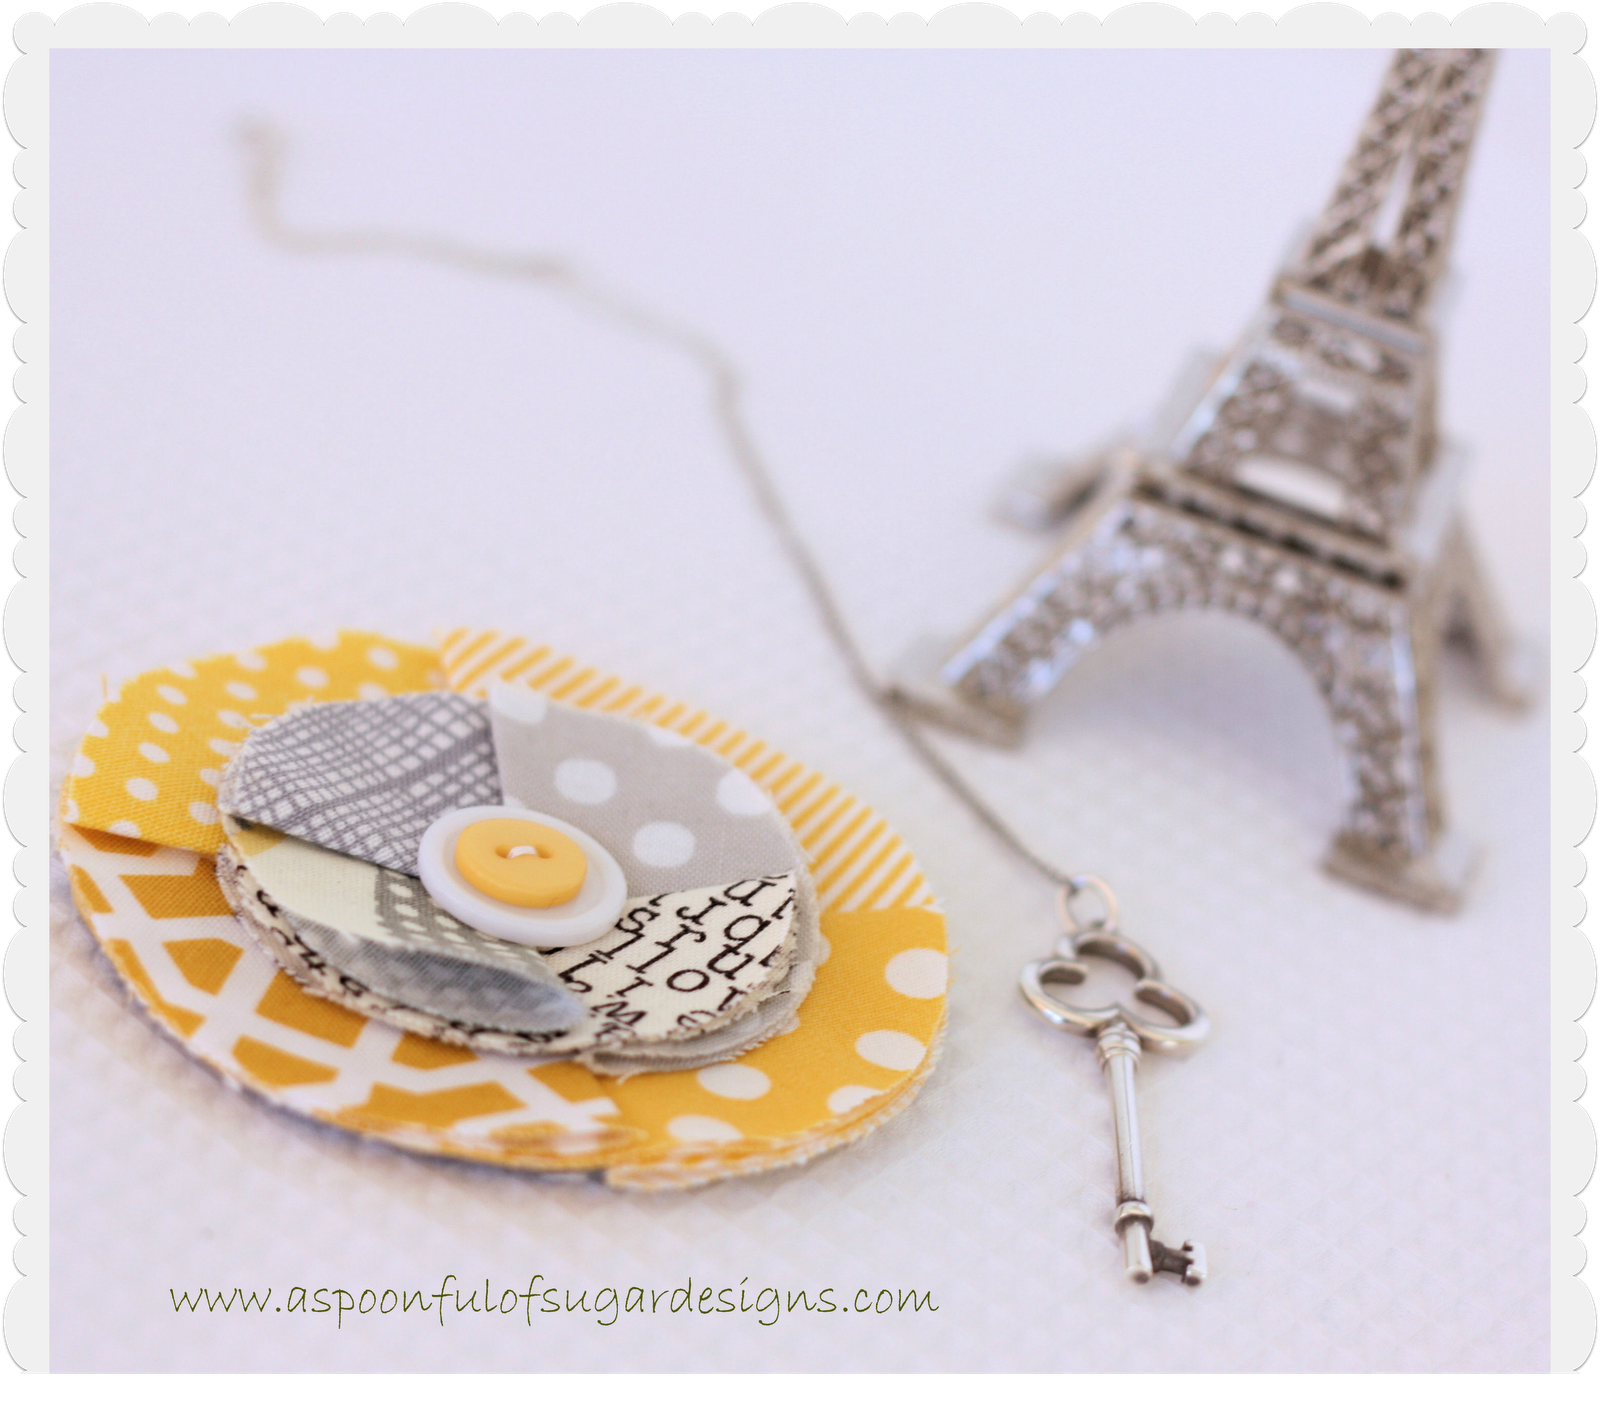
You can add your fabric flowers to a gift; to a scarf; to a handbag; or make a garland of them! They are so versatile and quick to make.

If you haven’t already signed up to our newsletter, you can sign up by clicking the link below:

          Subscribe to A Spoonful of Sugar Newsletter   

Signing up to our monthly newsletter is a great way to keep up to date on some of our most popular posts each month, and it also includes free (newsletter exclusive) projects.

Filed Under: Gift Wrapping, Sewing Tutorials

« Origami Dress Card
Easy Fleece Scarf for Kids »

Comments

  1. Nat @ dear little house says

    July 6, 2012 at 10:23 pm

    Very sweet! The colour combination is very nice.

    Reply
  2. Kay says

    July 7, 2012 at 12:08 am

    I love this done with different fabrics. I have previously made these flowers with one colour of felt and made them into brooches, have to have a go at them this way.

    Reply
  3. Ana Lopes says

    July 7, 2012 at 1:49 am

    Hi Lisa and Sara,
    Thanks again for another cute idea for my loved daugther’s birthday, this month 28 :)!!!! I’m also fan of this yellow and grey combination.

    Have a wonderful weekend,
    Hugs from Portugal
    Ana Lopes http://www.lovecraft2012.blogspot.com

    Reply
  4. Julie says

    July 7, 2012 at 5:41 am

    i love these! will definitely try it on my next present 🙂

    Reply
  5. Christy says

    July 7, 2012 at 6:02 am

    That’s such a lovely color combo. Your DIY project is extremely pretty. I hope to give it a try soon.

    Reply
  6. Kirsty@Bonjour says

    July 7, 2012 at 7:54 am

    What a great scrap buster, and a lovely way to dress up plain wrapping paper. You could make mini versions for little girl hair clips too. Lovely tutorial, thanks!

    Reply
  7. Katharina says

    July 7, 2012 at 12:08 pm

    Oh how nice. Great idea.

    Have a lovely weekend.
    Katharina

    Reply
  8. Handmade in Israel says

    July 8, 2012 at 8:56 am

    Absolutely delightful! I love those colours together.

    Reply
  9. Simone de Klerk says

    July 9, 2012 at 1:02 am

    Lovely and easy! Thank you for sharing.

    Reply
  10. Terriaw says

    July 10, 2012 at 8:22 am

    Beautiful flower project! I love all the different ways you can use these to adorn presents, packages, notecards, scrapbook pages, and even as a brooch.

    Reply
  11. Fiona says

    July 10, 2012 at 4:37 pm

    Love the colour combo and simpleness of making it! Thanks for sharing fellow Perth ladies, x Fiona

    Reply
  12. Fiona @ Dragonfly-Crafts says

    July 22, 2012 at 4:16 am

    Wow! They look great 🙂

    Reply
  13. angelique m says

    September 14, 2012 at 10:28 am

    this looks like one of the easiest tutorials i’ve seen and thank you so much for mentioning your Accuquilt Go Cutter. last year when i was planning my wedding, i could have really used one of those but unfortunately online descriptions didn’t really tell me if they could do different sizes as i needed. i still need an easier faster way to cut fabric circles so this has been *very* informative! and talk about cute!!! <3 this!

    Reply

Leave a Reply Cancel reply

Your email address will not be published. Required fields are marked *

  • Email
  • Facebook
  • Instagram
  • Pinterest
  • Threads
  • TikTok
SUBSCRIBE TO NEWSLETTER
×

Categories

Archives

PURCHASE PDF PATTERNS

We offer over 100 affordable PDF sewing patterns available for download from our store website or Etsy store. Each pattern includes detailed instructions, numerous photos, and templates.

WEB STORE ETSY STORE

Instagram

A tiny pyramid that does it all — a pattern weight A tiny pyramid that does it all — a pattern weight for your sewing table, a book weight for cosy reading, or a scented sachet for your drawers. Small, sweet, and so satisfying to sew. Comment PYRAMID for the free pattern.Fabric: Something Blue by Tilda
@tilda_australia#sewingproject #tildafabric #beginnersewing #scrapsewing #Tildasomethingblue
Meet the sweetest little project you can sew in mi Meet the sweetest little project you can sew in minutes — the Pyramid Weight. Use it as a pattern weight, scented sachet, or even a book weight… all from one triangle of fabric. Comment PYRAMID for the free pattern.Fabric is Something Blue by Tilda, releasing 1 June 2026 — with thanks to @tilda_australia.#tildasomethingblue #tildafabric #freepattern #sewingtutorial #sewinglove
The Scrappy Strips Pouch is one of my favourite wa The Scrappy Strips Pouch is one of my favourite ways to use up leftover fabric strings. Today’s version is made from patchwork strips — a fun, relaxing sew that turns scraps into something beautiful and practical.The Scrappy Strips Pouch pattern has two versions - patchwork strings and selvedges - and two sizes. Comment SELVEDGE (or SELVAGE) for a link to the pattern.Pattern Details: Scrappy Strips Pouch Sewing Pattern is in our Pattern Store and Etsy Shop.#ScrappyStripsPouch #ScrapBustingSewing #PatchworkPouch #StringQuilting #SewingProjects
If you’ve ever wanted to add eyelets or grommets t If you’ve ever wanted to add eyelets or grommets to your sewing projects, here’s a quick look at how I install them using my DK93 snap press. It’s the same tool I use for snaps — and it makes installing eyelets beautifully quick and consistent.Here’s how I install the eyelets:Punch out the four holes using a hole‑cutting die.Place the eyelet into the hole.Press it into place using the snap press.That’s it — simple, sturdy, and it gives the Ribbon Pouch such an elevated, professional finish. I love how clean and secure the result is.Fabric shown: Tilda Something Blue, releasing June 1 — thank you @tilda_australia for the beautiful fabric.✨ If you’d like the Ribbon Pouch pattern (3 sizes), comment RIBBON and I’ll send the link straight to you.Ribbon Pouch Sewing Pattern: available in my Pattern Store and Etsy Shop (links in profile).#tildasomethingblue #tildafabric #sewingtips #handmadeeveryday #sewingtools
The Ribbon Pouch is one of my favourite quick‑to‑s The Ribbon Pouch is one of my favourite quick‑to‑sew gift bags, and I couldn’t resist making a light and dark version using the new Tilda Something Blue collection. Both pouches use the same print in different colourways — such a pretty way to show how fabric choice changes the whole mood.They’re finished with satin ribbon threaded through grommets, and topped with a tiny star tag. The boxed base helps them stand beautifully, and the ribbon closure makes them perfect for birthdays, thank‑you gifts, treats, or little treasures.This is a beginner‑friendly, scrap‑friendly, quick project you’ll want to sew again and again. Pattern includes 3 sizes.If you’d like the pattern, comment RIBBON and I’ll send the link straight to you.Pattern Details: Ribbon Pouch (3 Sizes) available in my Pattern Store and Etsy Shop.Fabric Details: Tilda Something Blue - releasing on 1 June 2026. Thanks to @tilda_australia#TildaSomethingBlue #TildaFabric #SewingPattern #BeginnerSewingProject #QuickSewingProject   
Sewing with scraps is one of my favourite ways to Sewing with scraps is one of my favourite ways to get creative — small pieces, leftover corners, charm‑square offcuts… they all have so much potential.Here are 10 scrap‑friendly projects that use small pieces beautifully. They’re quick to sew, beginner‑friendly, and perfect for gifting ✂️✨Save this for the next time you want to turn your scraps into something pretty.Which one would you sew first?  Tell me in the comments — I love seeing what you’re making.Patterns are available in my pattern store (link in profile) or comment PATTERNS and I will send you the link. #scrapsewing #scrapbusting #scrapfriendly #sewinginspiration #sewingideas
Follow on Instagram

Featured Pattern

Travel Sewing Kit Pattern

Featured Tutorial

Retro Drawstring Bag

Featured Recipe

Lemon Pound Cake

Connect

  • Email
  • Facebook
  • Instagram
  • Pinterest
  • Threads
  • TikTok
SUBSCRIBE TO NEWSLETTER
×

Popular Posts

  • Cord Cosy
  • Tips for Threading a Needle
  • Travel Accessories to Sew
  • Liberty Tissue Cover
  • Charm Square Fabric Tray
  • Happy Scrappy Cards
  • Life Lessons from Sewing and Quilting

Copyright © 2026 Lisa. K. Cox - A Spoonful of Sugar