A Spoonful of Sugar

Make. Bake. Create.

Menu
  • Home
  • About
    • About Us
    • Press
    • FAQ
    • Disclosure Policy
    • Contact Us
  • Crafts
    • Crochet
    • DIY
    • Embroidery/Cross stitch
    • Gift Wrapping
    • Knitting
    • Miscellaneous
    • Paper Crafts
  • Holidays
    • New Year’s
    • Australia Day
    • Back to School
    • Valentines Day
    • Easter
    • ANZAC Day
    • Mother’s Day
    • Father’s Day
    • Halloween
    • Christmas
  • Recipes
    • Appetizers
    • Bars & Slices
    • Bread & Pastries
    • Cakes
    • Cookies
    • Confectionery
    • Cupcakes & Muffins
    • Desserts
    • Drinks
    • Ice Cream
    • Jams/Preserves
    • Main Meals
  • Sewing
    • Sewing Tutorials
    • Quilting
    • Sewing & Quilting Patterns
  • Family
    • Back to School
    • Family Fun
    • Our Home
    • Parenting
    • Travel
  • Shop
    • Pattern Store
    • Etsy Store

Candy Cane Cupcakes

December 21, 2012 By A Spoonful of Sugar - 3 Comments

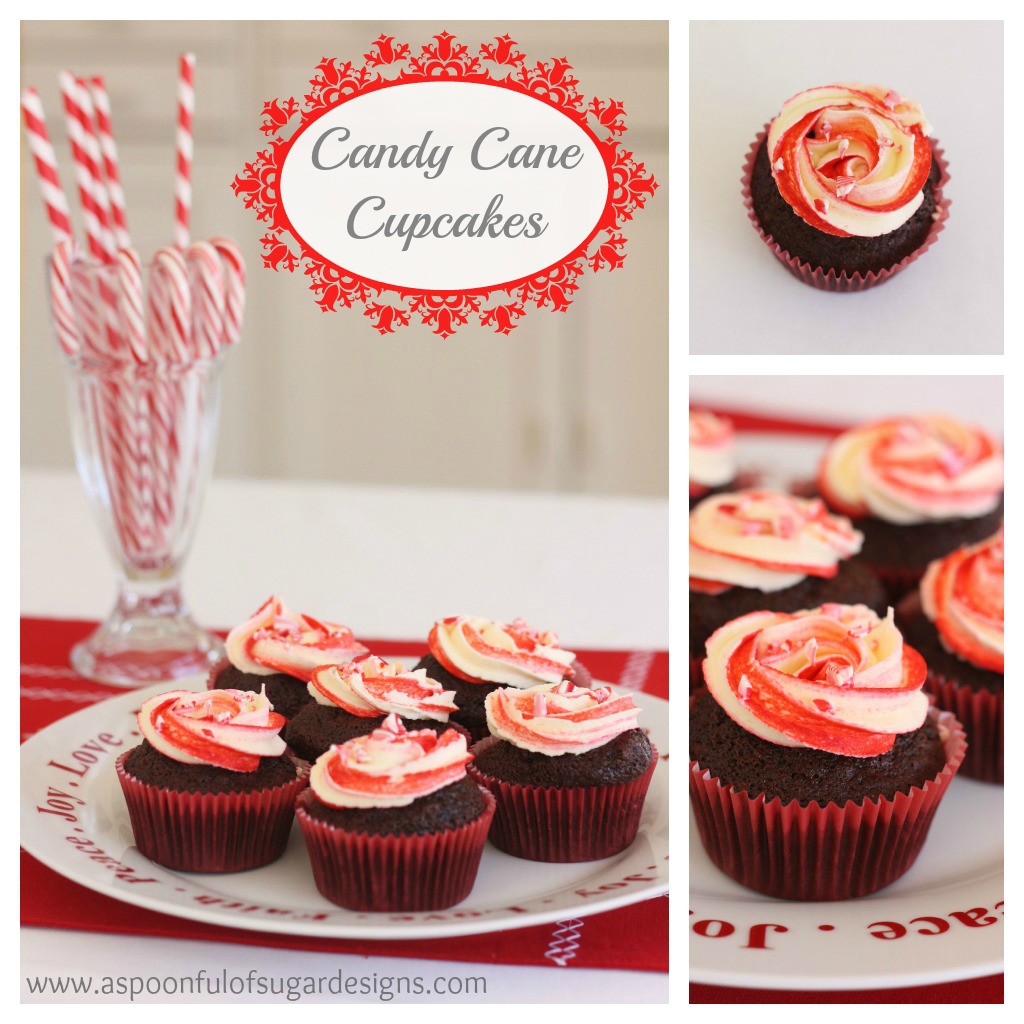
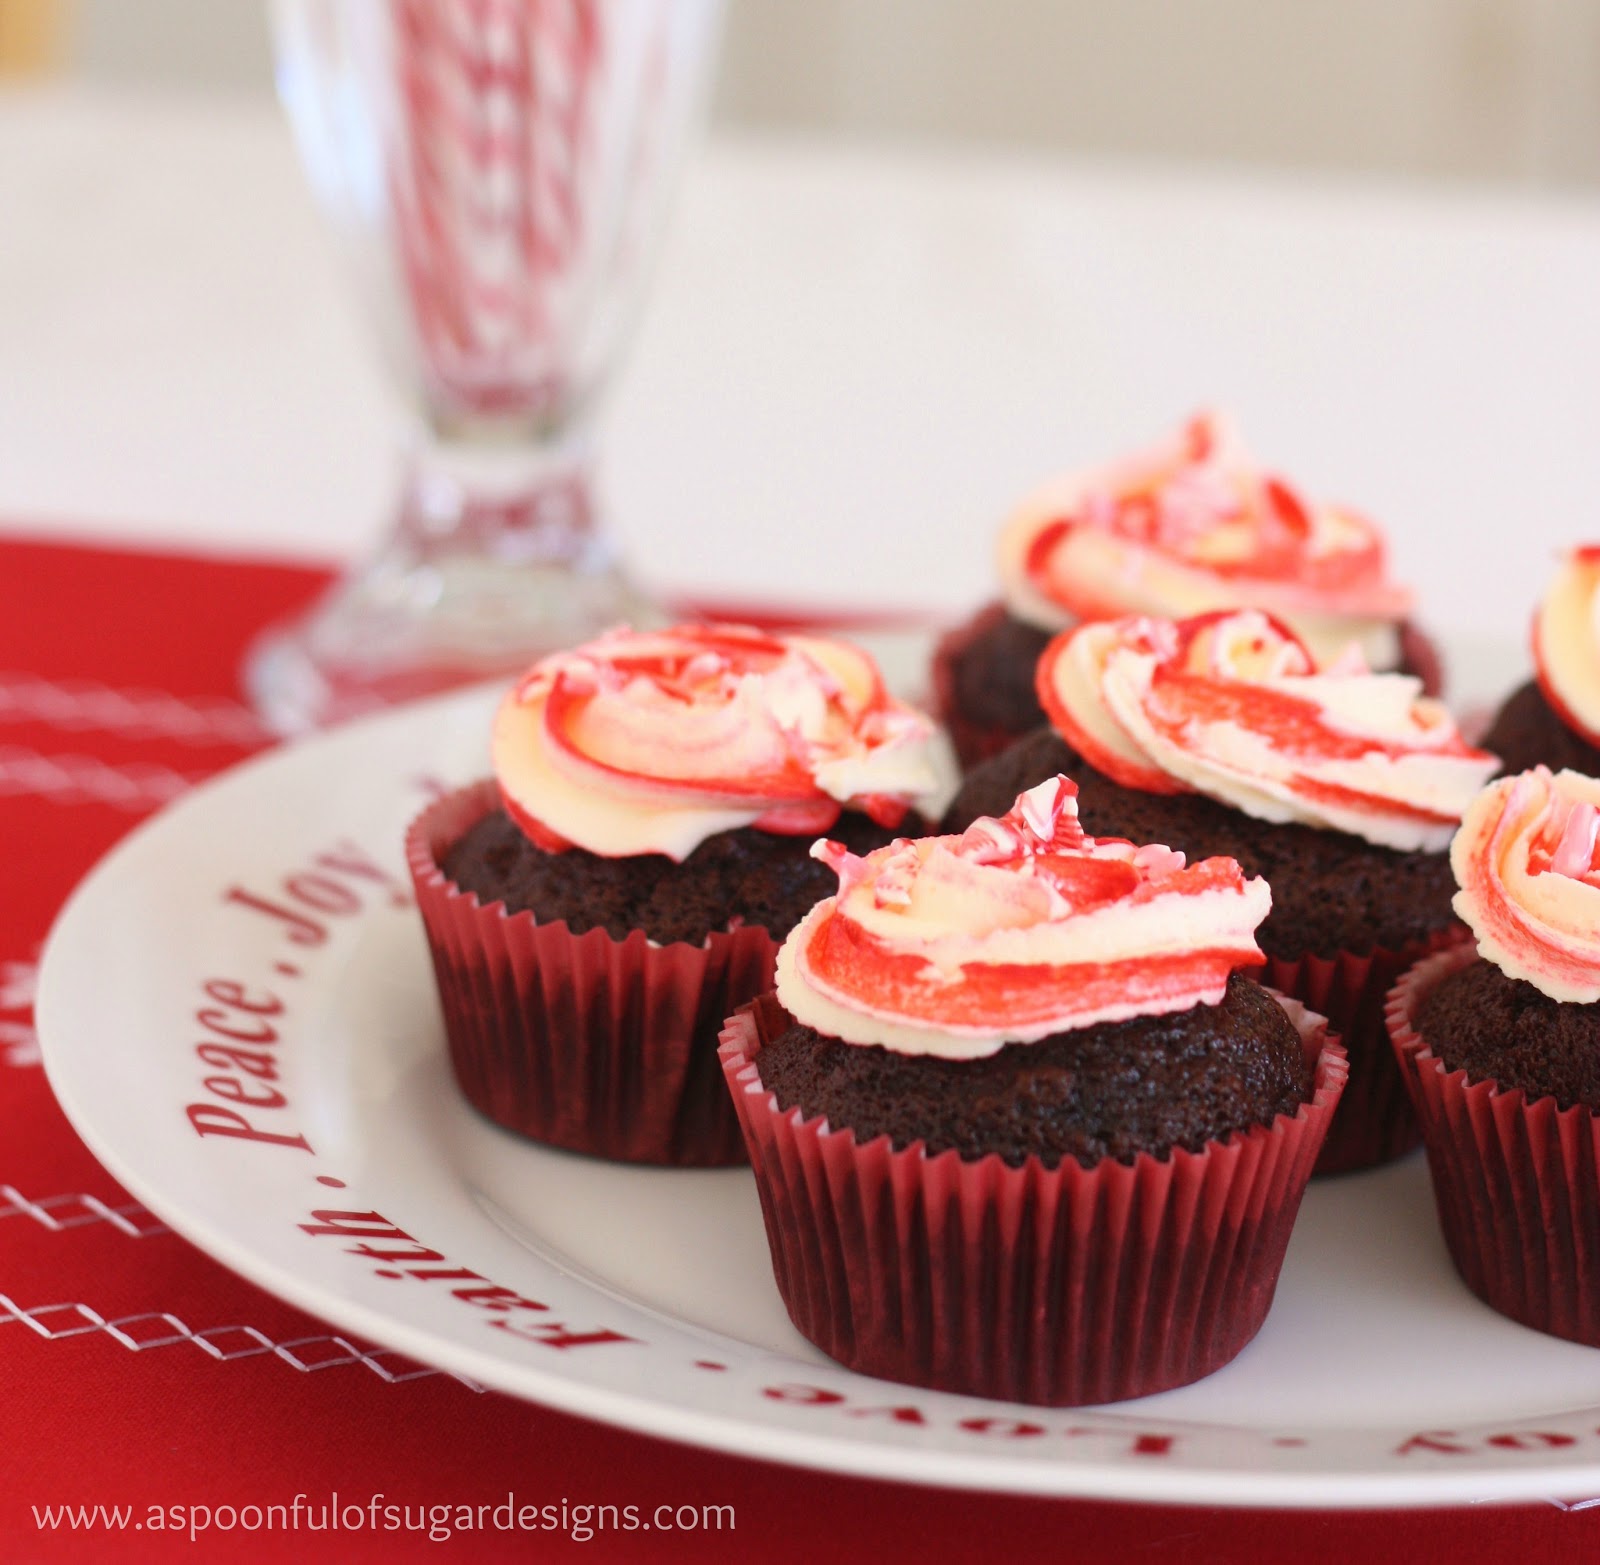
Candy Cane recipes are always so festive at this time of year.  This week Sarah backed up a batch of chocolate cupcakes that she decorated with a peppermint buttercream frosting, and shards of crushed candy cane on the top. She tried a new technique of brushing the inside of the piping bag with three stripes of Christmas Red Wilton Icing colour. Love how the piped buttercream looks like a candy cane.

  • One Bowl Chocolate Cupcakes 

  • 3/4 cup cocoa powder
  • 1 1/2 cups plain (all-purpose) flour
  • 1 1/2 cups sugar
  • 1 1/2 teaspoons Bicarb soda (baking soda)
  • 3/4 teaspoon baking powder
  • 3/4 teaspoon salt
  • 2 large eggs
  • 3/4 cup warm water
  • 3/4 cup buttermilk
  • 3 tablespoons vegetable oil
  • 1 teaspoon pure vanilla extract

Directions

  1. Preheat oven to 175 degrees C (350 degrees F). Line standard muffin tins with paper liners; set aside. Sift together cocoa powder, flour, sugar, baking soda, baking powder, and salt into a large bowl. Add eggs, warm water, buttermilk, oil, and vanilla, and mix until smooth, about 3 minutes. Scrape down the sides and bottom of bowl to assure batter is well mixed.
  2. Divide batter evenly among muffin cups, filling each 2/3 full. Bake until tops spring back when touched, about 20 minutes, rotating pan once if needed. Transfer to a wire rack; let cool completely.
Makes 18 cupcakes.

(Recipe from Martha Stewart)


Peppermint Buttercream

Ingredients:
125 g butter (1 stick), softened
3 cups icing (confectioners sugar)
2 – 4 tablespoons milk
1 teaspoon vanilla
red food colouring
1 candy cane, crushed
drop peppermint flavouring

Method:
Place the butter in a large mixing bowl and on medium speed of an electric mixer beat until smooth. Add the sugar, 2 tablespoons of milk, and vanilla. Beat until smooth and creamy, about 5-7 minutes. Gradually add the remaining milk or until the icing is thick enough to be of good spreading consistency. 

Paint the inside of a piping bag with three stripes of red food colouring. Place icing in piping bag with 2D Tip. Pipe swirls onto cupcakes and add candy cane sprinkles as desired.

Some of our other Candy Cane recipes include:
Chocolate Spoons
Candy Cane Milkshake


For your daily sugar fix you can subscribe or follow us on facebook, twitter, and google plus.  

Filed Under: Christmas, Cupcakes & Muffins, Recipes Tagged With: candy, candy cane

« Blog of the Month
Christmas Lolly Buffet »

Comments

  1. Ruby Jean says

    December 22, 2012 at 10:04 am

    Oh these sound and look very good. I was carefully reading through the ingredients to see if I have everything to make them. I am only missing the buttermilk ( thankfully my husband is running out to pick up the turkey 🙂 These are certainly going to get made 🙂
    Merry Christmas Ladies!
    Angelina

    Reply
  2. Celestial Charms says

    December 22, 2012 at 12:36 pm

    Delightful cupcakes, which I will definitely be making tomorrow. Hope you and your family enjoy a Merry Christmas, and blessings for the New Year.

    Reply
  3. Luna says

    December 22, 2012 at 3:48 pm

    Merry Christmas !..just found your blog visiting ” Blue dream ” ….clicked on the link and a big “surprise” a wonderful blog full of inspirations.Love your blog .Congrats!

    Luna
    My Crochet,Mis Tejidos

    Reply

Leave a Reply Cancel reply

Your email address will not be published. Required fields are marked *

  • Email
  • Facebook
  • Instagram
  • Pinterest
  • Threads
  • TikTok
SUBSCRIBE TO NEWSLETTER
×

Categories

Archives

PURCHASE PDF PATTERNS

We offer over 100 affordable PDF sewing patterns available for download from our store website or Etsy store. Each pattern includes detailed instructions, numerous photos, and templates.

WEB STORE ETSY STORE

Instagram

If you love quick, practical sewing projects, the  If you love quick, practical sewing projects, the Baker’s Buddy Mitt is such a fun one to make. It’s scrap‑friendly, gift‑ready, and perfect for anyone who loves to bake.The Bakers Buddy Mitt is 25% off this week only. Comment BAKER and I’ll send you the link to the pattern.  #SewingProject #ScrapFriendlySewing #KitchenSewing #SewingGifts #SewingCommunity
Adding a handmade label is one of my favourite way Adding a handmade label is one of my favourite ways to personalise a project — and these little fabric + felt labels are so quick and satisfying to make.For this Ribbon Pouch, I used the Liberty Gifts from the Garden collection, which has the sweetest fruit motifs. They make perfect tiny labels for pouches, bags, and gifts.Here’s how to make your own:Press a piece of double‑sided fusible web to the back of your fabric.Cut around your chosen motif.Peel off the paper backing.Press the motif onto wool felt.Trim the felt with scalloped scissors.Sew the label onto the front of your pouch.Such a simple detail, but it adds so much charm. Fabric kindly gifted by @regent_street_fabrics — thank you!If you’d like to sew the Ribbon Pouch (3 sizes), comment RIBBON and I’ll send the pattern link straight to you.#SewingInspiration #FabricLabels #DIYLabels #LibertyFabric #LibertyGiftsFromTheGarden
A lot can change in 10 years ❤️ It’s been fun look A lot can change in 10 years ❤️ It’s been fun looking back at where I was in 2016 and how far life has come since then. Swipe for a little trip down memory lane.Back in 2016, my priorities were firmly centred around family. I was working full‑time, sewing in the guest room, sharing tutorials on my blog, and slowly dipping my toes into selling a handful of patterns on Etsy. It was a busy, full season — and creativity was something I fitted in around everything else.  Fast forward to 2026… I’m now retired and living the creative life I once dreamed of. My kids have grown up and are living in their own homes nearby. My husband and I are free to travel, explore, and enjoy this stage of life. And I get to spend my days designing, sewing, and connecting with this beautiful community.Life looks different now — in the best possible way.Were you following me back then, or what has changed for you over the past 10 years? I’d love to hear your story too.Tagging the lovely makers of my quilt: @arabesquescissors @ministryoffabric @belloquacity @alittlepatchwork @sameliasmum coleandtaffy @quiltymamaof4 @shequiltsalot @downgrapevinelane @lizzierosesews @lovethatfabric @sew_mimi.k #2026isthenew2016 #10yeartransformation #sewingjourney #sewingcommunity #aspoonfulofsugardesigns
Fall in love with sewing all over again ❤️I’ve Fall in love with sewing all over again ❤️I’ve rounded up 10 heart‑themed makes — from quick gifts to charming quilt blocks — perfect for weekend stitching or using up your favourite scraps. Whether you’re sewing for Valentine’s Day, birthdays, or just because, there’s something sweet for every maker.Comment HEART and I’ll send you a link to my Heart Pattern Collection.#sewingproject #heartsewing #quiltblock #scrapsewing #easytosew
Raw edge appliqué doesn’t have to feel fiddly or i Raw edge appliqué doesn’t have to feel fiddly or intimidating. With a few simple techniques, you can create neat, crisp shapes — even tiny details like penguin beaks and hearts.I’ve put together My Top 5 Secrets for Raw Edge Appliqué to help you feel confident, whether you’re brand new to appliqué or looking to refine your finish. Save this for your next sewing session.If you’d love a quick, beginner‑friendly project to practise these tips, my Penguin Love Mugrug is the sweetest Valentine’s make — scrap‑friendly, gift‑ready, and such fun to sew.Comment PENGUIN and I’ll send you the link to the pattern. Available now in our Pattern Store and Etsy shop.  #rawedgeapplique #appliquetips #sewingtipsandtricks #mugrugpattern #penguinlove
If you’ve ever wanted to add eyelets or grommets t If you’ve ever wanted to add eyelets or grommets to your sewing projects, here’s a quick look at how I install them using my DK93 snap press. It’s the same tool I use for snaps — and it makes installing eyelets beautifully quick and consistent.For this Ribbon Pouch, I used the Liberty Gifts from the Garden collection (printed on Lasenby cotton and released in January 2026). The colours and motifs pair so well with the little ribbon tie detail.Here’s how to install the eyelets:Punch out the four holes using a hole‑cutting die.Place the eyelet into the hole.Press it into place using the snap press.That’s it — easy peasy, and it gives the pouch such an elevated, professional finish. I love how clean and sturdy the result is.Fabric is Gifts from the Garden by Liberty - kindly provided by @regent_street_fabrics — thank you!If you’d like the Ribbon Pouch pattern (it comes in 3 sizes), comment RIBBON and I’ll send the link straight to you.Ribbon Pouch Sewing Pattern: available in our Pattern Store and Etsy shop ( links in profile).#SewingInspiration #SewingProjects #Eyelets #Grommets #SnapPress
Follow on Instagram

Featured Pattern

Travel Sewing Kit Pattern

Featured Tutorial

Retro Drawstring Bag

Featured Recipe

Lemon Pound Cake

Connect

  • Email
  • Facebook
  • Instagram
  • Pinterest
  • Threads
  • TikTok
SUBSCRIBE TO NEWSLETTER
×

Popular Posts

  • Charm Square Fabric Tray
  • Merry Little Christmas Sewing Projects
  • {Back to School} Tissue Cover
  • Hexagon Fabric Tray
  • Raw Edge Applique Tips
  • Sewing Gifts 101: Easy and Affordable Ideas for Your Crafty Friends
  • Finding More Time to Sew

Copyright © 2026 Lisa. K. Cox - A Spoonful of Sugar