A Spoonful of Sugar

Make. Bake. Create.

Menu
  • Home
  • About
    • About Us
    • Press
    • FAQ
    • Disclosure Policy
    • Contact Us
  • Crafts
    • Crochet
    • DIY
    • Embroidery/Cross stitch
    • Gift Wrapping
    • Knitting
    • Miscellaneous
    • Paper Crafts
  • Holidays
    • New Year’s
    • Australia Day
    • Back to School
    • Valentines Day
    • Easter
    • ANZAC Day
    • Mother’s Day
    • Father’s Day
    • Halloween
    • Christmas
  • Recipes
    • Appetizers
    • Bars & Slices
    • Bread & Pastries
    • Cakes
    • Cookies
    • Confectionery
    • Cupcakes & Muffins
    • Desserts
    • Drinks
    • Ice Cream
    • Jams/Preserves
    • Main Meals
  • Sewing
    • Sewing Tutorials
    • Quilting
    • Sewing & Quilting Patterns
  • Family
    • Back to School
    • Family Fun
    • Our Home
    • Parenting
    • Travel
  • Shop
    • Pattern Store
    • Etsy Store

Weekend Baking: Vanilla Bean Macarons with a Salted Caramel Filling

July 16, 2011 By Spoonful of Sugar - 6 Comments

It is time for our Weekend Baking Link up again. Thanks to everyone for playing along – it is great way to find some new, tried and tested recipes, and to discover some new blogs. The prize from last week goes to Leisl from Jorth – we will be sending you a pack of our favourite Fox Run cupcake liners.
As it is school holidays here at the moment, Sarah has had plenty of time to experiment in the kitchen. This week, her pièce de résistance was undoubtedly her macarons. She made vanilla bean macarons with a salted caramel filling – they were amazing

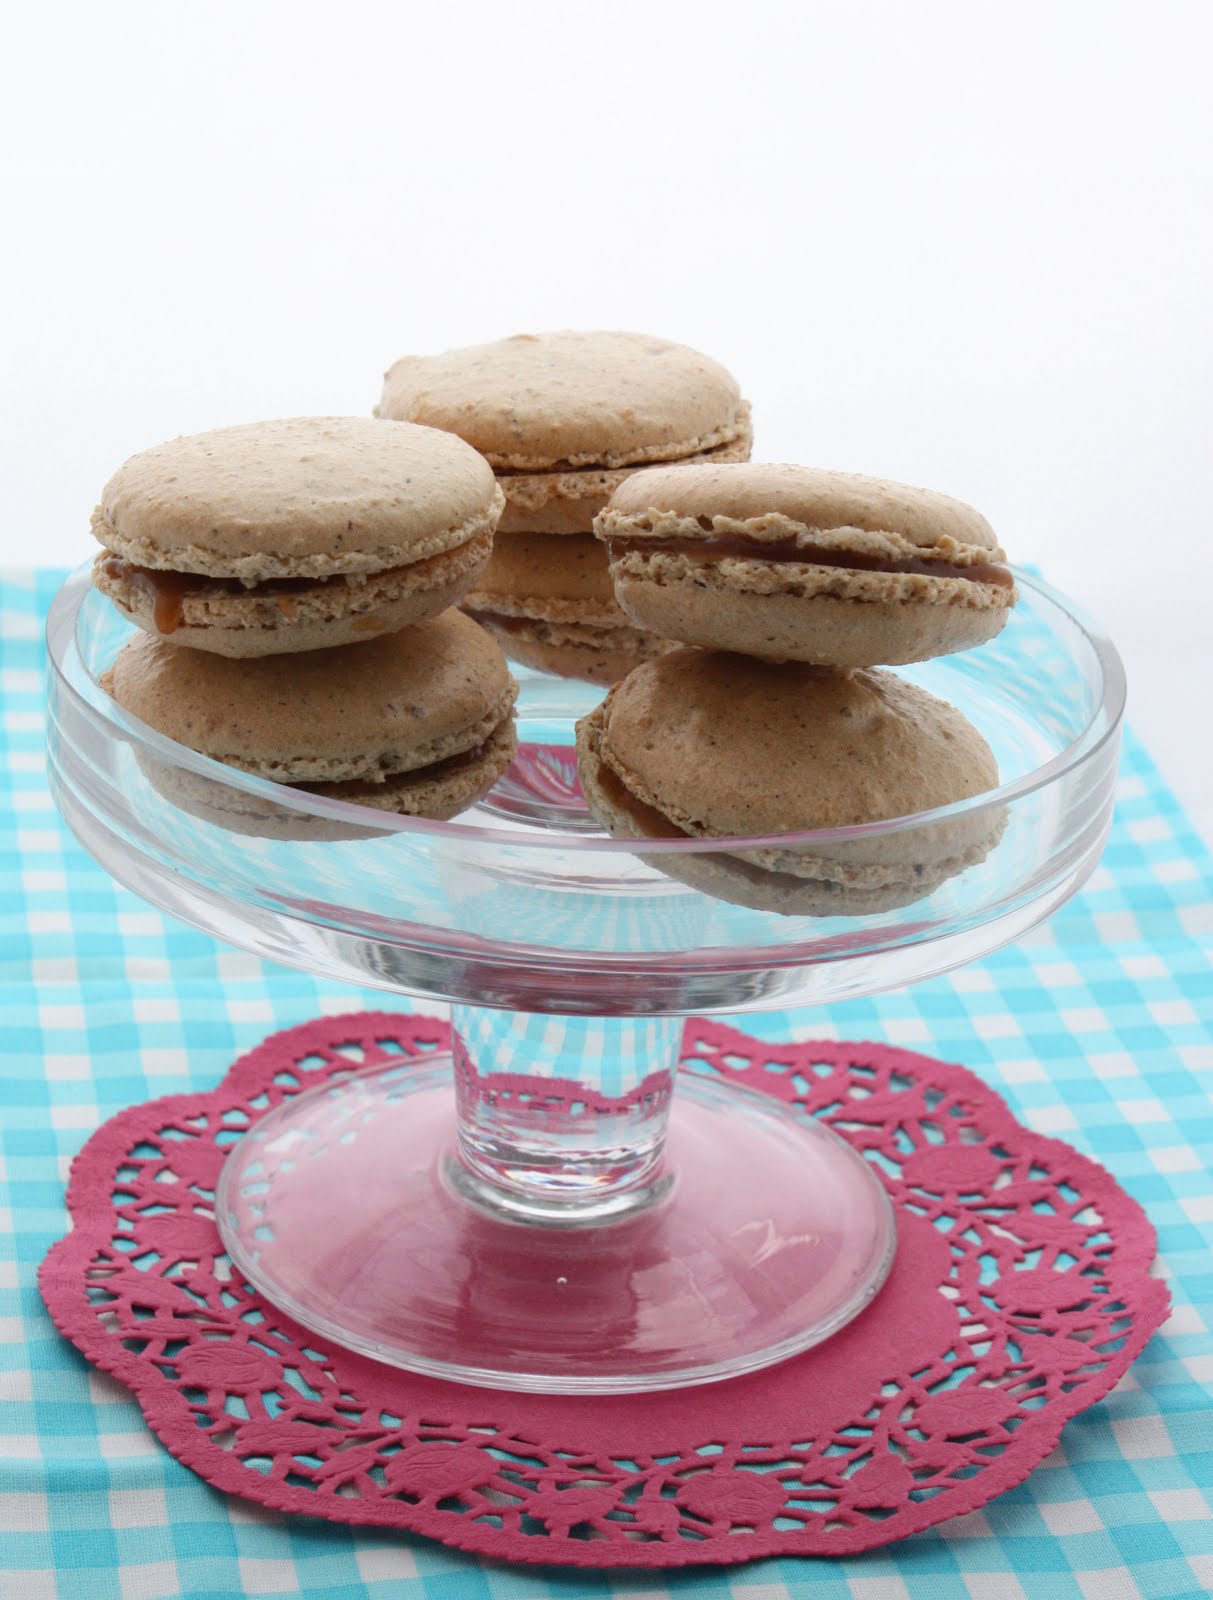
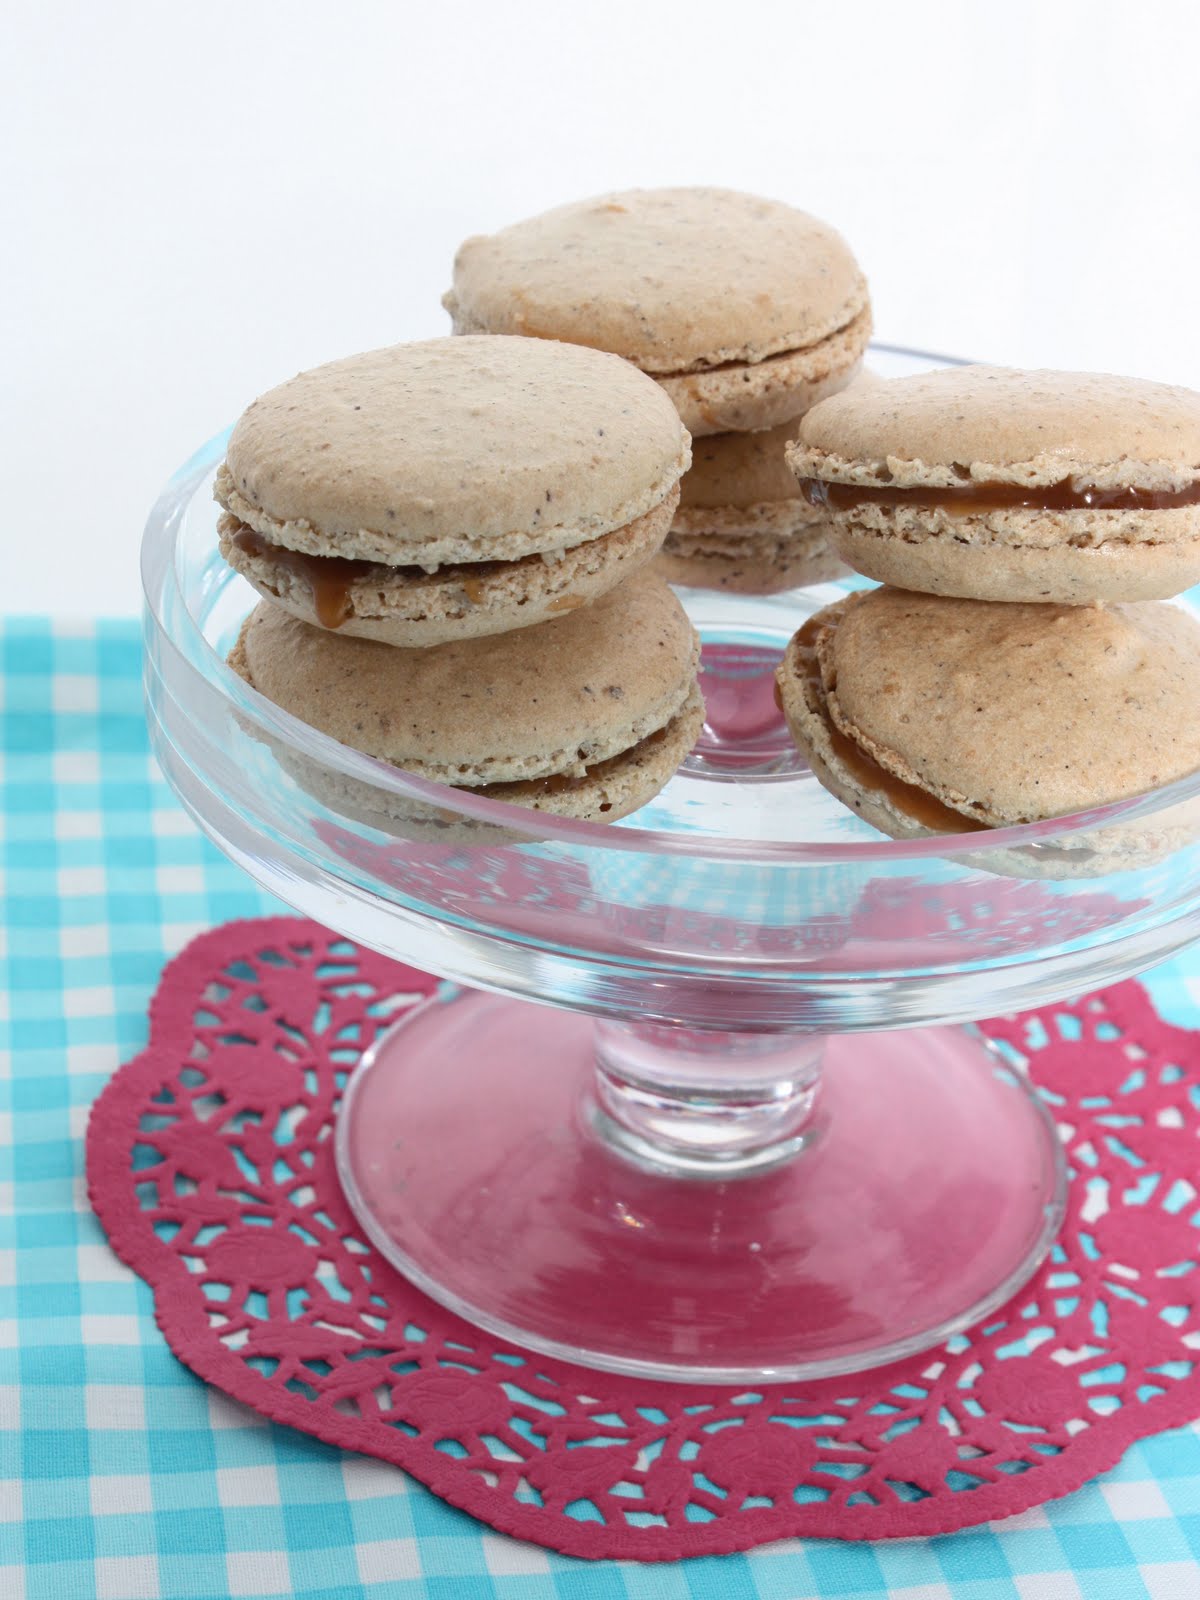
Sarah used the basic macaron recipe from Cake Journal which has helpful step by step photos and tips. She flavoured the basic mixture with 3/4 teaspoon of vanilla bean paste to give it a vanilla flavour.

Sarah filled the macarons with a salted caramel filling. This is the caramel she used in some cupcakes she made recently, and was storing the leftover filling in the fridge. She gently reheated it in the microwave until it was spreadable. If you are making it just for the macarons you would only need half this recipe.
Salted Caramel Filling (from Martha Stewart Cupcakes)
Ingredients:
2 1/2 cups sugar
2/3 cup water
1 tablespoon light corn syrup (Sarah used liquid glucose)
3/4 cup heavy whipping cream
2 1/2 teaspoons sea salt, preferably fleur de sel

Directions
Heat sugar with the water and corn syrup in a heavy saucepan over high, stirring occasionally, until syrup is clear; clip a candy thermometer to side of pan and stop stirring.

Cook until syrup comes to a boil, washing down sides of pan with a wet pastry brush as needed. Boil, gently swirling pan occasionally, until mixture is caramelized and just reaches 360°F. Remove rom heat and slowly pour in cream; stir with a wooden spoon until smooth. Stir in sea salt.

Use immediately; if caramel begins to harden reheat gently until pourable.

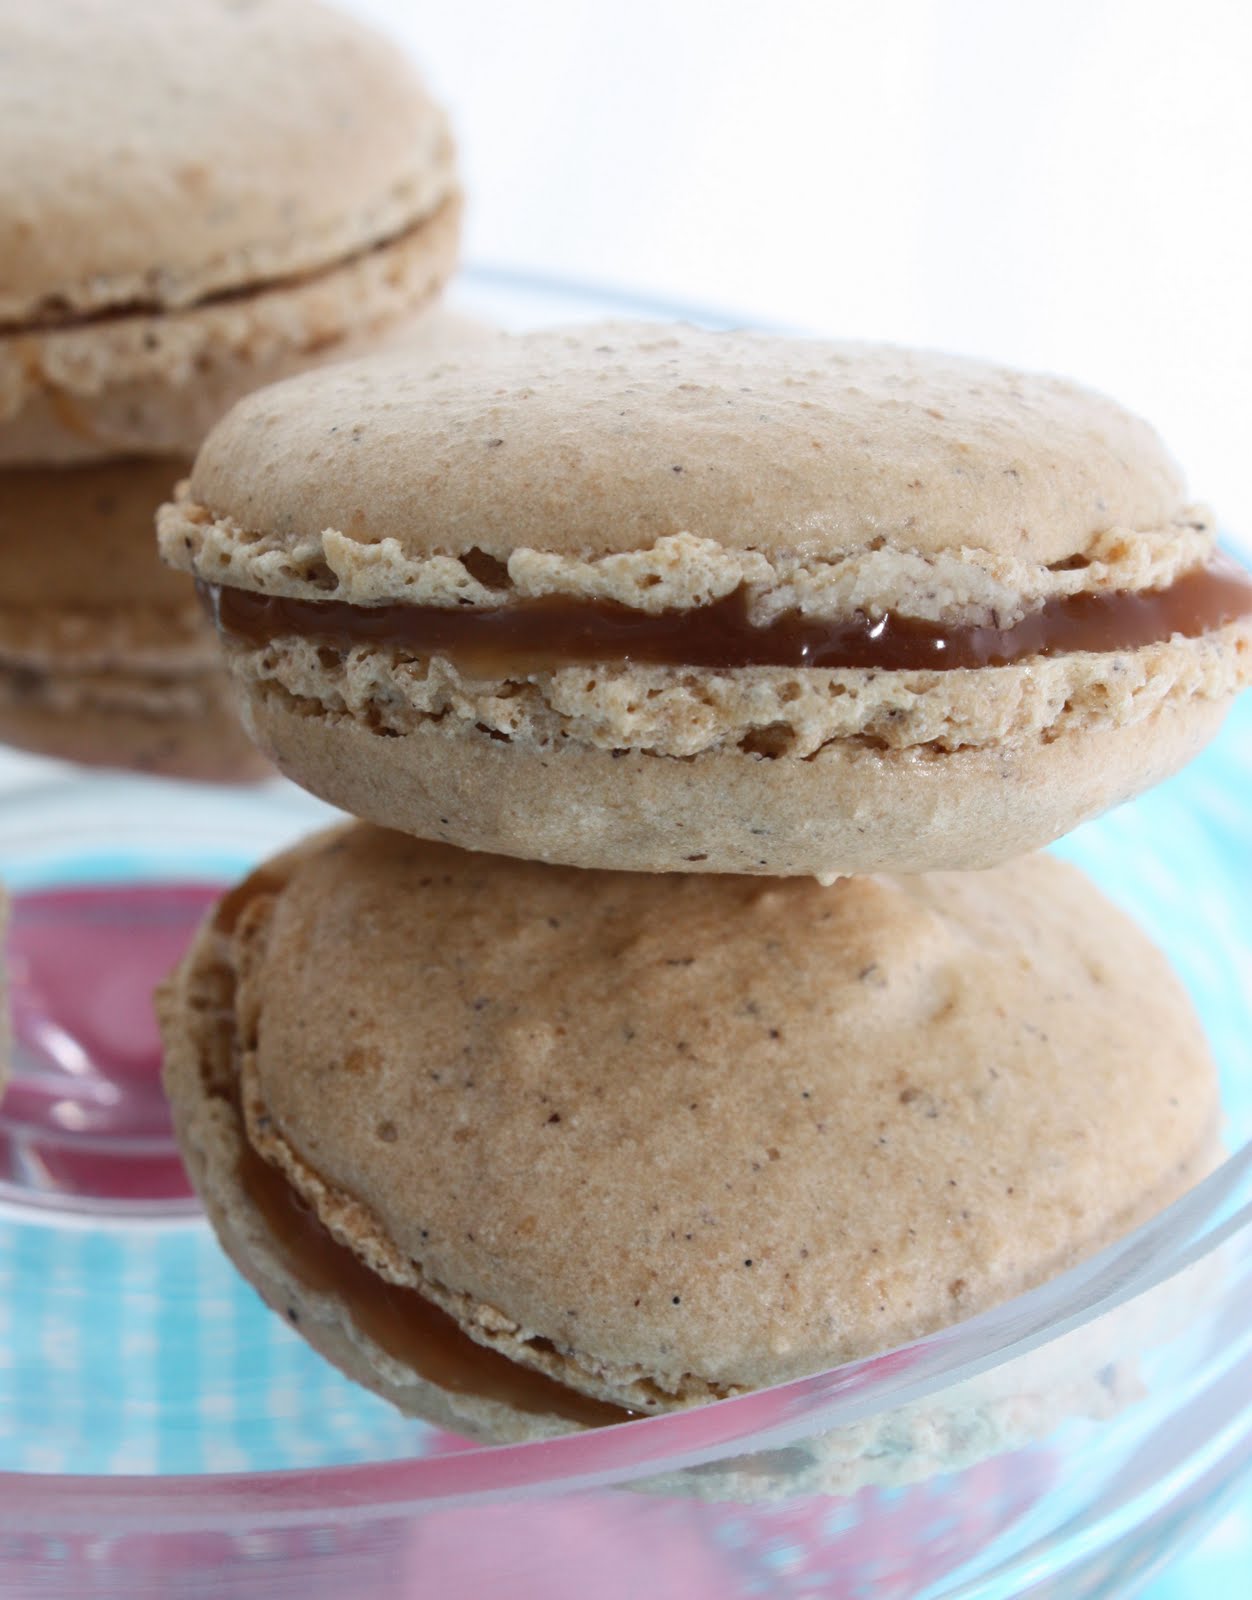
They are the perfect treat with a cup of tea.

If you have been baking this week, we would love to see what you have been up to in the kitchen. It is a great way to share some baking inspiration.

How to add your picture to the mosaic:
  • Press the ‘Add Your Link’ button at the bottom of the mosaic.
  • Enter a URL of the blog post containing your baking recipe
  • You’ll then select a specific picture from that source to appear in the linkup
  • You can edit your link if needed!
If you would like to grab our Weekend Baking Button, here it is:

Photobucket


Filed Under: Cookies, Recipes Tagged With: macarons, vanilla

« Marmalade Recipe
Slow and Steady »

Comments

  1. Nat @ dear little house says

    July 17, 2011 at 12:03 am

    They look amazing! I don’t have a link to share, with a dodgy oven at the moment I am baking vicariously through others… 🙂

    Reply
  2. Crafty Japan says

    July 17, 2011 at 12:24 am

    Too hot over here to even think about the oven! Think I’ll live vicariously through you both. Mmm, I love my macaron 🙂

    Reply
  3. Kirsty@Bonjour says

    July 17, 2011 at 12:32 am

    Ooh la la, très français! Well done Sarah!

    Reply
  4. Patchwork and Play says

    July 17, 2011 at 1:21 am

    No baking for me but I had an amazing salted caramel ice cream in Avignon the other day!!! And I am definitely buying macaroons when I get to Paris today!!! Aren’t you a clever girl for making them!! Maybe I will be feeling adventurous when I get home and try out your recipe! Thanks for sharing!

    Reply
  5. Stephanie says

    July 17, 2011 at 4:06 am

    Every time I read your blog I leave hungry! They look delicious and I just happen to be drinking my morning tea.

    Reply
  6. Leanne says

    July 17, 2011 at 5:04 am

    I have been meaning to give macaroons a try you have inspired me.

    Reply

Leave a Reply Cancel reply

Your email address will not be published. Required fields are marked *

  • Email
  • Facebook
  • Instagram
  • Pinterest
  • Threads
  • TikTok
SUBSCRIBE TO NEWSLETTER
×

Categories

Archives

PURCHASE PDF PATTERNS

We offer over 100 affordable PDF sewing patterns available for download from our store website or Etsy store. Each pattern includes detailed instructions, numerous photos, and templates.

WEB STORE ETSY STORE

Instagram

Adding a handmade label is one of my favourite way Adding a handmade label is one of my favourite ways to personalise a project — and these little fabric + felt labels are so quick and satisfying to make.For this Ribbon Pouch, I used the Liberty Gifts from the Garden collection, which has the sweetest fruit motifs. They make perfect tiny labels for pouches, bags, and gifts.Here’s how to make your own:Press a piece of double‑sided fusible web to the back of your fabric.Cut around your chosen motif.Peel off the paper backing.Press the motif onto wool felt.Trim the felt with scalloped scissors.Sew the label onto the front of your pouch.Such a simple detail, but it adds so much charm. Fabric kindly gifted by @regent_street_fabrics — thank you!If you’d like to sew the Ribbon Pouch (3 sizes), comment RIBBON and I’ll send the pattern link straight to you.#SewingInspiration #FabricLabels #DIYLabels #LibertyFabric #LibertyGiftsFromTheGarden
A lot can change in 10 years ❤️ It’s been fun look A lot can change in 10 years ❤️ It’s been fun looking back at where I was in 2016 and how far life has come since then. Swipe for a little trip down memory lane.Back in 2016, my priorities were firmly centred around family. I was working full‑time, sewing in the guest room, sharing tutorials on my blog, and slowly dipping my toes into selling a handful of patterns on Etsy. It was a busy, full season — and creativity was something I fitted in around everything else.  Fast forward to 2026… I’m now retired and living the creative life I once dreamed of. My kids have grown up and are living in their own homes nearby. My husband and I are free to travel, explore, and enjoy this stage of life. And I get to spend my days designing, sewing, and connecting with this beautiful community.Life looks different now — in the best possible way.Were you following me back then, or what has changed for you over the past 10 years? I’d love to hear your story too.Tagging the lovely makers of my quilt: @arabesquescissors @ministryoffabric @belloquacity @alittlepatchwork @sameliasmum coleandtaffy @quiltymamaof4 @shequiltsalot @downgrapevinelane @lizzierosesews @lovethatfabric @sew_mimi.k #2026isthenew2016 #10yeartransformation #sewingjourney #sewingcommunity #aspoonfulofsugardesigns
Fall in love with sewing all over again ❤️I’ve Fall in love with sewing all over again ❤️I’ve rounded up 10 heart‑themed makes — from quick gifts to charming quilt blocks — perfect for weekend stitching or using up your favourite scraps. Whether you’re sewing for Valentine’s Day, birthdays, or just because, there’s something sweet for every maker.Comment HEART and I’ll send you a link to my Heart Pattern Collection.#sewingproject #heartsewing #quiltblock #scrapsewing #easytosew
Raw edge appliqué doesn’t have to feel fiddly or i Raw edge appliqué doesn’t have to feel fiddly or intimidating. With a few simple techniques, you can create neat, crisp shapes — even tiny details like penguin beaks and hearts.I’ve put together My Top 5 Secrets for Raw Edge Appliqué to help you feel confident, whether you’re brand new to appliqué or looking to refine your finish. Save this for your next sewing session.If you’d love a quick, beginner‑friendly project to practise these tips, my Penguin Love Mugrug is the sweetest Valentine’s make — scrap‑friendly, gift‑ready, and such fun to sew.Comment PENGUIN and I’ll send you the link to the pattern. Available now in our Pattern Store and Etsy shop.  #rawedgeapplique #appliquetips #sewingtipsandtricks #mugrugpattern #penguinlove
If you’ve ever wanted to add eyelets or grommets t If you’ve ever wanted to add eyelets or grommets to your sewing projects, here’s a quick look at how I install them using my DK93 snap press. It’s the same tool I use for snaps — and it makes installing eyelets beautifully quick and consistent.For this Ribbon Pouch, I used the Liberty Gifts from the Garden collection (printed on Lasenby cotton and released in January 2026). The colours and motifs pair so well with the little ribbon tie detail.Here’s how to install the eyelets:Punch out the four holes using a hole‑cutting die.Place the eyelet into the hole.Press it into place using the snap press.That’s it — easy peasy, and it gives the pouch such an elevated, professional finish. I love how clean and sturdy the result is.Fabric is Gifts from the Garden by Liberty - kindly provided by @regent_street_fabrics — thank you!If you’d like the Ribbon Pouch pattern (it comes in 3 sizes), comment RIBBON and I’ll send the link straight to you.Ribbon Pouch Sewing Pattern: available in our Pattern Store and Etsy shop ( links in profile).#SewingInspiration #SewingProjects #Eyelets #Grommets #SnapPress
The Twirling Treasures Hot Pad & Placemat Set show The Twirling Treasures Hot Pad & Placemat Set showcases one of my favourite FPP designs — a stunning kaleidoscope‑style block that always turns out beautifully. Kaleidoscope blocks are some of my most popular FPP patterns, and this set is such a fun way to use them.  This set includes six sizes, making it incredibly versatile: use them as hot pads, trivets, placemats, or simply as a way to add a pop of colour to your kitchen.For these samples, I went with a monochromatic scrap‑busting approach, pairing fabrics from the same colour family with a low‑volume background. The black‑and‑white striped binding adds such a crisp, modern finish. It’s a wonderful project for building your FPP confidence — and a fantastic way to use up those treasured scraps.The Twirling Treasures Hot Pad set is our Pattern of the Week. It is currently 25% off this week in our Pattern Store and Etsy Shop.If you’d like to sew your own set, comment TWIRL and I’ll send the pattern link straight to you.Happy sewing! Lisa 🌸#FoundationPaperPiecing #Quilting #HotPads #ScrapBuster #KitchenSewing
Follow on Instagram

Featured Pattern

Travel Sewing Kit Pattern

Featured Tutorial

Retro Drawstring Bag

Featured Recipe

Lemon Pound Cake

Connect

  • Email
  • Facebook
  • Instagram
  • Pinterest
  • Threads
  • TikTok
SUBSCRIBE TO NEWSLETTER
×

Popular Posts

  • Charm Square Fabric Tray
  • Merry Little Christmas Sewing Projects
  • {Back to School} Tissue Cover
  • Hexagon Fabric Tray
  • Raw Edge Applique Tips
  • Sewing Gifts 101: Easy and Affordable Ideas for Your Crafty Friends
  • Finding More Time to Sew

Copyright © 2026 Lisa. K. Cox - A Spoonful of Sugar