A Spoonful of Sugar

Make. Bake. Create.

Menu
  • Home
  • About
    • About Us
    • Press
    • FAQ
    • Disclosure Policy
    • Contact Us
  • Crafts
    • Crochet
    • DIY
    • Embroidery/Cross stitch
    • Gift Wrapping
    • Knitting
    • Miscellaneous
    • Paper Crafts
  • Holidays
    • New Year’s
    • Australia Day
    • Back to School
    • Valentines Day
    • Easter
    • ANZAC Day
    • Mother’s Day
    • Father’s Day
    • Halloween
    • Christmas
  • Recipes
    • Appetizers
    • Bars & Slices
    • Bread & Pastries
    • Cakes
    • Cookies
    • Confectionery
    • Cupcakes & Muffins
    • Desserts
    • Drinks
    • Ice Cream
    • Jams/Preserves
    • Main Meals
  • Sewing
    • Sewing Tutorials
    • Quilting
    • Sewing & Quilting Patterns
  • Family
    • Back to School
    • Family Fun
    • Our Home
    • Parenting
    • Travel
  • Shop
    • Pattern Store
    • Etsy Store

Rocky Ledge Bars

September 23, 2012 By Spoonful of Sugar - 5 Comments

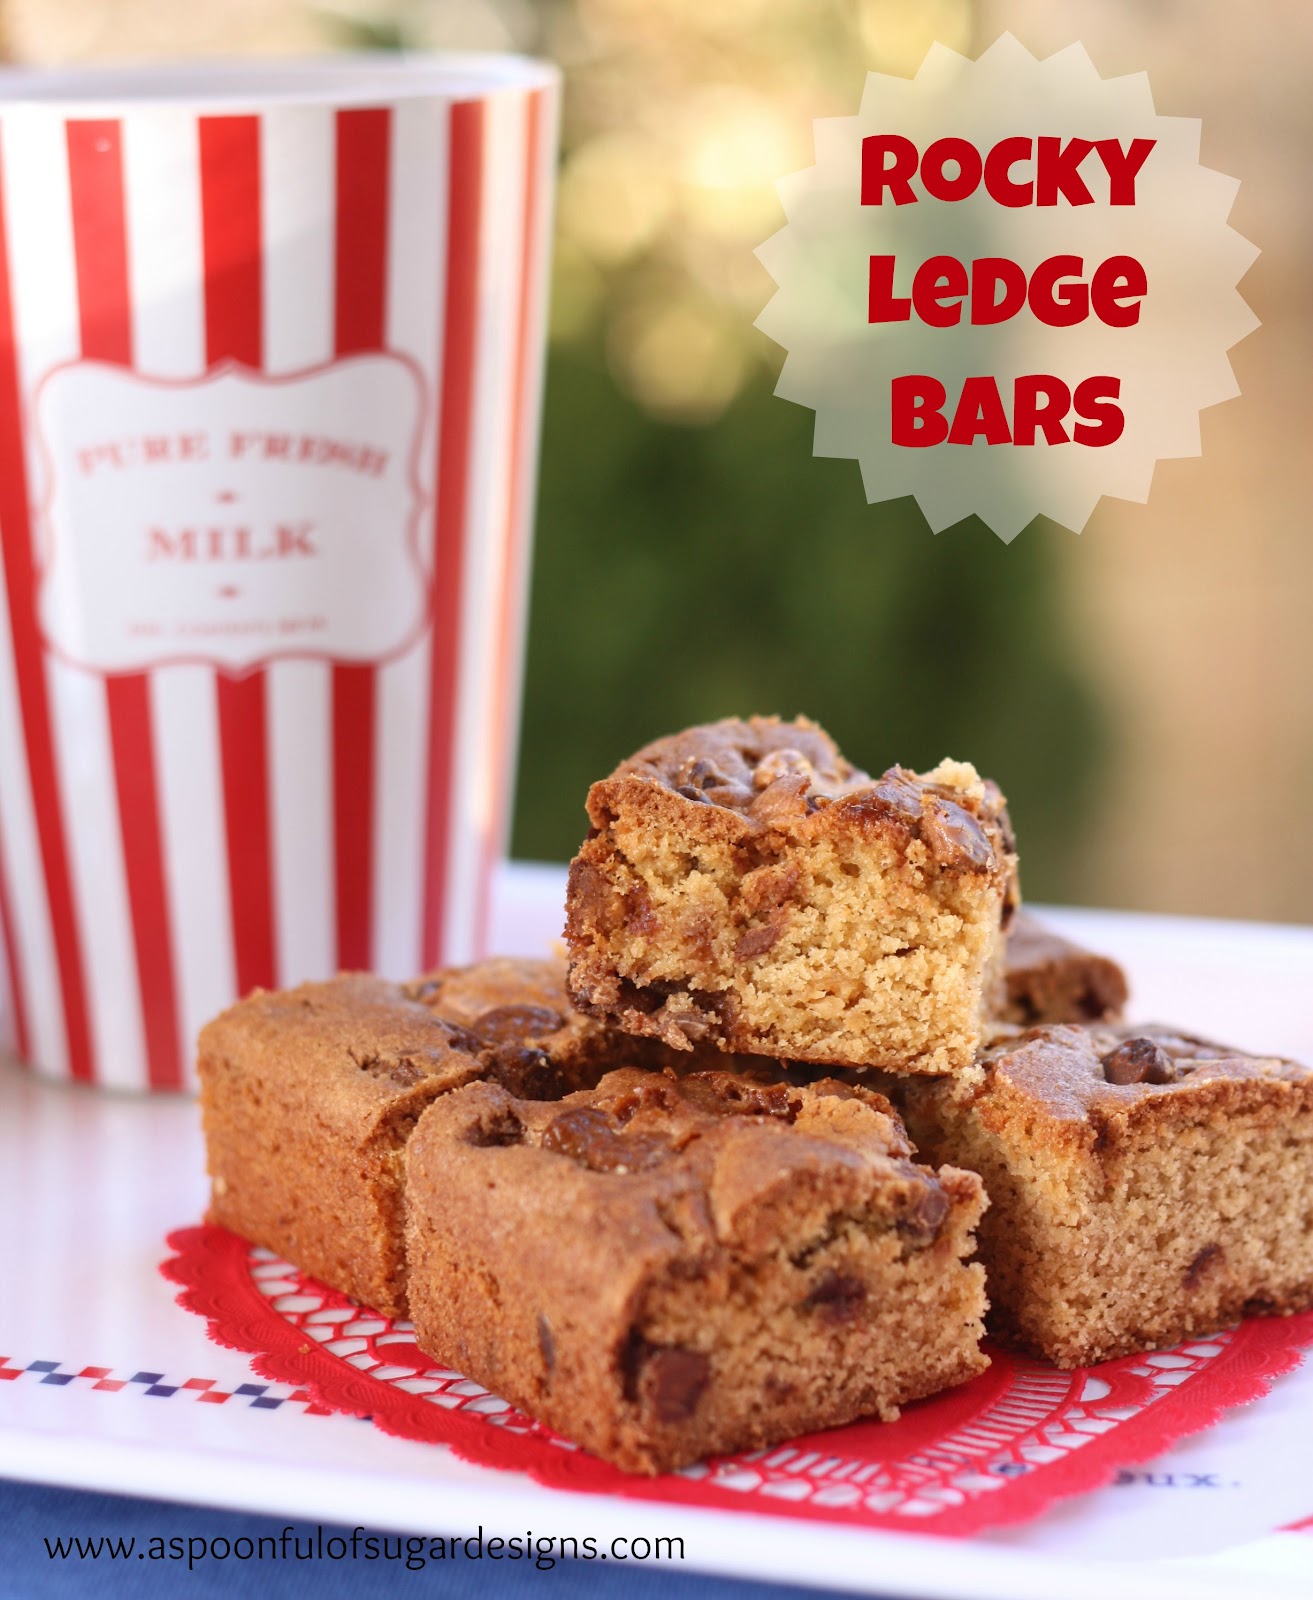
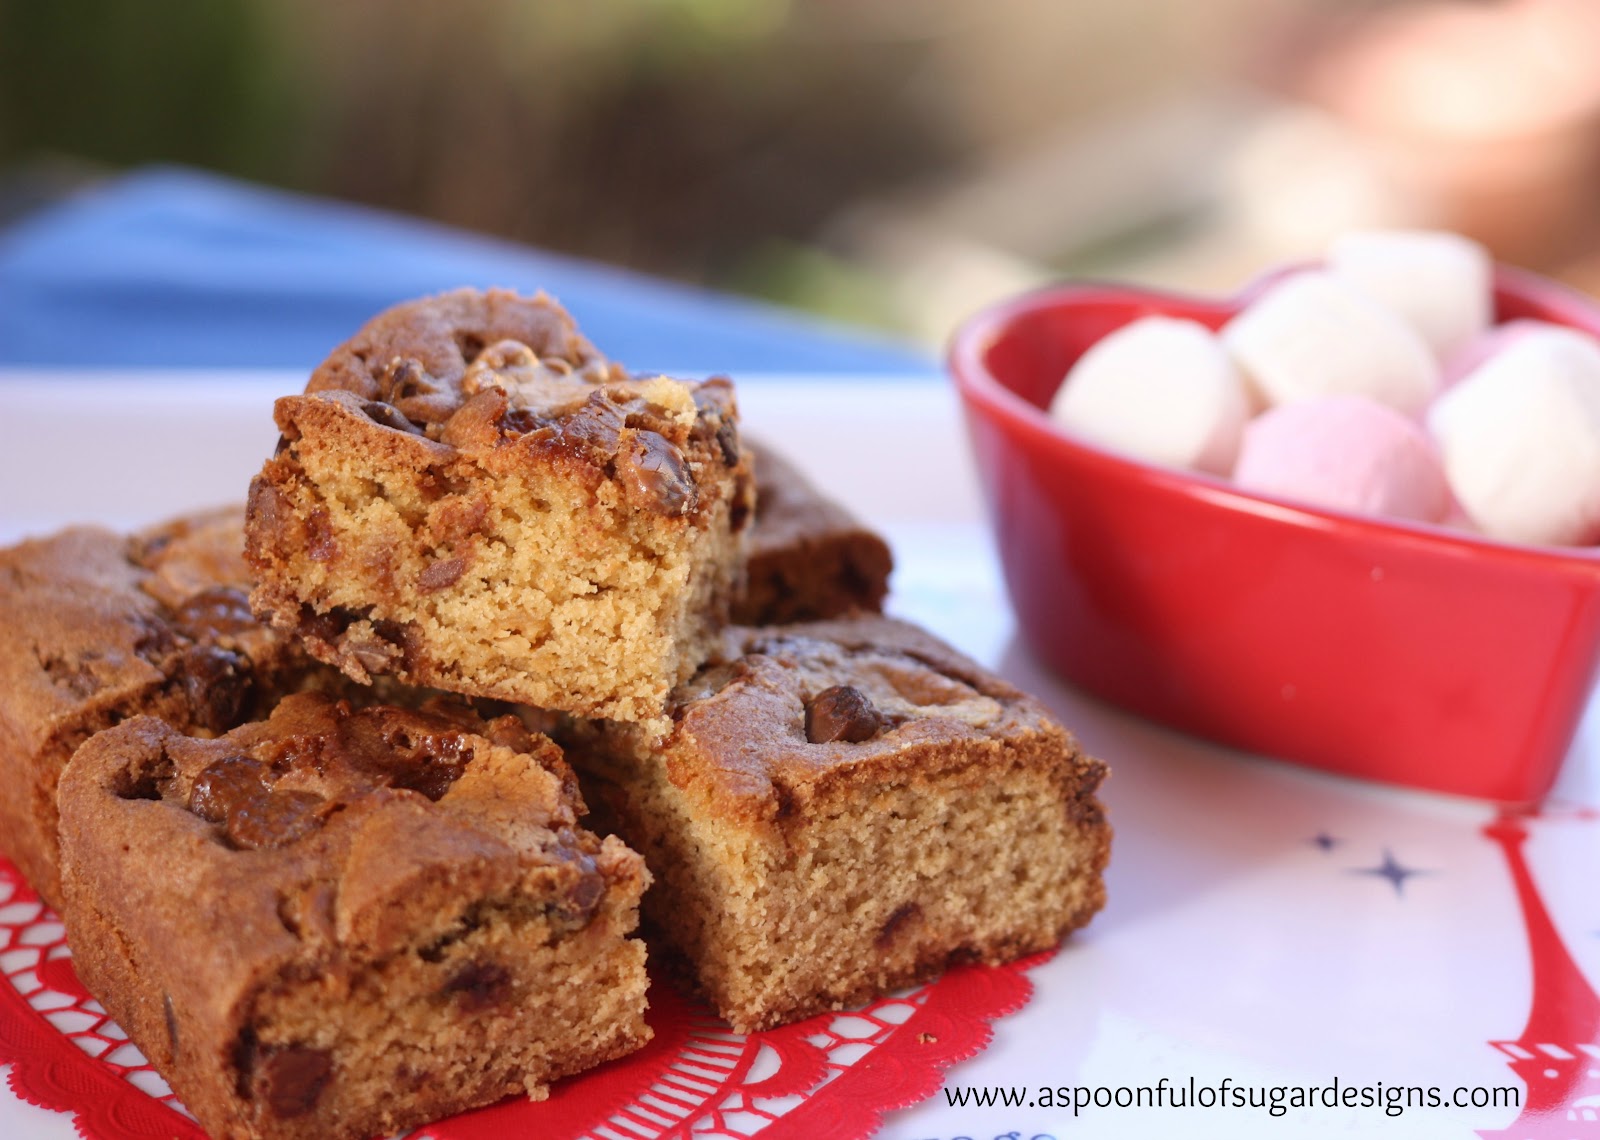
If you like chocolate brownie. you will love Rocky Ledge Bars. They have a moist, cake like consistency, and are studded with white and milk chocolate chips; caramel baking bits; and mini marshmallows.

Ingredients:

·         125 g (1 stick) unsalted butter, room temperature, plus more for pan

·         2 1/4 cups plain (all-purpose flour)

·         2 1/4 teaspoons baking powder

·         1 teaspoon coarse salt

·         1 1/2 cups packed dark-brown sugar

·         3 large eggs

·         1 teaspoon pure vanilla extract

·         1/2 cup miniature marshmallows

·         3/4 cup milk chocolate chips

·         3/4 cup white chocolate chips

·         3/4 cup caramel baking bits


Directions
1.  Preheat oven to 180 degrees C (350 degrees F). Lightly butter a brownie tin, (9-by-13-inch baking pan). Line with baking paper.
2. Whisk together flour, baking powder, and salt in a medium bowl. In the bowl of an electric mixer fitted with the paddle attachment, mix butter and brown sugar until fluffy, about 2 minutes. Add eggs and vanilla; mix until well combined. Mix in flour mixture until combined. Fold in half of each of the marshmallows, chocolates, and caramel baking bits.
3. Spread batter in prepared pan. Scatter remaining marshmallows, chocolates, butterscotch chips, and caramels on top. Bake until top is golden brown and a cake tester inserted into the centre comes out clean, about 35 minutes. Let cool on a wire rack. Lift out of pan, and transfer to a baking sheet. Refrigerate until set, at least 30 minutes. Cut into squares.
Recipe was adapted from Martha Stewart’s Rocky Ledge Bars.  Rocky Ledge Bars freeze well – so you always have a sweet treat on hand. 

For your daily sugar fix you can follow us on facebook, twitter, and google plus. 

Filed Under: Bars & Slices, Recipes

« Bonjour!
Plum Pie with Pavlova Ice-Cream »

Comments

  1. Cath says

    September 23, 2012 at 5:04 am

    They look really yummy!
    Cath @ Bits ‘n Bobs

    Reply
  2. Terriaw says

    September 23, 2012 at 9:54 am

    These do look yummy! They remind me of the chocolate chip cookie bars we like to make. Love the idea of adding mini marshmallows and caramel bits for added gooey-ness.

    Reply
  3. Celestial Charms says

    September 23, 2012 at 11:11 am

    These certainly look tasty, and fun to make too. A perfect fall delight!
    Maureen

    Reply
  4. Didee May says

    September 23, 2012 at 4:43 pm

    Oh I’m so excited. I saw the caramel bits in the supermarket a few weeks ago and said to myself that I would modify some of my white chocolate recipes to suit but now you have come up with something that sounds just delicious. I might just have to go down to the shops today…

    Reply
  5. Didee May says

    October 3, 2012 at 8:51 pm

    I made your brownies last night and took them over to a friends place this morning. They were very well received. The littlest taste tester said she would like more marshmallows next time though. Thanks for the lovely recipe!

    Reply

Leave a Reply Cancel reply

Your email address will not be published. Required fields are marked *

  • Email
  • Facebook
  • Instagram
  • Pinterest
  • Threads
  • TikTok
SUBSCRIBE TO NEWSLETTER
×

Categories

Archives

PURCHASE PDF PATTERNS

We offer over 100 affordable PDF sewing patterns available for download from our store website or Etsy store. Each pattern includes detailed instructions, numerous photos, and templates.

WEB STORE ETSY STORE

Instagram

Adding a handmade label is one of my favourite way Adding a handmade label is one of my favourite ways to personalise a project — and these little fabric + felt labels are so quick and satisfying to make.For this Ribbon Pouch, I used the Liberty Gifts from the Garden collection, which has the sweetest fruit motifs. They make perfect tiny labels for pouches, bags, and gifts.Here’s how to make your own:Press a piece of double‑sided fusible web to the back of your fabric.Cut around your chosen motif.Peel off the paper backing.Press the motif onto wool felt.Trim the felt with scalloped scissors.Sew the label onto the front of your pouch.Such a simple detail, but it adds so much charm. Fabric kindly gifted by @regent_street_fabrics — thank you!If you’d like to sew the Ribbon Pouch (3 sizes), comment RIBBON and I’ll send the pattern link straight to you.#SewingInspiration #FabricLabels #DIYLabels #LibertyFabric #LibertyGiftsFromTheGarden
A lot can change in 10 years ❤️ It’s been fun look A lot can change in 10 years ❤️ It’s been fun looking back at where I was in 2016 and how far life has come since then. Swipe for a little trip down memory lane.Back in 2016, my priorities were firmly centred around family. I was working full‑time, sewing in the guest room, sharing tutorials on my blog, and slowly dipping my toes into selling a handful of patterns on Etsy. It was a busy, full season — and creativity was something I fitted in around everything else.  Fast forward to 2026… I’m now retired and living the creative life I once dreamed of. My kids have grown up and are living in their own homes nearby. My husband and I are free to travel, explore, and enjoy this stage of life. And I get to spend my days designing, sewing, and connecting with this beautiful community.Life looks different now — in the best possible way.Were you following me back then, or what has changed for you over the past 10 years? I’d love to hear your story too.Tagging the lovely makers of my quilt: @arabesquescissors @ministryoffabric @belloquacity @alittlepatchwork @sameliasmum coleandtaffy @quiltymamaof4 @shequiltsalot @downgrapevinelane @lizzierosesews @lovethatfabric @sew_mimi.k #2026isthenew2016 #10yeartransformation #sewingjourney #sewingcommunity #aspoonfulofsugardesigns
Fall in love with sewing all over again ❤️I’ve Fall in love with sewing all over again ❤️I’ve rounded up 10 heart‑themed makes — from quick gifts to charming quilt blocks — perfect for weekend stitching or using up your favourite scraps. Whether you’re sewing for Valentine’s Day, birthdays, or just because, there’s something sweet for every maker.Comment HEART and I’ll send you a link to my Heart Pattern Collection.#sewingproject #heartsewing #quiltblock #scrapsewing #easytosew
Raw edge appliqué doesn’t have to feel fiddly or i Raw edge appliqué doesn’t have to feel fiddly or intimidating. With a few simple techniques, you can create neat, crisp shapes — even tiny details like penguin beaks and hearts.I’ve put together My Top 5 Secrets for Raw Edge Appliqué to help you feel confident, whether you’re brand new to appliqué or looking to refine your finish. Save this for your next sewing session.If you’d love a quick, beginner‑friendly project to practise these tips, my Penguin Love Mugrug is the sweetest Valentine’s make — scrap‑friendly, gift‑ready, and such fun to sew.Comment PENGUIN and I’ll send you the link to the pattern. Available now in our Pattern Store and Etsy shop.  #rawedgeapplique #appliquetips #sewingtipsandtricks #mugrugpattern #penguinlove
If you’ve ever wanted to add eyelets or grommets t If you’ve ever wanted to add eyelets or grommets to your sewing projects, here’s a quick look at how I install them using my DK93 snap press. It’s the same tool I use for snaps — and it makes installing eyelets beautifully quick and consistent.For this Ribbon Pouch, I used the Liberty Gifts from the Garden collection (printed on Lasenby cotton and released in January 2026). The colours and motifs pair so well with the little ribbon tie detail.Here’s how to install the eyelets:Punch out the four holes using a hole‑cutting die.Place the eyelet into the hole.Press it into place using the snap press.That’s it — easy peasy, and it gives the pouch such an elevated, professional finish. I love how clean and sturdy the result is.Fabric is Gifts from the Garden by Liberty - kindly provided by @regent_street_fabrics — thank you!If you’d like the Ribbon Pouch pattern (it comes in 3 sizes), comment RIBBON and I’ll send the link straight to you.Ribbon Pouch Sewing Pattern: available in our Pattern Store and Etsy shop ( links in profile).#SewingInspiration #SewingProjects #Eyelets #Grommets #SnapPress
The Twirling Treasures Hot Pad & Placemat Set show The Twirling Treasures Hot Pad & Placemat Set showcases one of my favourite FPP designs — a stunning kaleidoscope‑style block that always turns out beautifully. Kaleidoscope blocks are some of my most popular FPP patterns, and this set is such a fun way to use them.  This set includes six sizes, making it incredibly versatile: use them as hot pads, trivets, placemats, or simply as a way to add a pop of colour to your kitchen.For these samples, I went with a monochromatic scrap‑busting approach, pairing fabrics from the same colour family with a low‑volume background. The black‑and‑white striped binding adds such a crisp, modern finish. It’s a wonderful project for building your FPP confidence — and a fantastic way to use up those treasured scraps.The Twirling Treasures Hot Pad set is our Pattern of the Week. It is currently 25% off this week in our Pattern Store and Etsy Shop.If you’d like to sew your own set, comment TWIRL and I’ll send the pattern link straight to you.Happy sewing! Lisa 🌸#FoundationPaperPiecing #Quilting #HotPads #ScrapBuster #KitchenSewing
Follow on Instagram

Featured Pattern

Travel Sewing Kit Pattern

Featured Tutorial

Retro Drawstring Bag

Featured Recipe

Lemon Pound Cake

Connect

  • Email
  • Facebook
  • Instagram
  • Pinterest
  • Threads
  • TikTok
SUBSCRIBE TO NEWSLETTER
×

Popular Posts

  • Charm Square Fabric Tray
  • Merry Little Christmas Sewing Projects
  • {Back to School} Tissue Cover
  • Hexagon Fabric Tray
  • Raw Edge Applique Tips
  • Sewing Gifts 101: Easy and Affordable Ideas for Your Crafty Friends
  • Finding More Time to Sew

Copyright © 2026 Lisa. K. Cox - A Spoonful of Sugar