A Spoonful of Sugar

Make. Bake. Create.

Menu
  • Home
  • About
    • About Us
    • Press
    • FAQ
    • Disclosure Policy
    • Contact Us
  • Crafts
    • Crochet
    • DIY
    • Embroidery/Cross stitch
    • Gift Wrapping
    • Knitting
    • Miscellaneous
    • Paper Crafts
  • Holidays
    • New Year’s
    • Australia Day
    • Back to School
    • Valentines Day
    • Easter
    • ANZAC Day
    • Mother’s Day
    • Father’s Day
    • Halloween
    • Christmas
  • Recipes
    • Appetizers
    • Bars & Slices
    • Bread & Pastries
    • Cakes
    • Cookies
    • Confectionery
    • Cupcakes & Muffins
    • Desserts
    • Drinks
    • Ice Cream
    • Jams/Preserves
    • Main Meals
  • Sewing
    • Sewing Tutorials
    • Quilting
    • Sewing & Quilting Patterns
  • Family
    • Back to School
    • Family Fun
    • Our Home
    • Parenting
    • Travel
  • Shop
    • Pattern Store
    • Etsy Store

{Back to School} Mini Drawstring Pouch

January 24, 2014 By A Spoonful of Sugar - 10 Comments

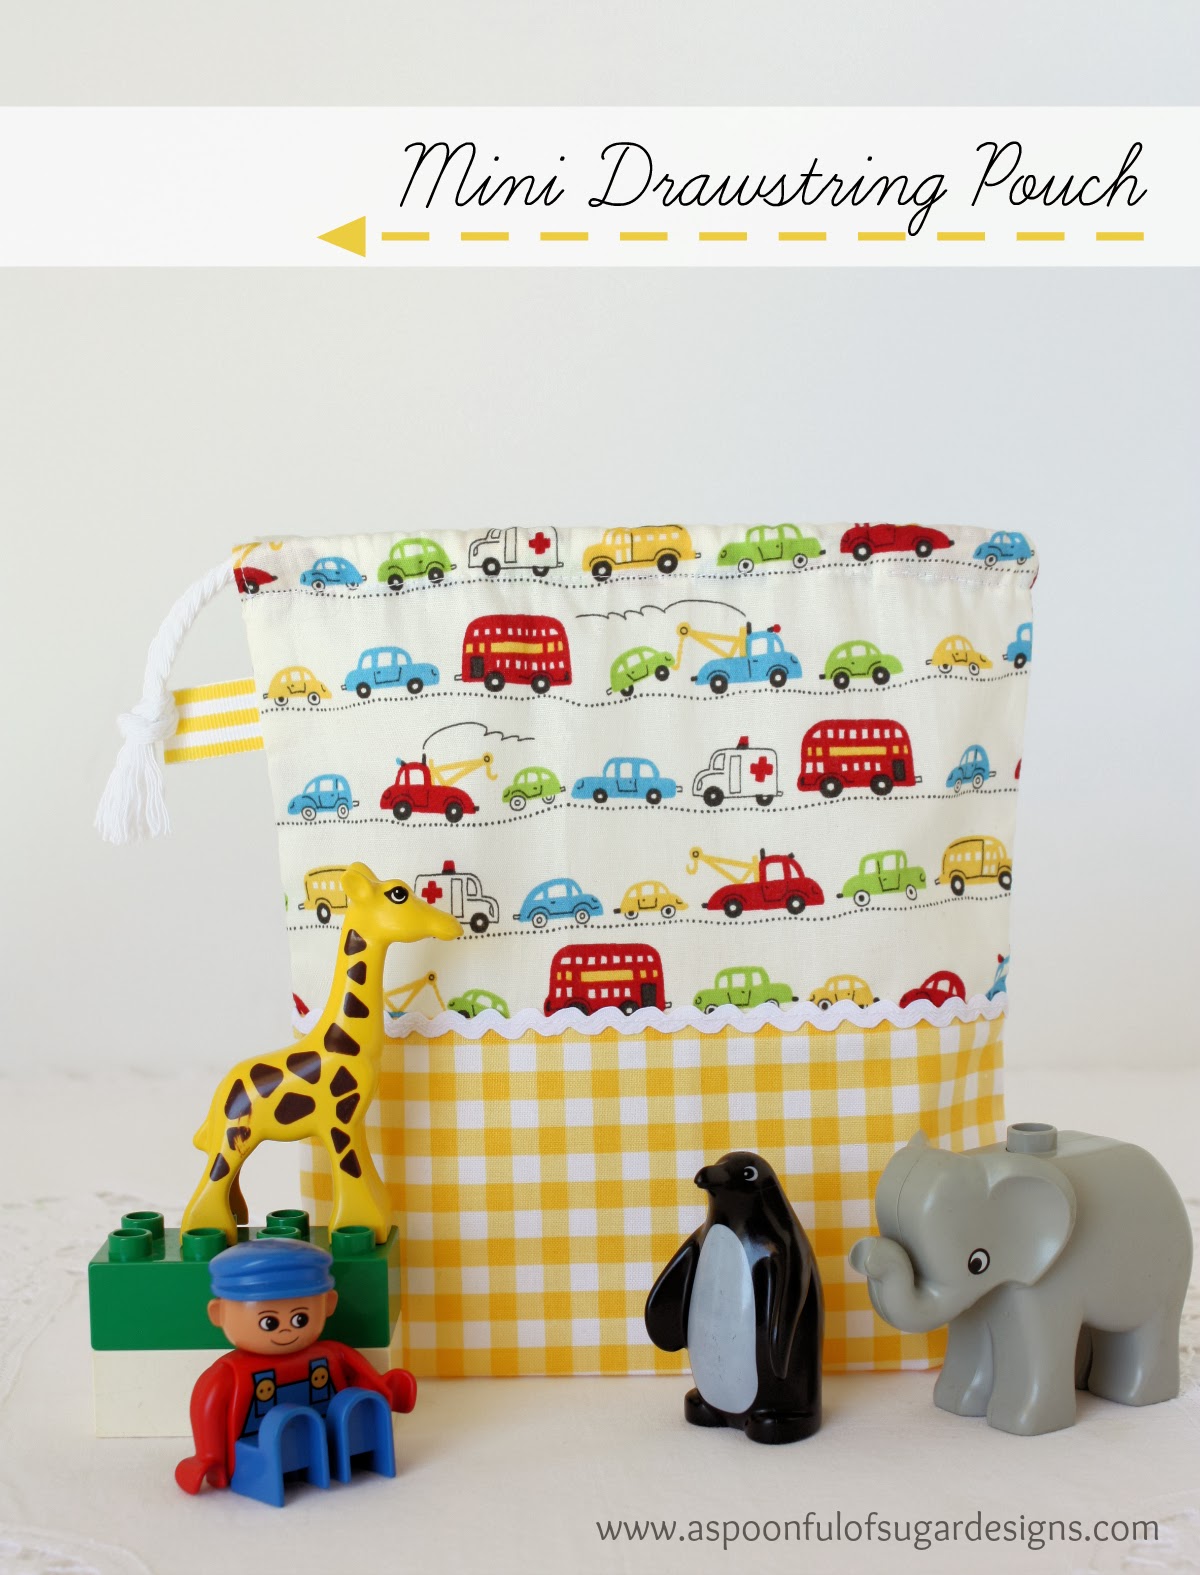
Have you ever noticed how some coffee beans come packaged in a stand up pouch? It is this style of coffee bag that inspired our latest drawstring pouch. Made with a cheerful print and partnered with some gingham, it features a stand up design with a drawstring opening. Sized at 7 3/4 inches x 7 3/4 inches, the Mini Drawstring Pouch is perfect for storing all manner of things in a school bag or suitcase (e.g. tissues, toiletries, small toys, school supplies etc).

The Mini Drawstring Pouch is a handy size and would make a fun gift for someone starting school.

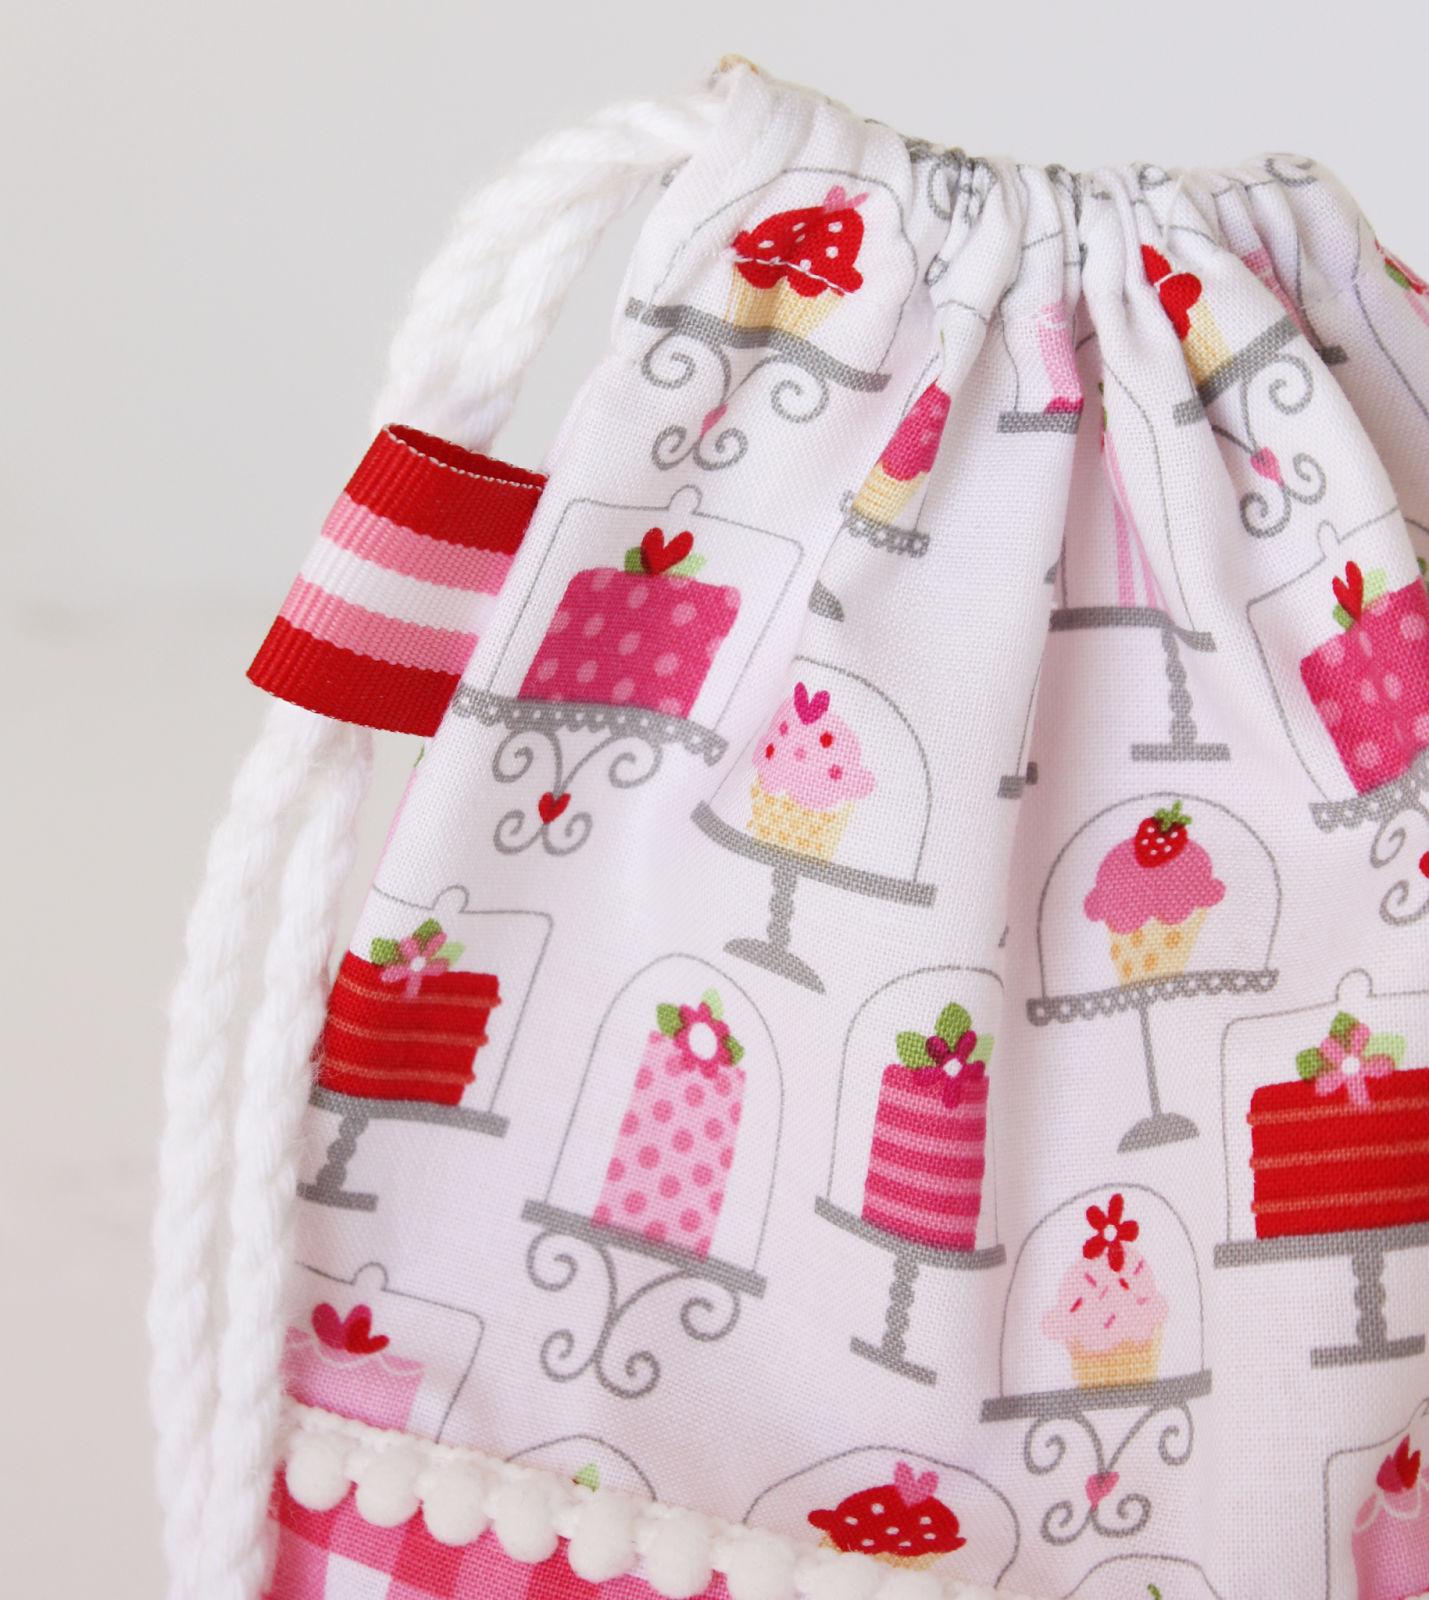
The fun part of this project is coordinating some small novelty prints with gingham/checks/dots, and adding coordinating trim and ribbon accents.

Materials:
  • Gingham fabric measuring 8 1/4 x 9 inches
  • Cut 2 pieces of fabric from a small novelty print, each measuring 8 1/4 x 6 inches
  • Ricrac or pompom trim, cut 2 lengths measuring 8 1/4 inches
  • Ribbon, cut a length measuring 2 1/2 inches
  • 24 inches piping cord
1. Using 1/4 inch seam, stitch the novelty print rectangles to each end of the gingham print, as shown below. Overlock/serge raw edges of seam allowance and press.
2. Stitch pompom trim or ricrac to each seam.
3. Fold the ribbon in half and baste in place 2 1/4 inches down from the top left hand side of the pouch.
4. Overlock the raw edges around the outside of the fabric.

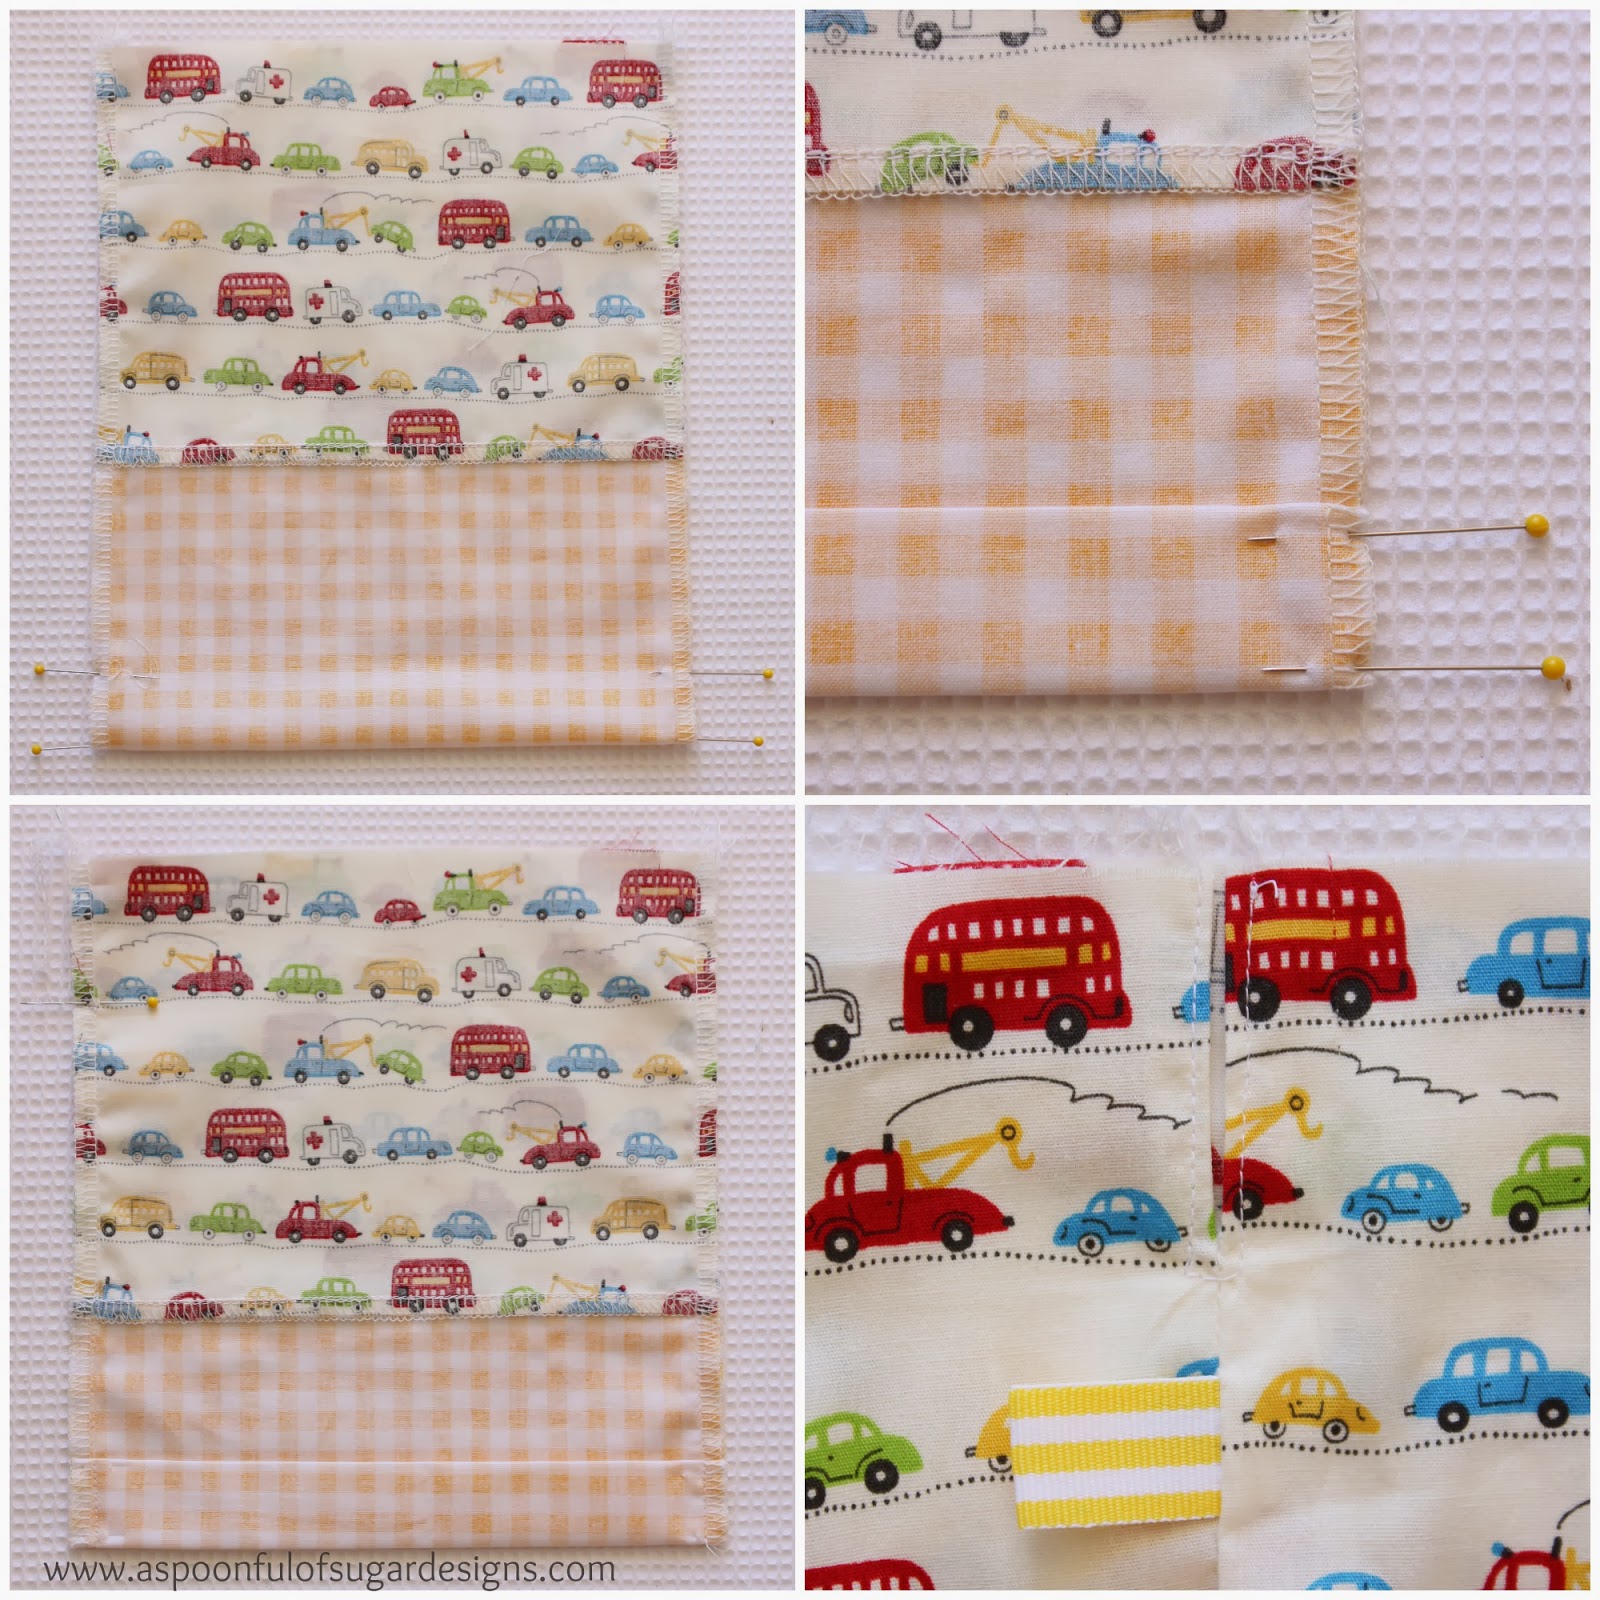
5. Fold the pouch in half with the right sides together. Use a pin to mark the bottom of the pouch and 1 inch above the fold line. Fold the bottom edge over by 1 inch and press (as shown in photo below).
6. Stitch the right hand side of the pouch from the top to the bottom, catching the fold in the bottom of the pouch. On the left hand side, stitch from 1/2 inch above the ribbon tag, to the bottom of the pouch (as marked with a pin in the photo below).
7. Stitch the seam allowance in place around the opening at the top of the left hand side of the pouch (refer to photo below).
8. Fold over 1/2 inch around the top opening of the pouch. Press. Fold over another 1/2 inch and press. Stitch in place. Thread the piping cord through the channel at the top of the pouch. Tie the ends of the cord in a knot.

Check out some of our other pouch tutorials:
Knitting and Crochet Pouch
Pretty Drawstring Pouch
Fabric Gift Pouch

Filed Under: Back to School, Sewing, Sewing Tutorials Tagged With: bag

« Origami Pinwheel Envelopes
Chewy Honey Coconut Granola Bars »

Comments

  1. Sandra says

    February 25, 2014 at 5:04 am

    I LOVE these pouches and decided to make my granddaughter one. When I folded the top to the inside 1/2 inch and then folded again 1/2 inch, the opening for the cording was on the inside of the bag. Where did I go wrong?

    Reply
    • A Spoonful of Sugar says

      February 25, 2014 at 6:44 am

      Hi Sandra – On the side of the pouch with the ribbon tag, don’t sew the top 1 3/4 inches. That way when you fold down 1/2 inch and then another 1/2 inch to make the casing, there will be the opening on the outside. Hope this is clear.

      Reply
  2. serena says

    August 13, 2014 at 10:11 am

    Beautuful !!! Where are these fabrics from?

    Reply
    • A Spoonful of Sugar says

      August 13, 2014 at 11:37 am

      Thanks Serena – the gingham is a Riley Blake gingham and comes in a large range of colours. The other fabrics I have had in my stash for a while. The car fabric is a Japanese print from “D’s Selection” produced by Junko Maisuda (Japan}.

      Reply
  3. Michele T says

    September 1, 2014 at 9:51 am

    So pretty and I love how you stitched the bottom! I don’t like squaring off the corners of bags. Just wondering, is there a way to make a lining and fold the top over rather than a drawstring? Hoping to make some bags as favors for my daughters baby shower. Thank you!

    Reply
    • A Spoonful of Sugar says

      September 1, 2014 at 4:47 pm

      Thanks Michele. If you made the lining about at least an inch longer, there should be enough fabric to fold over to make a channel for the drawstring. Enjoy planning for the baby shower!

      Reply
  4. Ginny says

    January 12, 2015 at 8:29 am

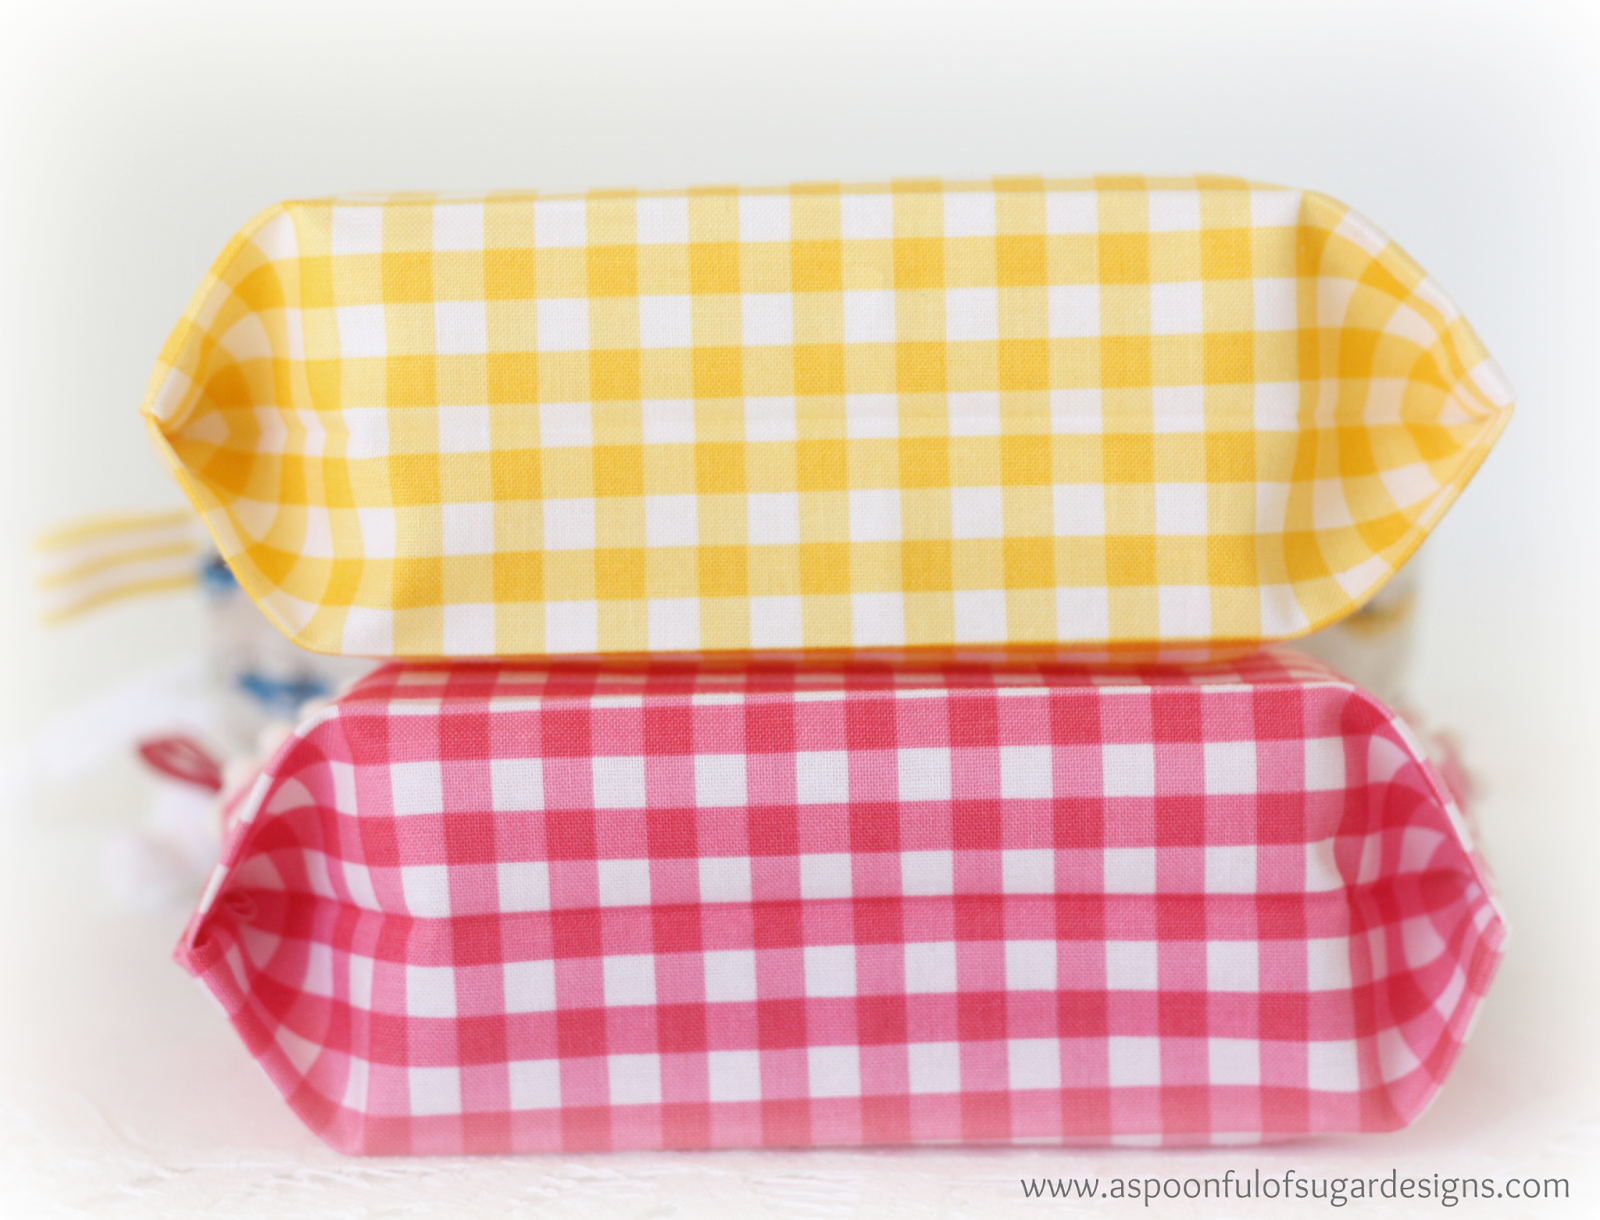
    I want to tell you how much I love this site. I have used so many of your ideas. I love this project and made several for my grand daughter. Each one has a themed fabric to match the contents. It helps her keep her toys organized. The unique pouch fold at the bottom is so much easier than traditional boxing. Thank you for sharing your great ideas.

    Reply
    • A Spoonful of Sugar says

      January 12, 2015 at 9:47 pm

      Thanks so much Ginny! Drawstring bags are great for kids toys! Have a lovely week, Lisa

      Reply
  5. Tania says

    February 21, 2015 at 1:47 am

    Love these! I made 2 today using a retro fruit print and a modern ticking fabric on bottom. They look adorable. Can’t wait to make a bunch more.

    Reply
    • A Spoonful of Sugar says

      February 22, 2015 at 9:46 am

      Thanks Tania. Fruit and ticking stripe sound like the perfect match!

      Reply

Leave a Reply Cancel reply

Your email address will not be published. Required fields are marked *

  • Email
  • Facebook
  • Instagram
  • Pinterest
  • Threads
  • TikTok
SUBSCRIBE TO NEWSLETTER
×

Categories

Archives

PURCHASE PDF PATTERNS

We offer over 100 affordable PDF sewing patterns available for download from our store website or Etsy store. Each pattern includes detailed instructions, numerous photos, and templates.

WEB STORE ETSY STORE

Instagram

Meet the sweetest little project you can sew in mi Meet the sweetest little project you can sew in minutes — the Pyramid Weight. Use it as a pattern weight, scented sachet, or even a book weight… all from one triangle of fabric. Comment PYRAMID for the free pattern.Fabric is Something Blue by Tilda, releasing 1 June 2026 — with thanks to @tilda_australia.#tildasomethingblue #tildafabric #freepattern #sewingtutorial #sewinglove
The Scrappy Strips Pouch is one of my favourite wa The Scrappy Strips Pouch is one of my favourite ways to use up leftover fabric strings. Today’s version is made from patchwork strips — a fun, relaxing sew that turns scraps into something beautiful and practical.The Scrappy Strips Pouch pattern has two versions - patchwork strings and selvedges - and two sizes. Comment SELVEDGE (or SELVAGE) for a link to the pattern.Pattern Details: Scrappy Strips Pouch Sewing Pattern is in our Pattern Store and Etsy Shop.#ScrappyStripsPouch #ScrapBustingSewing #PatchworkPouch #StringQuilting #SewingProjects
If you’ve ever wanted to add eyelets or grommets t If you’ve ever wanted to add eyelets or grommets to your sewing projects, here’s a quick look at how I install them using my DK93 snap press. It’s the same tool I use for snaps — and it makes installing eyelets beautifully quick and consistent.Here’s how I install the eyelets:Punch out the four holes using a hole‑cutting die.Place the eyelet into the hole.Press it into place using the snap press.That’s it — simple, sturdy, and it gives the Ribbon Pouch such an elevated, professional finish. I love how clean and secure the result is.Fabric shown: Tilda Something Blue, releasing June 1 — thank you @tilda_australia for the beautiful fabric.✨ If you’d like the Ribbon Pouch pattern (3 sizes), comment RIBBON and I’ll send the link straight to you.Ribbon Pouch Sewing Pattern: available in my Pattern Store and Etsy Shop (links in profile).#tildasomethingblue #tildafabric #sewingtips #handmadeeveryday #sewingtools
The Ribbon Pouch is one of my favourite quick‑to‑s The Ribbon Pouch is one of my favourite quick‑to‑sew gift bags, and I couldn’t resist making a light and dark version using the new Tilda Something Blue collection. Both pouches use the same print in different colourways — such a pretty way to show how fabric choice changes the whole mood.They’re finished with satin ribbon threaded through grommets, and topped with a tiny star tag. The boxed base helps them stand beautifully, and the ribbon closure makes them perfect for birthdays, thank‑you gifts, treats, or little treasures.This is a beginner‑friendly, scrap‑friendly, quick project you’ll want to sew again and again. Pattern includes 3 sizes.If you’d like the pattern, comment RIBBON and I’ll send the link straight to you.Pattern Details: Ribbon Pouch (3 Sizes) available in my Pattern Store and Etsy Shop.Fabric Details: Tilda Something Blue - releasing on 1 June 2026. Thanks to @tilda_australia#TildaSomethingBlue #TildaFabric #SewingPattern #BeginnerSewingProject #QuickSewingProject   
Sewing with scraps is one of my favourite ways to Sewing with scraps is one of my favourite ways to get creative — small pieces, leftover corners, charm‑square offcuts… they all have so much potential.Here are 10 scrap‑friendly projects that use small pieces beautifully. They’re quick to sew, beginner‑friendly, and perfect for gifting ✂️✨Save this for the next time you want to turn your scraps into something pretty.Which one would you sew first?  Tell me in the comments — I love seeing what you’re making.Patterns are available in my pattern store (link in profile) or comment PATTERNS and I will send you the link. #scrapsewing #scrapbusting #scrapfriendly #sewinginspiration #sewingideas
I save every selvedge (or selvage) — the colour do I save every selvedge (or selvage) — the colour dots, the tiny prints, the designer names… they’re too pretty to throw away.Here’s how I turn them into something useful:
• lay them diagonally on a square of fusible interfacing
• overlap slightly
• stitch close to the printed edge
• keep building until you have a panelIt’s such a fun way to use scraps and create something totally unique ✂️✨If you’d like the Scrappy Strips Pouch pattern, comment SELVEDGE or SELVAGE and I’ll send you the link.Pattern Details: Scrappy Strips Pouch Pattern is available in my Pattern Store and Etsy Shop.#scrappystripspouch #selvage #scrapbuster #sewingcommunity #sewingtip
Follow on Instagram

Featured Pattern

Travel Sewing Kit Pattern

Featured Tutorial

Retro Drawstring Bag

Featured Recipe

Lemon Pound Cake

Connect

  • Email
  • Facebook
  • Instagram
  • Pinterest
  • Threads
  • TikTok
SUBSCRIBE TO NEWSLETTER
×

Popular Posts

  • Cord Cosy
  • Tips for Threading a Needle
  • Travel Accessories to Sew
  • Liberty Tissue Cover
  • Charm Square Fabric Tray
  • Happy Scrappy Cards
  • Life Lessons from Sewing and Quilting

Copyright © 2026 Lisa. K. Cox - A Spoonful of Sugar