A Spoonful of Sugar

Make. Bake. Create.

Menu
  • Home
  • About
    • About Us
    • Press
    • FAQ
    • Disclosure Policy
    • Contact Us
  • Crafts
    • Crochet
    • DIY
    • Embroidery/Cross stitch
    • Gift Wrapping
    • Knitting
    • Miscellaneous
    • Paper Crafts
  • Holidays
    • New Year’s
    • Australia Day
    • Back to School
    • Valentines Day
    • Easter
    • ANZAC Day
    • Mother’s Day
    • Father’s Day
    • Halloween
    • Christmas
  • Recipes
    • Appetizers
    • Bars & Slices
    • Bread & Pastries
    • Cakes
    • Cookies
    • Confectionery
    • Cupcakes & Muffins
    • Desserts
    • Drinks
    • Ice Cream
    • Jams/Preserves
    • Main Meals
  • Sewing
    • Sewing Tutorials
    • Quilting
    • Sewing & Quilting Patterns
  • Family
    • Back to School
    • Family Fun
    • Our Home
    • Parenting
    • Travel
  • Shop
    • Pattern Store
    • Etsy Store

A Pressing Matter

November 26, 2012 By A Spoonful of Sugar - 3 Comments

We are often asked for sewing tips and advice on how we achieve a professional finish on our sewing, quilting and dressmaking projects. One of the most important things, in our opinion, is regularly pressing and ironing the fabric at every stage of the construction. This results in the fabric sitting nice and flat before you sew.

A good iron is an essential part of your sewing tools. Successful sewing relies on successful pressing. Without the correct pressing equipment, sewing can look too “home made”. Well pressed projects have a neat professional finish.

What you need:

  • Good quality steam iron, preferably a steam generator iron
  • A sturdy, height adjustable ironing board
  • Pressing cloth – this will stop the iron marking the fabric or leaving a shine
  • Appliqué mat for any appliqué projects or for when applying fusible interfacings

Many of the fabrics we use, including linen and cotton, have a tendency to wrinkle, so we are constantly ironing. We don’t have room in our sewing room/guest room to set up the iron and ironing board. We use the adjacent laundry and have the ironing board and iron set up. We have an extra large ironing board (135 x 45 cm/53 x 18 inches) which gives us more room to lay out our fabrics, when we have a work in progress. It also has a shelf at the side to hold the iron. It is heavy duty, height adjustable, and sturdy.

We love an iron that has great steam power – which makes ironing so much easier. A Steam Generator iron holds a large tank of water which will keep you sewing and ironing all day without running out of steam. You also need an iron that has adjustable settings so that it is suited for all types of fabrics from silks through to linens. We usually use a Rajah Cloth for pressing.

Having an automatic turn-off feature is something we look for. I can be easily distracted when working on a new project and it prevents me from leaving the iron turned on. There is nothing worse that leaving the house to do school pick-up, only to worry that you have left the iron on.

Look after your iron and clean it regularly (following manufacturers instructions). There is nothing worse that have an iron that leaks onto your project leaving dirty marks. If you are using your iron for appliqué  make sure you use an appliqué mat so that the sticky adhesive doesn’t end up on the soleplate of your iron. This can ruin a project.

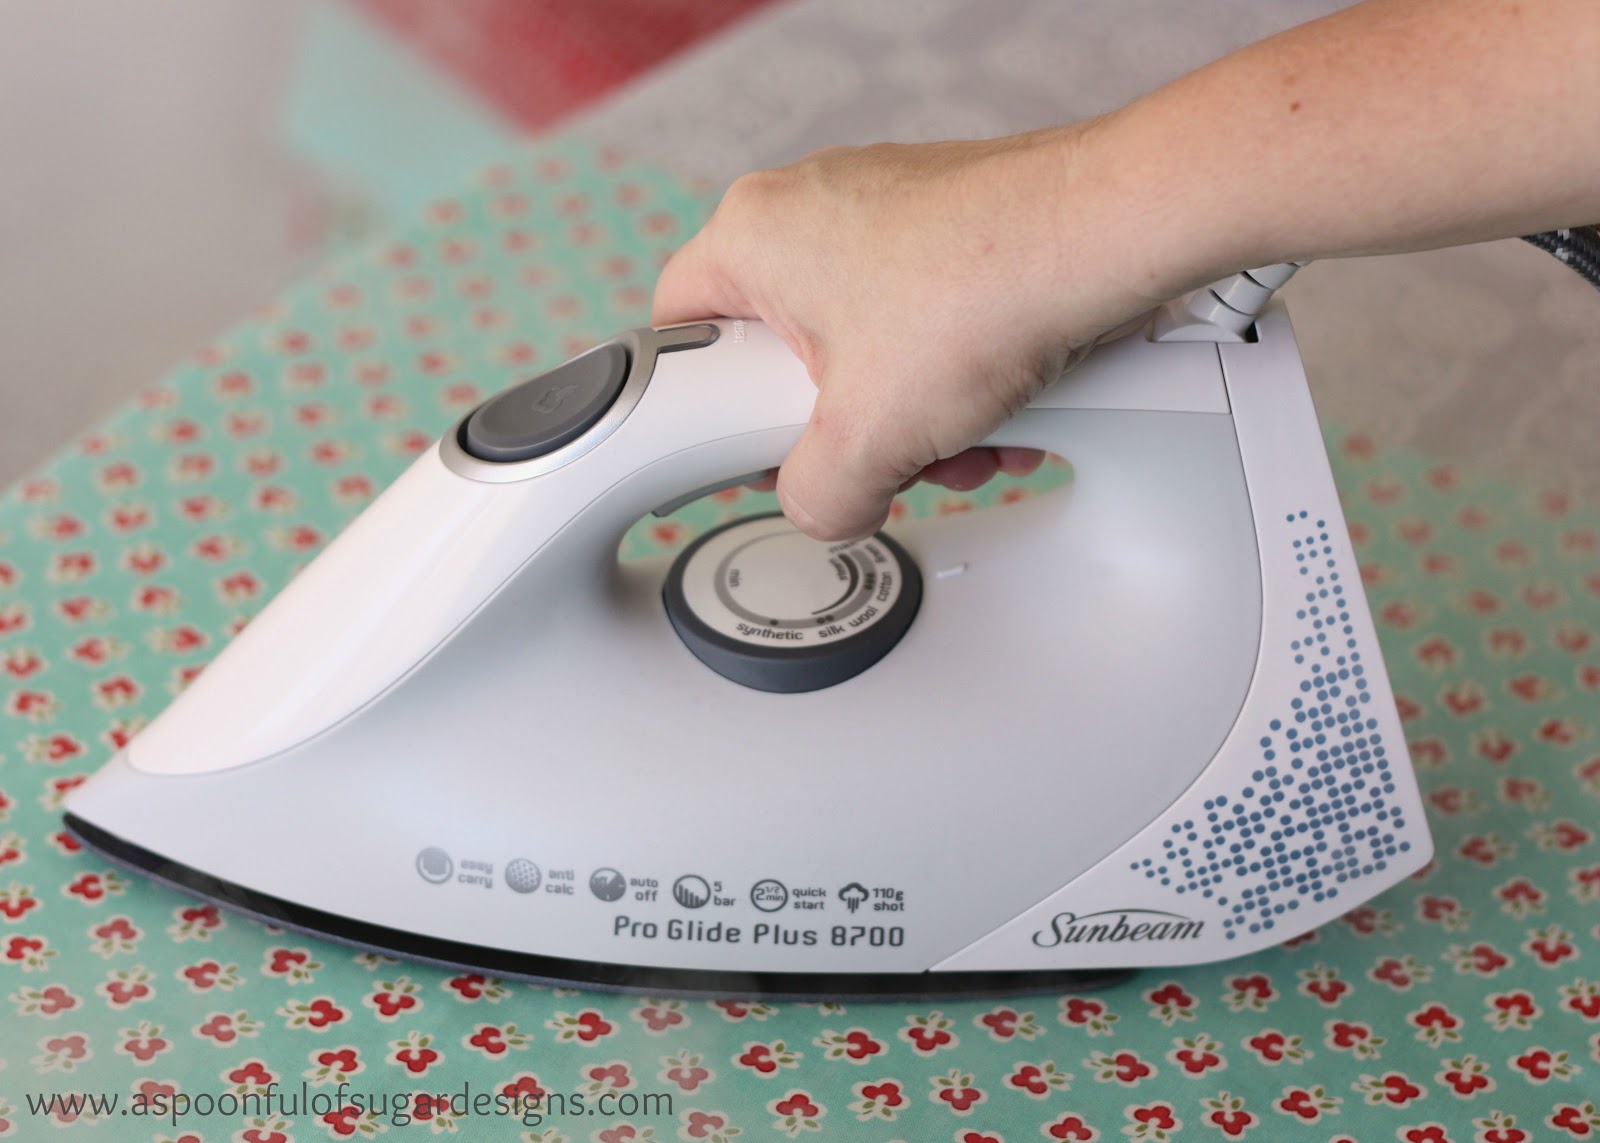
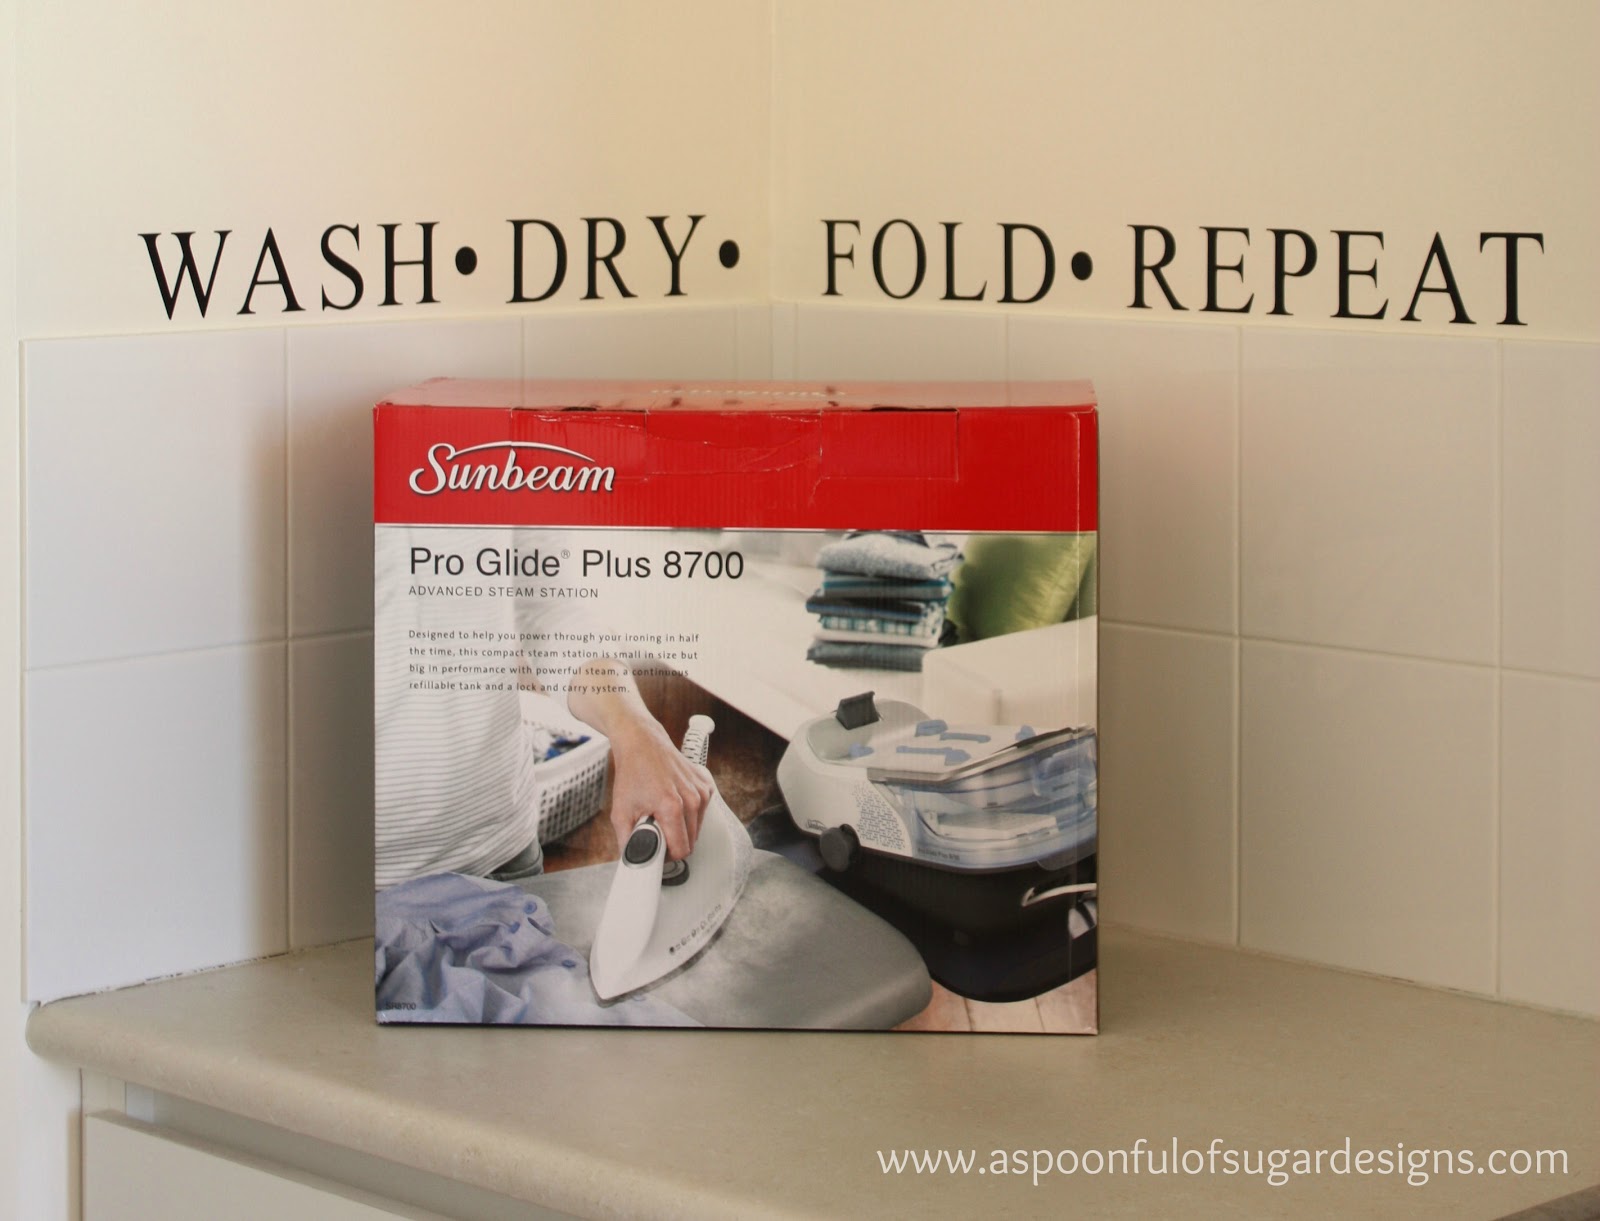
The lovely people at Sunbeam recently sent us a Sunbeam ProGlide Plus (SR8700) Steam Generator Iron to put through its paces. Please be aware that I am one of the 5% of Australians that categorize themselves as ironing obsessives (Yes, that means I iron tea towels, pillowcases, tablecloths, all clothing. I do however draw the line at ironing underwear!). I used the iron over the weekend to iron business shirts, school uniforms, work uniforms, and general clothing; and then today to press fabrics for my next project! (I love Vintage Modern fabric – hope to share a new tutorial next week!)

What we liked about the Sunbeam ProGlide Plus (RRP $399)

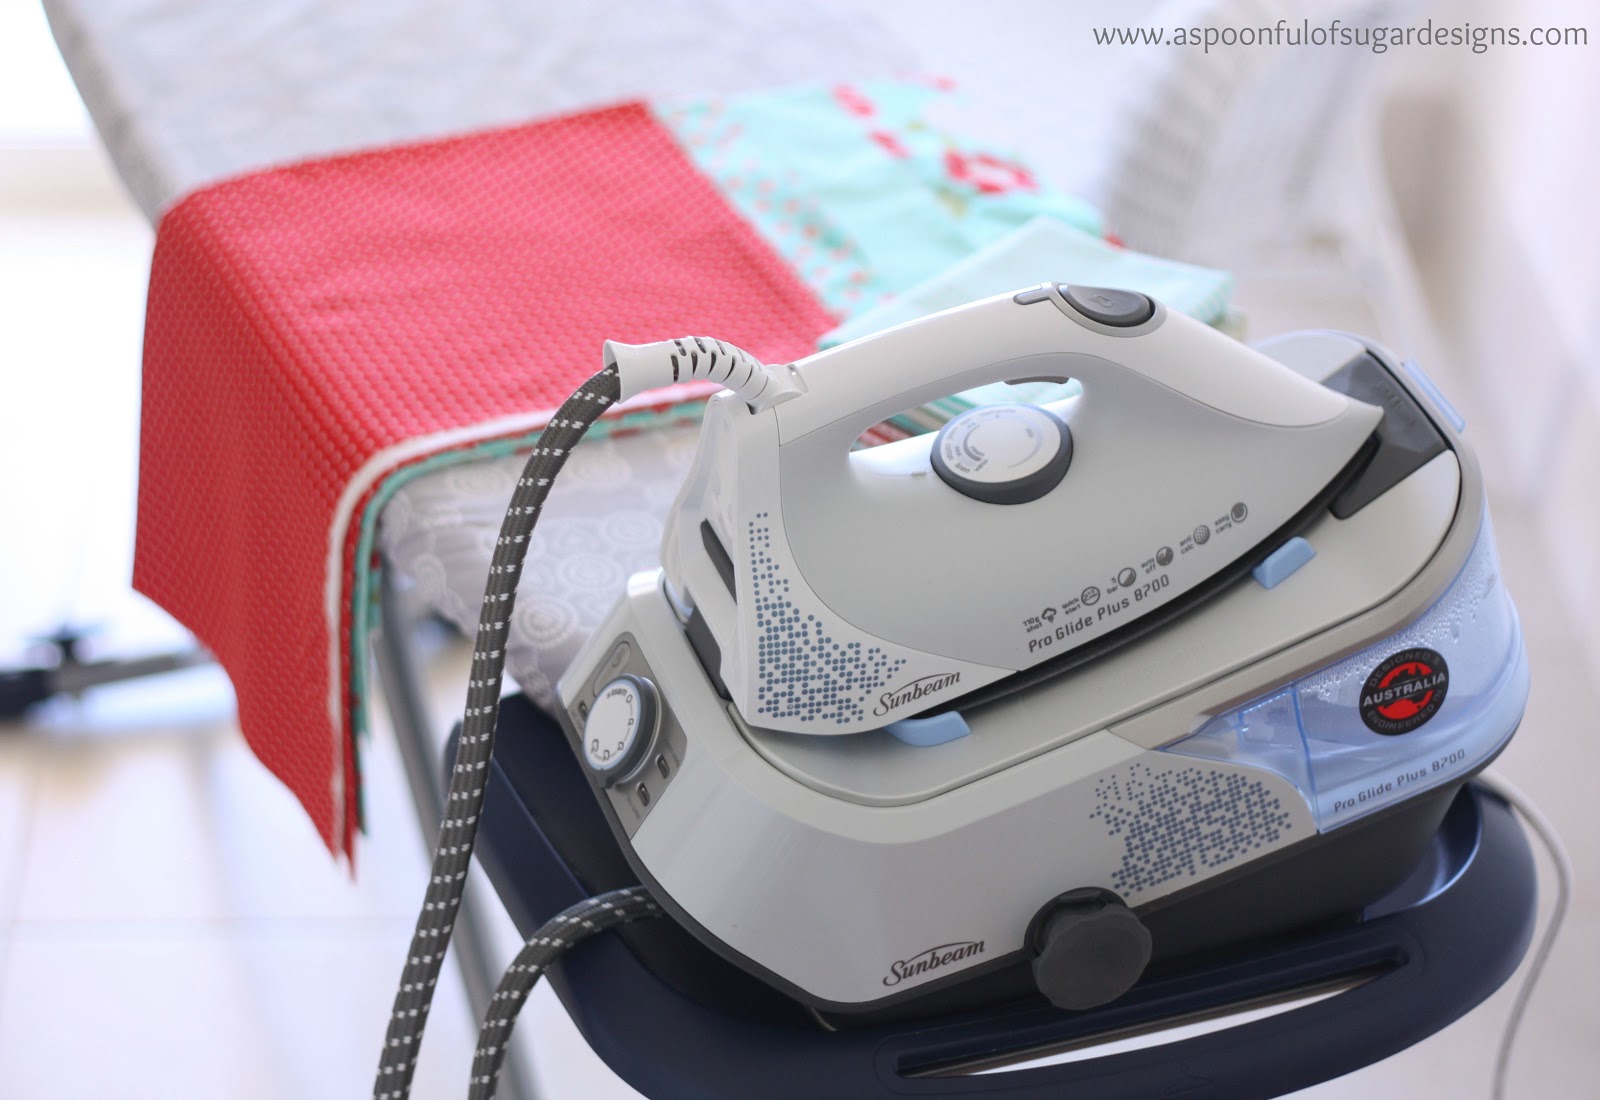
  • The iron itself is really light, as the water tank is separate, and it is a good ergonomic design
  • Fast to warm up – approx 2 1/2 minutes
  • Produces lots of steam. It even has a steam lock function and can be used for vertical applications such as curtains. 
  • Great for delicate fabrics like silk. We just waved it over the fabric while it was pumping out steam to remove wrinkles. 
  • Water tank has a great capacity – 1.4 litres (this is nearly 5 cups full of water). Enough  to keep you ironing for hours without having to refill. Perfect for sewing marathons!
  • Will switch off after 15 minutes of non-use.
  • Able to use tap water. It comes with a a descaling tablet and has a Calc Cleaner reminder light (the iron has not yet been used enough yet for us to have trialled this feature).
Overall, it you are looking for a new Steam Generator Iron, the Sunbeam Pro Glide is well priced with all the features you need.
You can see how we made our Laundry Wall Decals here.
Disclaimer: This is not a paid sponsored post. We did receive a Sunbeam ProGlide Plus to review. The ironing board is our own. All images and opinions are are own.

Filed Under: Uncategorized

« Feather Baubles
Easy Chocolate Chip and Vanilla Cake »

Comments

  1. ~ko says

    November 27, 2012 at 7:42 am

    You can sure make ironing look fun! Those fabrics you used in your photos are drool worthy!

    Reply
  2. Gigi says

    November 27, 2012 at 8:45 am

    I love the fabric! Can you tell me where you got your fabrics? I want to make a quilt for my soon to be sis in law and these are the colors for her wedding. Thanks!

    Reply
  3. A Spoonful Of Sugar says

    November 27, 2012 at 3:45 pm

    Hi Gigi

    The fabrics are from coincidentally from XO Gigi Fabrics
    http://www.xogigifabrics.com/results.php?keywords=vintage+modern&Submit=Search

    They are a beautiful range and have a lovely feel to them. I can’t wait to get sewing with them!

    Reply

Leave a Reply Cancel reply

Your email address will not be published. Required fields are marked *

  • Email
  • Facebook
  • Instagram
  • Pinterest
  • Threads
  • TikTok
SUBSCRIBE TO NEWSLETTER
×

Categories

Archives

PURCHASE PDF PATTERNS

We offer over 100 affordable PDF sewing patterns available for download from our store website or Etsy store. Each pattern includes detailed instructions, numerous photos, and templates.

WEB STORE ETSY STORE

Instagram

If you love quick, practical sewing projects, the  If you love quick, practical sewing projects, the Baker’s Buddy Mitt is such a fun one to make. It’s scrap‑friendly, gift‑ready, and perfect for anyone who loves to bake.The Bakers Buddy Mitt is 25% off this week only. Comment BAKER and I’ll send you the link to the pattern.  #SewingProject #ScrapFriendlySewing #KitchenSewing #SewingGifts #SewingCommunity
Adding a handmade label is one of my favourite way Adding a handmade label is one of my favourite ways to personalise a project — and these little fabric + felt labels are so quick and satisfying to make.For this Ribbon Pouch, I used the Liberty Gifts from the Garden collection, which has the sweetest fruit motifs. They make perfect tiny labels for pouches, bags, and gifts.Here’s how to make your own:Press a piece of double‑sided fusible web to the back of your fabric.Cut around your chosen motif.Peel off the paper backing.Press the motif onto wool felt.Trim the felt with scalloped scissors.Sew the label onto the front of your pouch.Such a simple detail, but it adds so much charm. Fabric kindly gifted by @regent_street_fabrics — thank you!If you’d like to sew the Ribbon Pouch (3 sizes), comment RIBBON and I’ll send the pattern link straight to you.#SewingInspiration #FabricLabels #DIYLabels #LibertyFabric #LibertyGiftsFromTheGarden
A lot can change in 10 years ❤️ It’s been fun look A lot can change in 10 years ❤️ It’s been fun looking back at where I was in 2016 and how far life has come since then. Swipe for a little trip down memory lane.Back in 2016, my priorities were firmly centred around family. I was working full‑time, sewing in the guest room, sharing tutorials on my blog, and slowly dipping my toes into selling a handful of patterns on Etsy. It was a busy, full season — and creativity was something I fitted in around everything else.  Fast forward to 2026… I’m now retired and living the creative life I once dreamed of. My kids have grown up and are living in their own homes nearby. My husband and I are free to travel, explore, and enjoy this stage of life. And I get to spend my days designing, sewing, and connecting with this beautiful community.Life looks different now — in the best possible way.Were you following me back then, or what has changed for you over the past 10 years? I’d love to hear your story too.Tagging the lovely makers of my quilt: @arabesquescissors @ministryoffabric @belloquacity @alittlepatchwork @sameliasmum coleandtaffy @quiltymamaof4 @shequiltsalot @downgrapevinelane @lizzierosesews @lovethatfabric @sew_mimi.k #2026isthenew2016 #10yeartransformation #sewingjourney #sewingcommunity #aspoonfulofsugardesigns
Fall in love with sewing all over again ❤️I’ve Fall in love with sewing all over again ❤️I’ve rounded up 10 heart‑themed makes — from quick gifts to charming quilt blocks — perfect for weekend stitching or using up your favourite scraps. Whether you’re sewing for Valentine’s Day, birthdays, or just because, there’s something sweet for every maker.Comment HEART and I’ll send you a link to my Heart Pattern Collection.#sewingproject #heartsewing #quiltblock #scrapsewing #easytosew
Raw edge appliqué doesn’t have to feel fiddly or i Raw edge appliqué doesn’t have to feel fiddly or intimidating. With a few simple techniques, you can create neat, crisp shapes — even tiny details like penguin beaks and hearts.I’ve put together My Top 5 Secrets for Raw Edge Appliqué to help you feel confident, whether you’re brand new to appliqué or looking to refine your finish. Save this for your next sewing session.If you’d love a quick, beginner‑friendly project to practise these tips, my Penguin Love Mugrug is the sweetest Valentine’s make — scrap‑friendly, gift‑ready, and such fun to sew.Comment PENGUIN and I’ll send you the link to the pattern. Available now in our Pattern Store and Etsy shop.  #rawedgeapplique #appliquetips #sewingtipsandtricks #mugrugpattern #penguinlove
If you’ve ever wanted to add eyelets or grommets t If you’ve ever wanted to add eyelets or grommets to your sewing projects, here’s a quick look at how I install them using my DK93 snap press. It’s the same tool I use for snaps — and it makes installing eyelets beautifully quick and consistent.For this Ribbon Pouch, I used the Liberty Gifts from the Garden collection (printed on Lasenby cotton and released in January 2026). The colours and motifs pair so well with the little ribbon tie detail.Here’s how to install the eyelets:Punch out the four holes using a hole‑cutting die.Place the eyelet into the hole.Press it into place using the snap press.That’s it — easy peasy, and it gives the pouch such an elevated, professional finish. I love how clean and sturdy the result is.Fabric is Gifts from the Garden by Liberty - kindly provided by @regent_street_fabrics — thank you!If you’d like the Ribbon Pouch pattern (it comes in 3 sizes), comment RIBBON and I’ll send the link straight to you.Ribbon Pouch Sewing Pattern: available in our Pattern Store and Etsy shop ( links in profile).#SewingInspiration #SewingProjects #Eyelets #Grommets #SnapPress
Follow on Instagram

Featured Pattern

Travel Sewing Kit Pattern

Featured Tutorial

Retro Drawstring Bag

Featured Recipe

Lemon Pound Cake

Connect

  • Email
  • Facebook
  • Instagram
  • Pinterest
  • Threads
  • TikTok
SUBSCRIBE TO NEWSLETTER
×

Popular Posts

  • Charm Square Fabric Tray
  • Merry Little Christmas Sewing Projects
  • {Back to School} Tissue Cover
  • Hexagon Fabric Tray
  • Raw Edge Applique Tips
  • Sewing Gifts 101: Easy and Affordable Ideas for Your Crafty Friends
  • Finding More Time to Sew

Copyright © 2026 Lisa. K. Cox - A Spoonful of Sugar