I love a good DIY project and it is fun to swap my sewing machine for some power tools occasionally. We have been watching a few home renovation shows lately and I am always dreaming up fun projects to make for our home. When we were asked by Dremel to road test their new Dremel 4000 and Dremel Moto-Saw, it was a great opportunity to practice my DIY skills on a beginner friendly project.
What I love about the Dremel Power Tools is that they are really versatile, lightweight, and come with a wide range of attachments for a variety of purposes including – carving, engraving, cutting, grinding, sharpening, cleaning, polishing, and sanding. If you are like us and don’t have a home workshop and aren’t that comfortable using heavy power tools, a Dremel 4000 High Performance Rotary Tool is the perfect alternative. It comes in a handy case with all the accessories and tools you need for a wide variety of functions. The Dremel Moto-Saw is a compact tool for making detailed cuts on a variety of materials including wood, plastics, laminate, and metal; and can be operated from a benchtop or hand held. I have always wanted access to a scroll saw to cut a wide variety of designs. I am sure you will be seeing more DIY projects in this space!
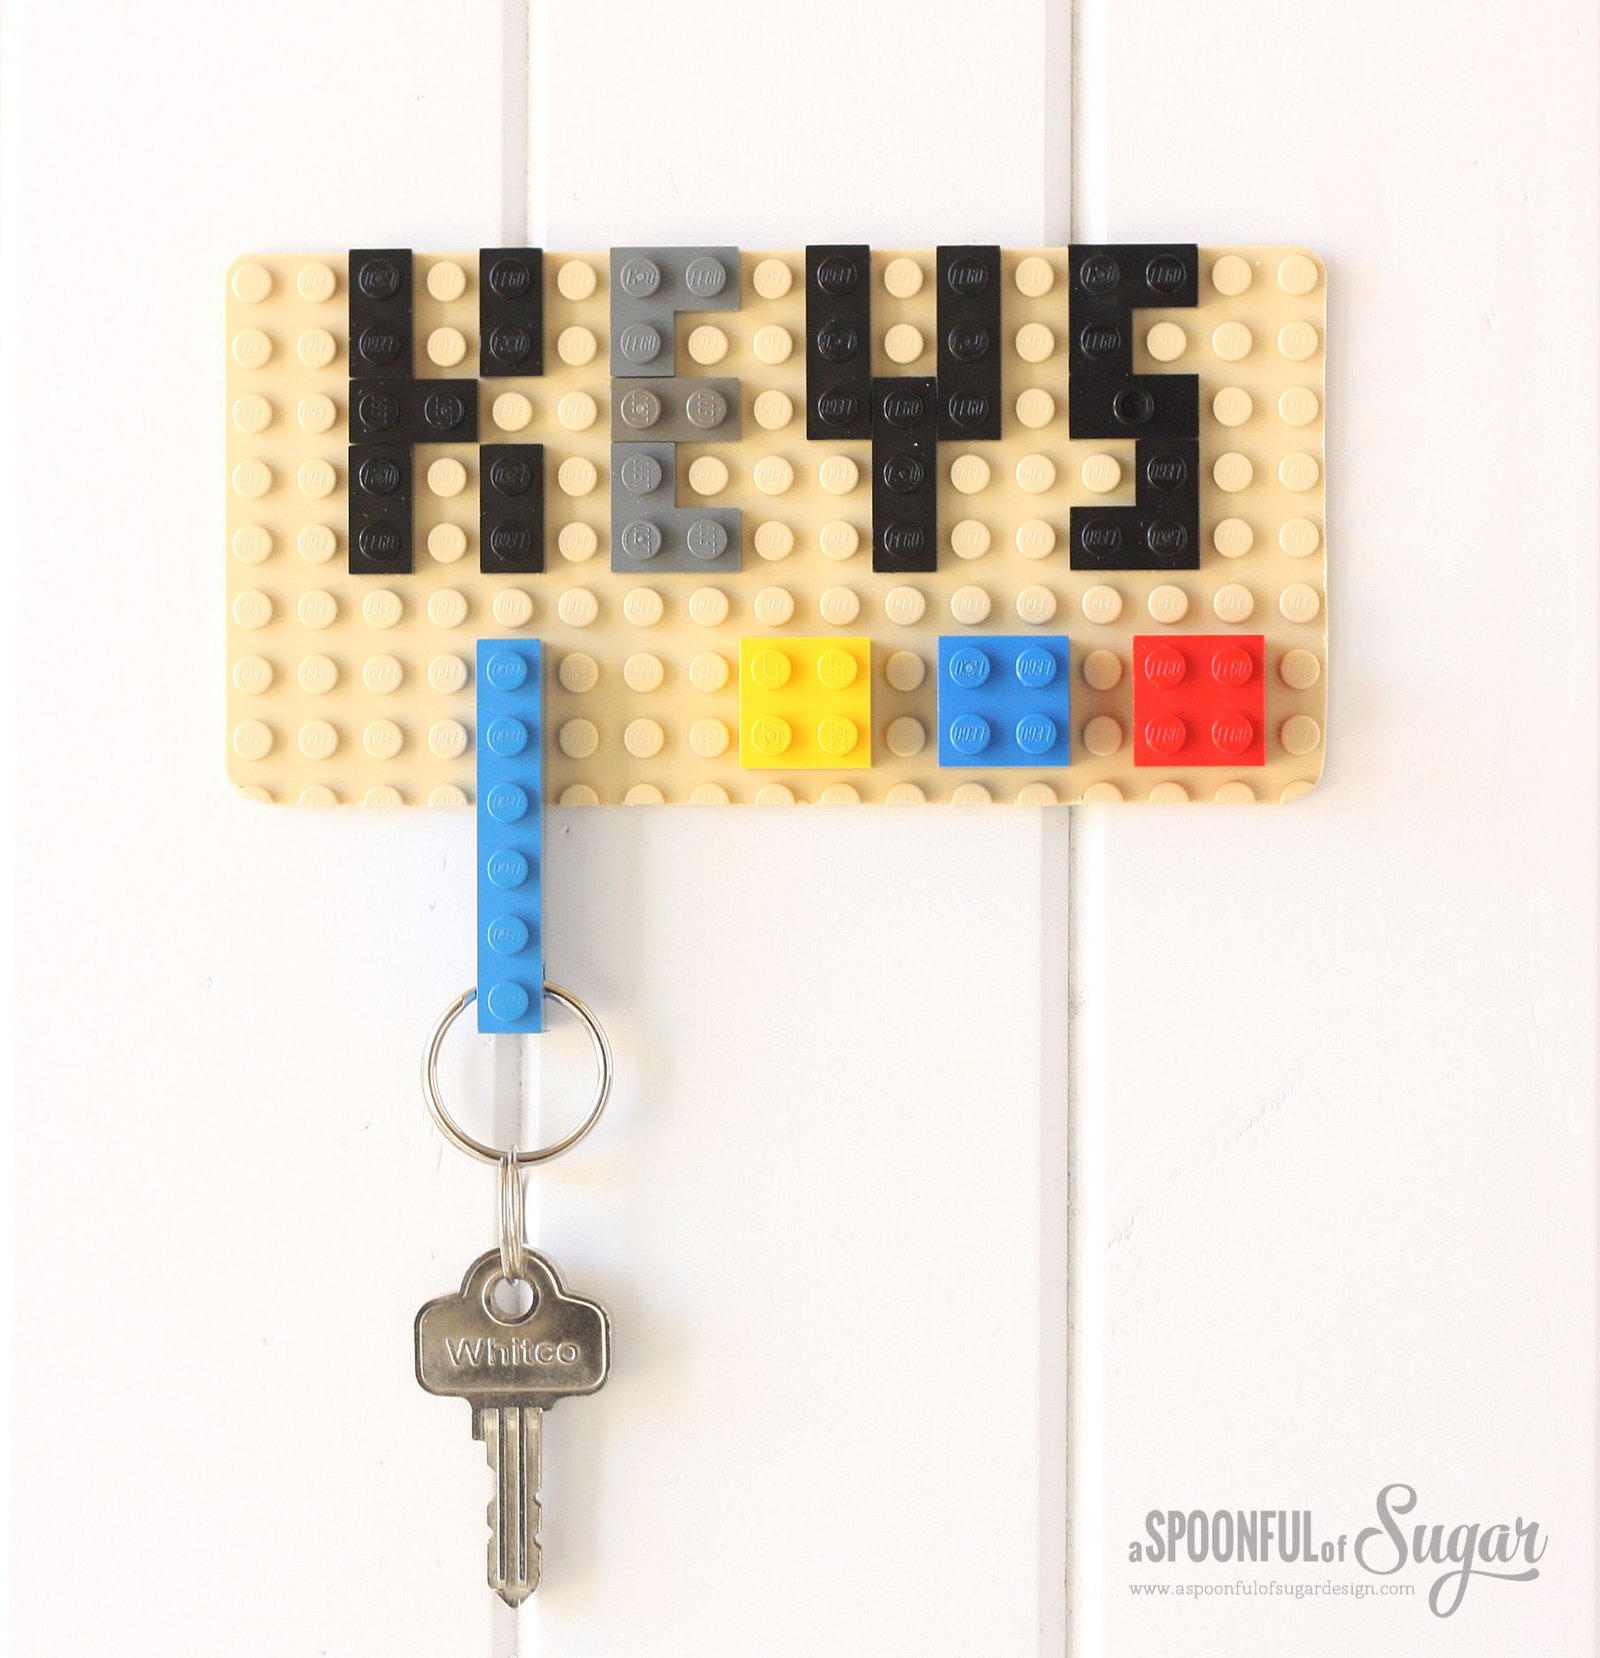
To put the tools through their paces, we made a pair of Lego Keychains – perfect for some young Lego lovers we know! You can find all the directions for this project over on the Dremel project site. If you would like to make one, you will need a Dremel 4000 Rotary Tool and a Dremel Moto-Saw; a Lego Baseboard; Lego bricks; and a split ring. Don’t forget to wear safety glasses when operating power tools!
Firstly draw up a template for the Lego Keychain board. We used a simple house design and you can find our template here (measurements in mm’s) – Lego Keychain House Pattern. Cut out the template and attach it to the back of the Lego baseboard using double sided tape.
Use the Moto-Saw to carefully cut around the design.
 Use the sanding attachment on the Dremel 4000 to smooth off the edges and to slightly round the corners.
Use a felt tipped pen to mark where you want to drill through the Lego brick that will be used for the keychain.
Use the Dremel 4000 and a drill bit to drill a hole through the plastic brick.
Thread a split ring through the hole and use it to attach keys. Mount the keyboard to a surface using your preferred method. If it is being attached with screws to a cupboard, drill a couple of small holes in the base board. We used strong double sided adhesive tape to attach our keychain.
The Lego Keychain project was a great beginner friendly project that was made easy by the Dremel tools. For more Dremel project inspiration, check out Dremel Weekends for loads of project ideas. You can also find some inspiration over on our Dremel Projects Pinterest Board.


What a clever idea! More work than I want to play with but what fun or a wall when finished! Thanks 🙂
Thanks Doris! They are fun to make and are perfect for a Lego Lover 🙂