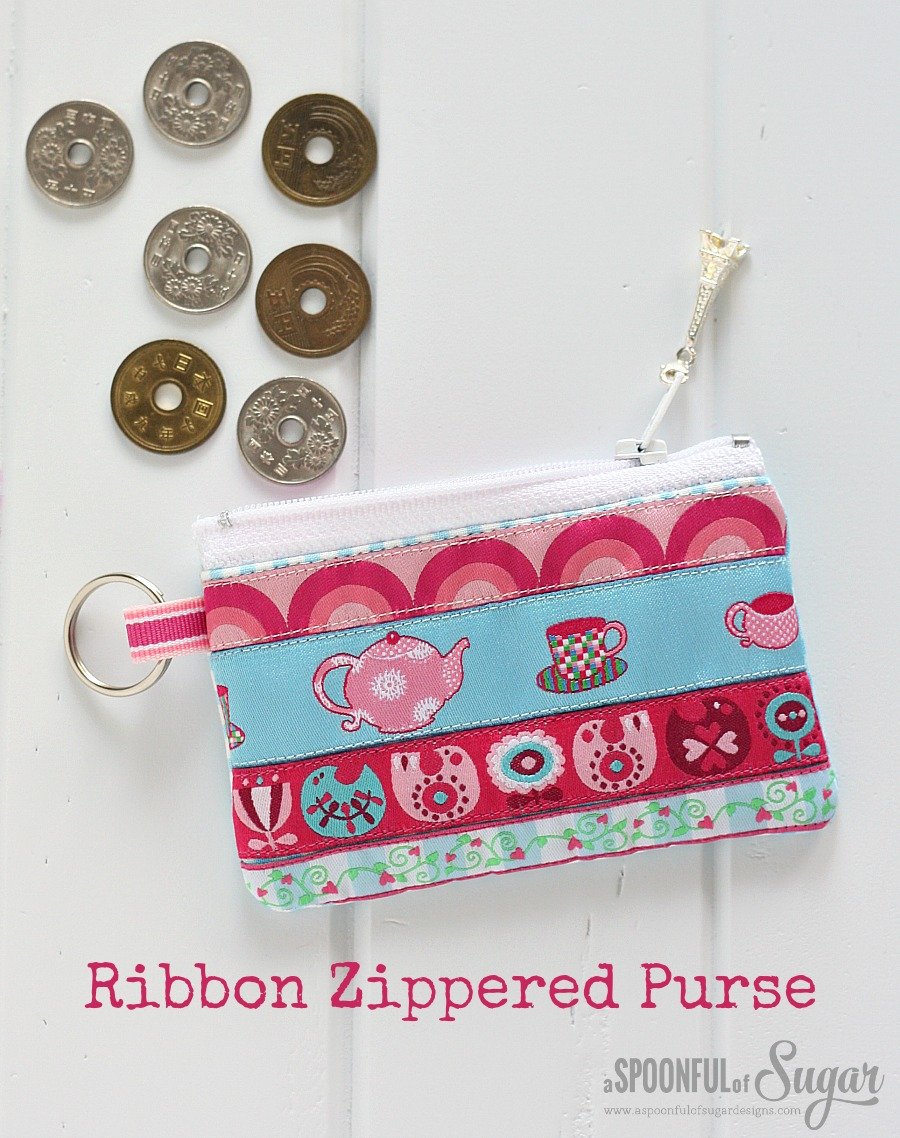
Do you love pretty ribbons and trims? We have a large ribbon collection with many novelty ribbons that rarely get used. Making a ribbon zippered purse is a great opportunity to use some of our pretty ribbons. It was fun co-ordinating a few different designs to add to the front of this zippered purse. We chose some pink and blue woven ribbons and partnered them with pink and blue gingham.
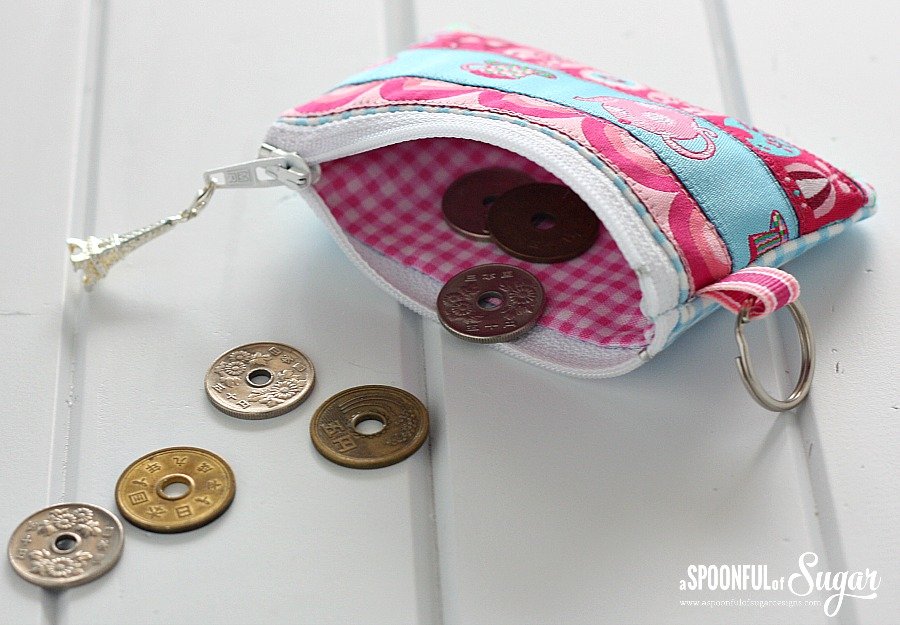
This ribbon zippered purse is based on our Emergency Zippered pouch tutorial. It is a handy size to stow a few supplies in your handbag – coins, lip balm, or other small supplies that you don’t want to get lost amongst the contents of your handbag.
If you would like to make your own ribbon zippered purse, follow our simple directions.
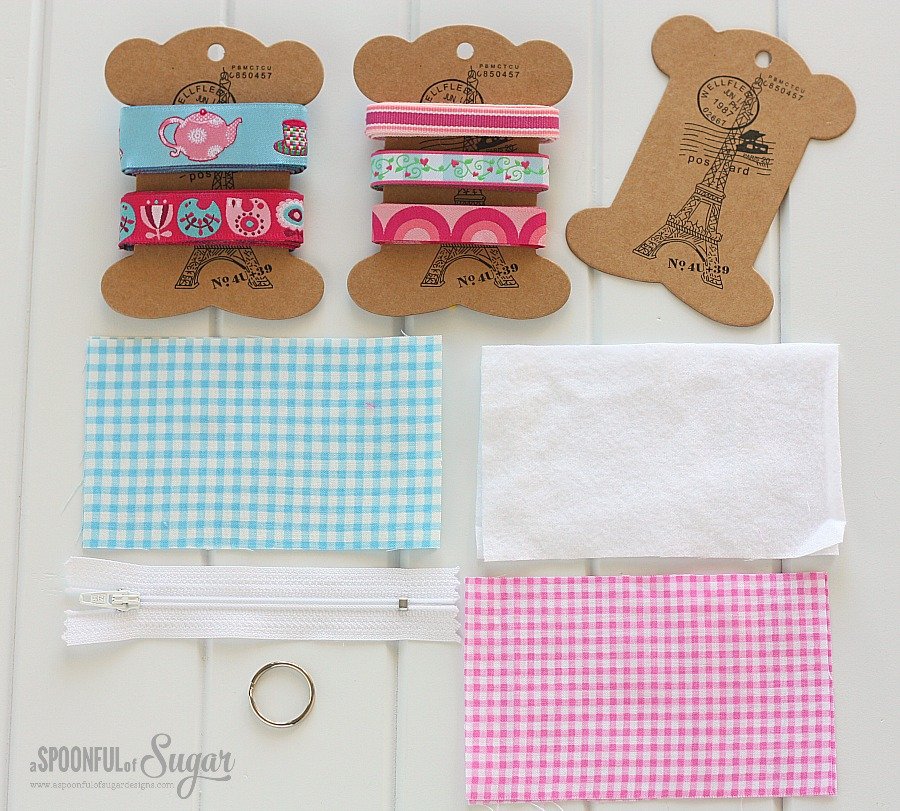
Materials:
- selection of ribbons in different widths.
- 2 rectangles of blue gingham, measuring 5 x 3 inches for purse exterior
- 2 rectangles of pink gingham, measuring 5 x 3 inches for purse interior
- 2 rectangles of white flannel, measuring 5 x 3 inches for wadding
- 4 inch zipper
- 1 split ring
Method:
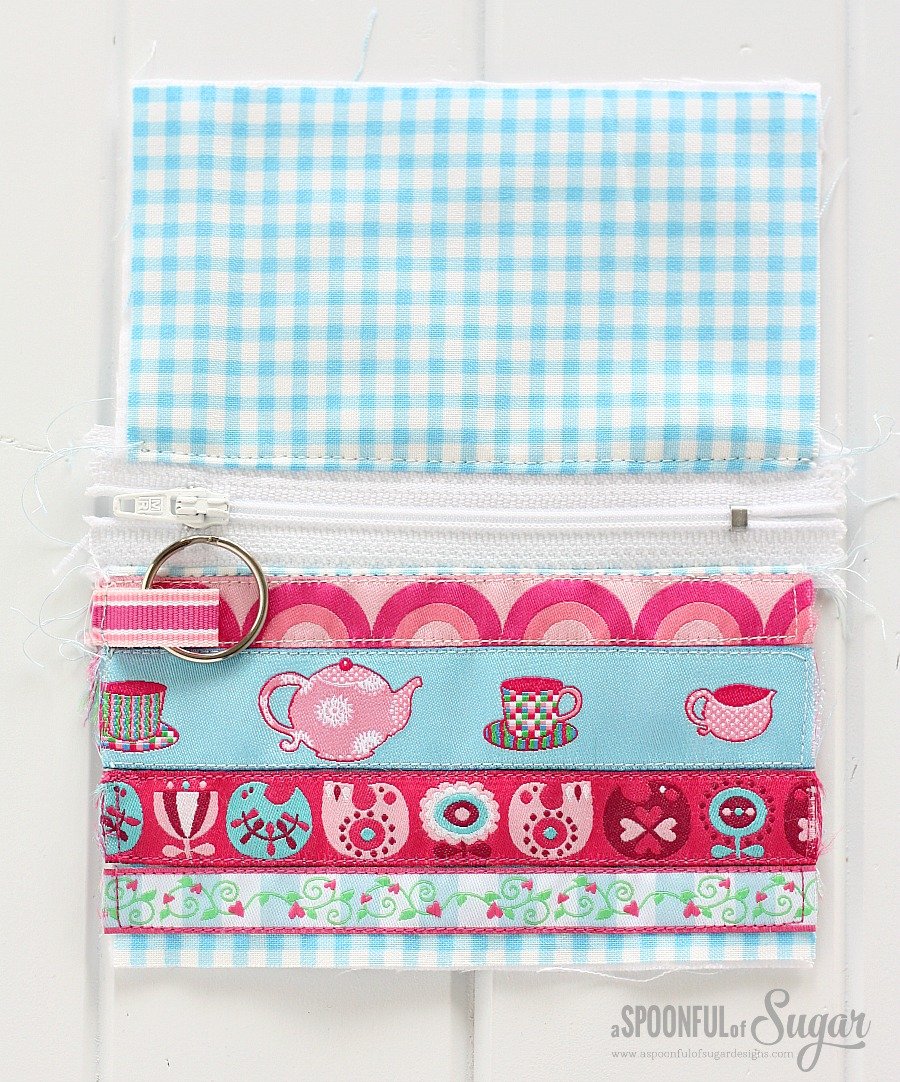
1. Layer a piece of flannel under the gingham exterior. Pin strips of ribbon to the gingham, leaving 1/4 inch clearance at the top and bottom of the flannel.Stitch the ribbon in place using a small stitch length of 2.
2. Cut a piece of striped grosgrain ribbon that is 4 inches in length. Fold over the split ring and baste in place as shown in the photo below.
3. Stitch the sipper to the top of the purse front. Press and topstitch close to the zipper as shown.Repeat for the other side of the purse. (We chose to keep the back of our zippered purse plain but you could add more ribbon to the back as desired.
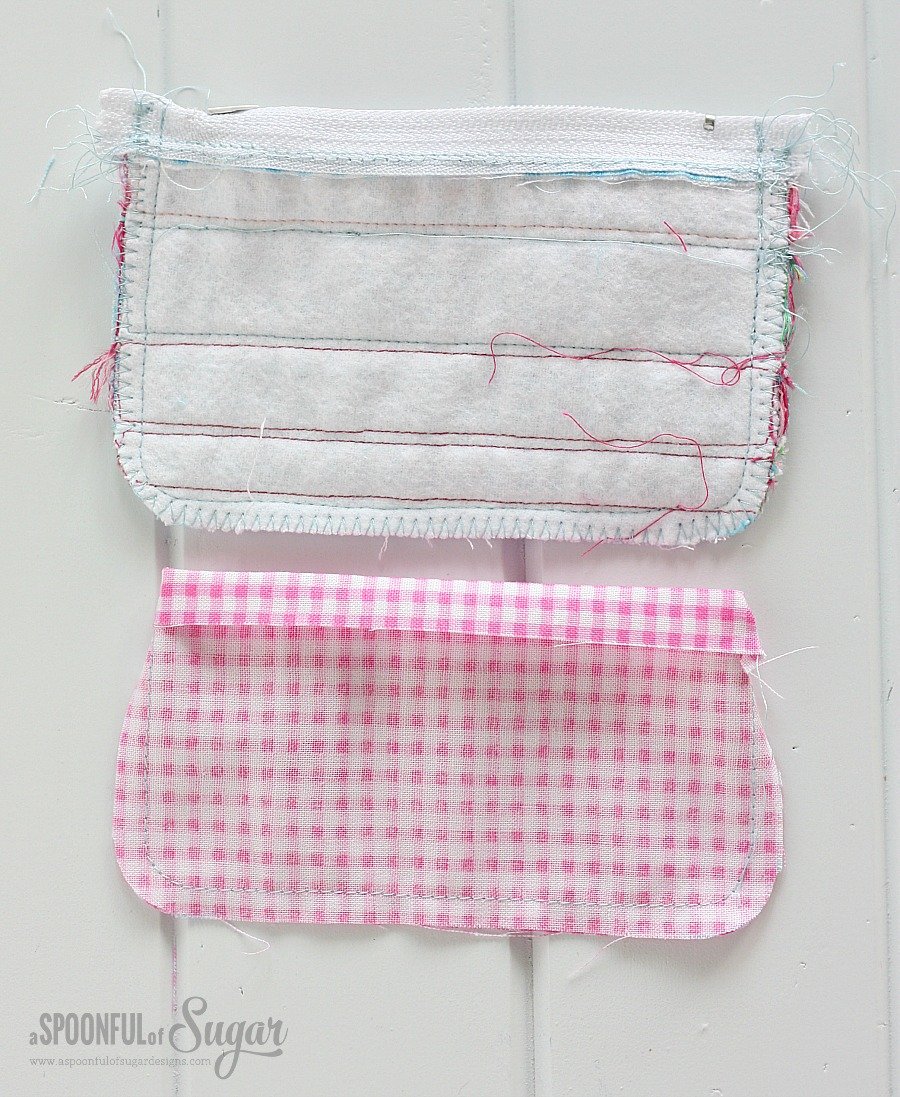
4. Using a cotton reel as a template, use a water erasable pen to draw rounded corners. Cut around the bottom corners of the purse. Fold the purse in half with right sides facing and with the zip open. Stitch along the sides and bottom. Use the zigzag stitch along the raw edges.
5. Place the pink gingham rectangles together with the right sides facing. Round the bottom corners of the lining as you did for the exterior of the purse. Stitch along the sides and bottom of the lining. Fold down 1/4 around the opening of the lining and press. Refer to photo below.
6. Turn the outside of the purse out the right way and press. Pin the lining in place on the inside of the purse. Hand stitch in place.
7. Add a charm to the zipper pull if desired.
You can find our Emergency Zippered pouch Tutorial over here.





Beautiful. Lovely colours.
Thanks Linda.
Love it! thanks for a great project!
You’re welcome Thea. Thanks for stopping by 🙂
I love this project! Did you make the ribbon bobbins? They’re gorgeous!
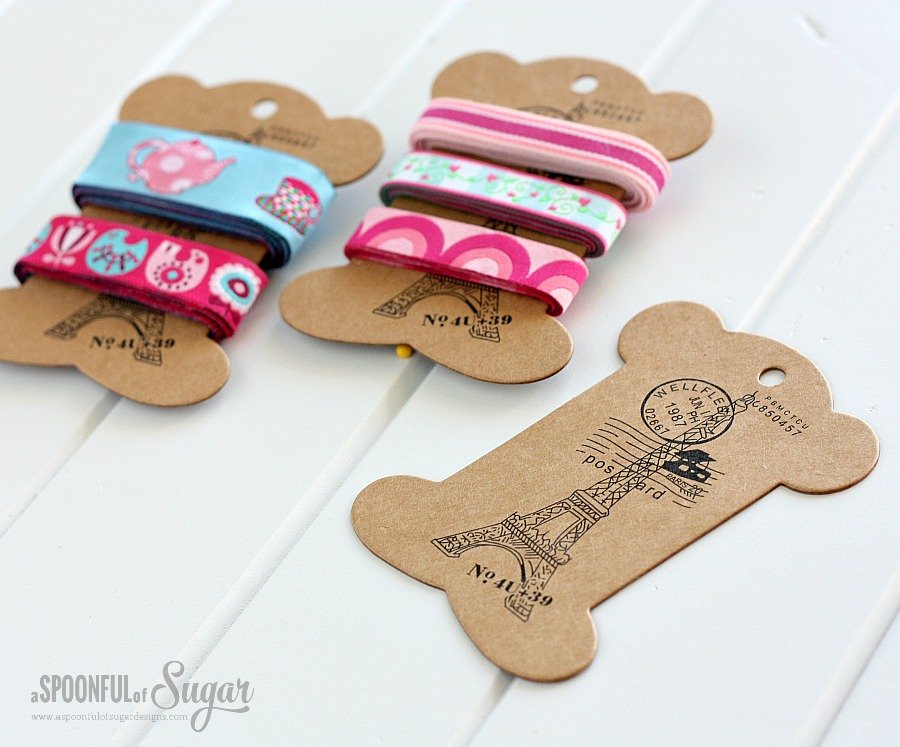
Thanks Carolyn. I bought the card bobbins that the ribbon is wrapped on from an etsy seller but they no longer stock them. You can also find them here:
http://www.yozocraft.com/product-list?keyword=spool&Submit=Search
I like your idea of making them yourself.They are a great way to store ribbon.
Oh I LOVE this project! I’ve got a small collection of vintage woven ribbons I’ve never dared use but this little purse looks perfect for them – not using too much but proudly on show. Thanks so much.
Another great project! The fabric/tape color-theme is soooo cute! Thank you for sharing!
Thanks for stopping by Annette. Pink and blue is a favourite of ours!
Such a clever way to use ribbons and make some gifts! Thanks for the ideas!
BTW, I use empty thread spools to store longer ribbons on and keep them in a tin box for easy access, but I do like the cards, too.
Ribbon looks lovely on thread spools! Thanks for stopping by 🙂