Threading a needle is one of those tiny sewing tasks that can feel surprisingly fiddly — especially if you’re tired, working with fine thread, or dealing with a small needle eye. Whether you’re hand‑sewing, quilting, or repairing a hem, a smoothly threaded needle makes everything easier.
Today I’m sharing my top 9 tips for threading a needle, plus some helpful background information on choosing the right needle and thread for your project. These simple tricks can make a big difference, especially for beginners or anyone who struggles with close‑up work.
⭐ Choosing the Right Needle
Before we even get to threading, using the correct needle for the job makes everything easier.
Needle Size
- The higher the number, the finer and shorter the needle.
- The lower the number, the thicker and longer the needle.
For example:
- Size 9–12 → fine hand‑sewing, delicate fabrics
- Size 5–7 → general sewing
- Size 3–5 → thicker fabrics or embroidery
A needle that’s too small for your thread will be difficult to thread and may shred the fibres. A needle that’s too large will leave visible holes.
Needle Types
Here are some common hand‑sewing needles:
- Sharps — all‑purpose needles for general sewing
- Embroidery/crewel — same length as sharps but with a larger eye
- Quilting/betweens — short needles ideal for small, even stitches
- Milliners/straw — long needles for basting and gathering
- Easy‑thread needles — have a slot at the top so the thread pops in easily
Choosing the right type makes threading smoother and sewing more enjoyable.
⭐ Choosing the Right Thread
Thread quality matters more than we often realise.
General tips
- Use good‑quality cotton or polyester thread that doesn’t fray easily.
- Match the thread weight to your needle size — thicker thread needs a larger eye.
- Avoid old or sun‑damaged thread, which becomes brittle and harder to thread.
Thread length
Cut a manageable length — around 40–50 cm. Longer thread tangles more easily.
⭐ My Top 9 Tips for Threading a Needle
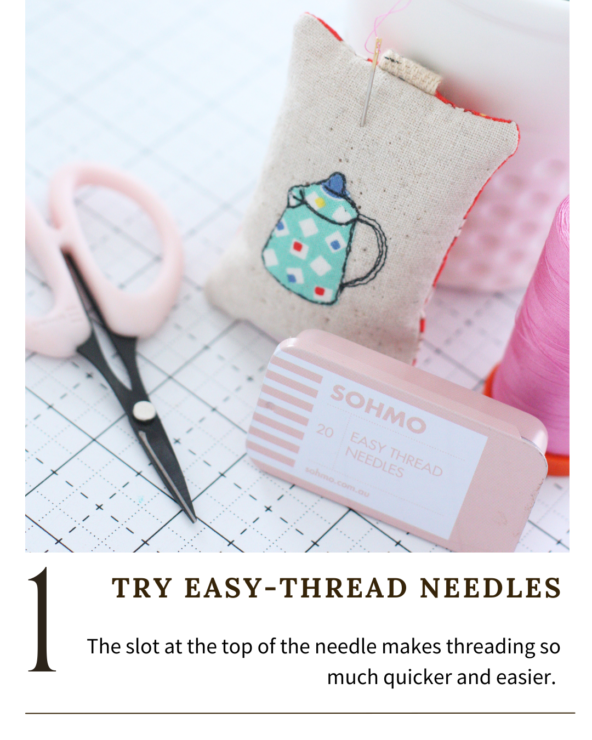
1. Try Easy‑Thread Needles
Easy‑thread (or self‑threading) needles have a small slot at the top of the eye. Simply press the thread down into the slot and it pops through. They’re perfect for tired eyes or quick repairs.
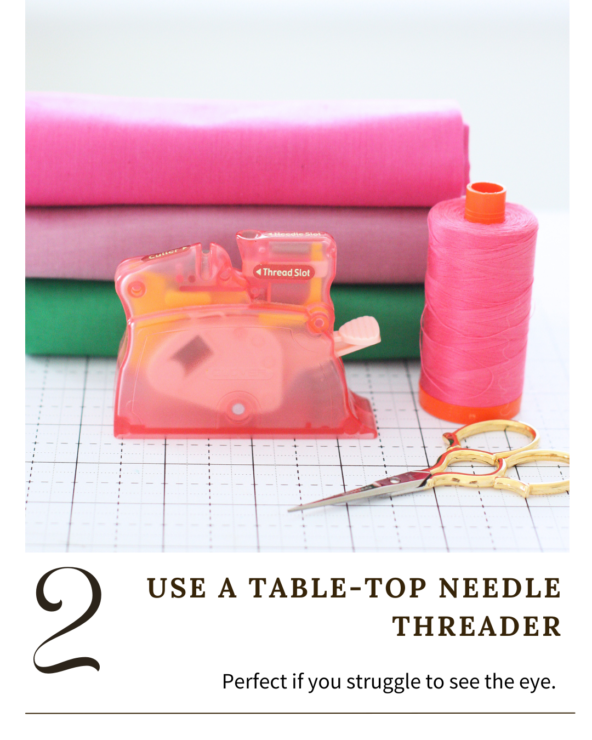
2. Use a Table‑Top Needle Threader
A table‑top threader is a brilliant tool if you struggle to see the needle eye. You place the needle in the slot, lay the thread across the guide, and press the lever — the machine does the threading for you.
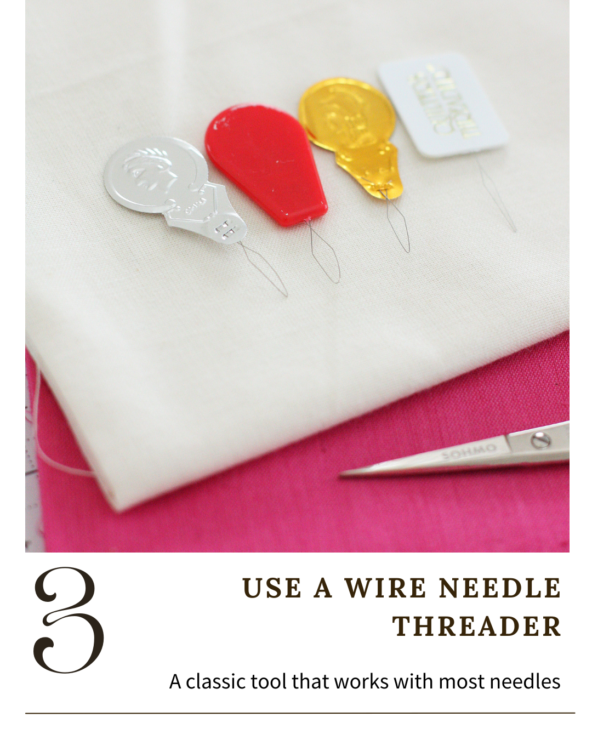
3. Use a Wire Needle Threader
The classic wire threader is inexpensive and works with most needles. Insert the wire loop through the needle eye, place your thread through the loop, and pull it back through.

4. Hold White Paper Behind the Needle
This simple trick increases contrast so you can see the needle eye more clearly. A small piece of white card or paper works perfectly.
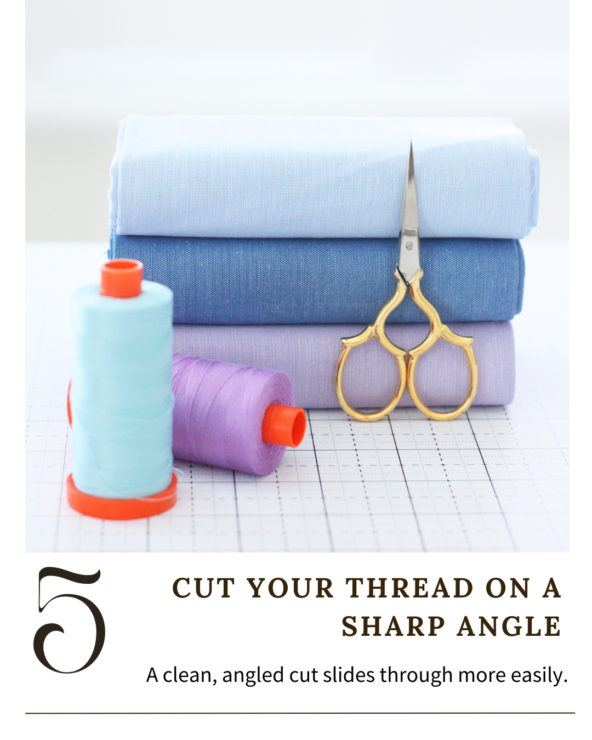
5. Cut Your Thread on a Sharp Angle
A clean, angled cut creates a firm point that slides through the needle eye more easily. Use sharp scissors for the best result.
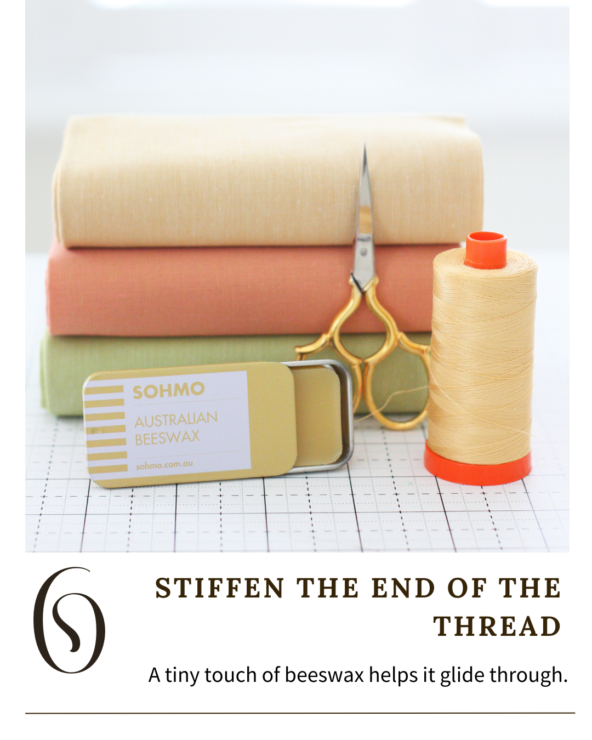
6. Stiffen the End of the Thread
A tiny touch of beeswax helps tame frayed fibres and gives the thread a little structure. You can also use a dab of water or thread conditioner.
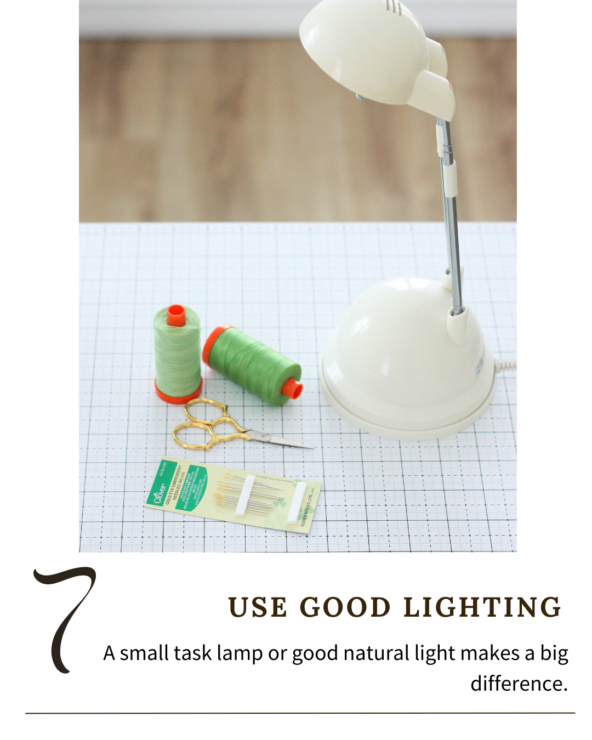
7. Use Good Lighting
A small task lamp or bright natural light makes a huge difference. Good lighting reduces eye strain and helps you see the needle eye clearly.
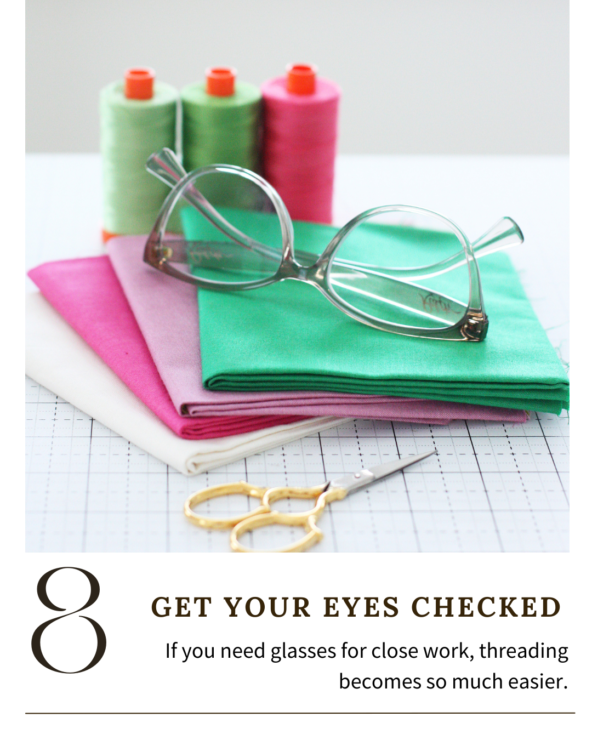
8. Get Your Eyes Checked
If you regularly struggle with close‑up tasks, it may be time for an eye test. A simple pair of reading glasses can make sewing (and threading!) much more comfortable.
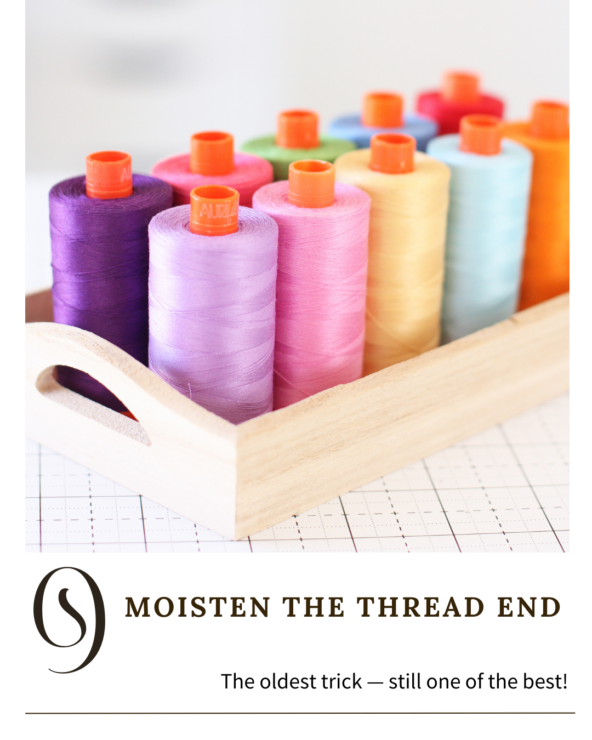
9. Moisten the Thread End
The oldest trick in the book — and still one of the best. A tiny bit of moisture smooths the fibres and helps them stay together as you thread.
⭐ Final Thoughts
Threading a needle doesn’t have to be frustrating. With the right tools, good lighting, and a few simple tricks, you’ll be threading smoothly in no time. I hope these tips help make your sewing sessions a little easier and more enjoyable.
If you’d like more sewing hints, free tutorials, and studio updates each week, you can join my newsletter below.


Thank you for this article! I didn’t know I needed to see it but I learned so much!