Foundation paper piecing involves taking small scraps of fabric and machine stitching them to a paper template to create clever patchwork effects. It is a very accurate method of patchwork, which is especially useful for piecing unusual or awkward shapes and achieving crisp, clean lines. You use a foundation paper piecing template to build up your shape, piece by piece, sewing through the back of the paper template, following the order shown on the template. This means that the finished block will be a mirror image of the printed template.
How to Foundation Paper Piece
Foundation Paper Piecing is an easy technique that gives accurate results, and it works well with blocks that are small in size. The main concept behind Foundation Paper Piecing is to use a paper foundation to stitch your fabric block. After all of the blocks are completed and stitched together, you rip the paper off the back of the quilt block.

Top Tips
If you are new to foundation paper piecing, here are some tips to get you started and to achieve perfect results:
- Print out the paper pattern. It is important that the pattern is printed at the accurate size. Check your settings to make sure it is set to print at 100% or Actual size so your FPP templates are the correct size
- For each of the numbered sections on the pattern, cut a piece of fabric that completely covers the section with a generous seam allowance. It is better to have a piece that is too large than too small. It can be trimmed during the process.
- Sew with a small stitch length – 1.5 to 2. This makes it easier to remove the paper when the block is finished.
- ALWAYS sew on the line printed on the page. The fabric goes under the paper, away from you.
- Have a light source handy (window or light box) so you can check the fabric is lined up correctly before you sew.
- Start one or two stitches ahead of the intersection where you are supposed to begin and backstitch at the start and end of each line. Sew exactly on the line so all of your points line up perfectly.
- Use scissors to trim excess fabric from each section after it has been sewn.
- Press each seam as you sew so that it will sit flat. Do not use steam as it will affect the paper foundation.
- When all the blocks are completed, carefully remove the paper backing. Use tweezers to remove any small pieces of paper that are left behind.
- Always replace your needle after sewing on paper so you have a nice sharp needle for sewing the blocks together once the paper has been removed.
Equipment/Tools to make FPP Easier:
When it comes to FPP, having the right tools can make all the difference in creating precise and beautiful quilts. Here’s a guide to the essential equipment that can make FPP a breeze.
Light Box: A Bright Idea for Precision
A light box is an invaluable tool for FPP enthusiasts. It illuminates your work from below, making it easier to see through the paper template and align your fabric pieces accurately. This is especially helpful for intricate designs or when you want to achieve perfect fussy cuts. A light box can be a game-changer for quilters looking to elevate their FPP projects.
Add a 1/4 Inch Seam Ruler: The Secret to Perfect Seams
The add-a-quarter ruler is a must-have for any FPP quilter. Its unique design allows you to quickly and accurately add a 1/4 inch seam allowance to your fabric pieces. The ruler’s edge is designed to snugly fit against the folded paper, providing a reliable guide for trimming excess fabric. This tool not only saves time but also ensures that your seams are consistent throughout your project.
Other Recommended Equipment
- Rotary Cutter and Mat: These are the bread and butter of any quilter’s toolkit. A sharp rotary cutter and a self-healing mat make cutting fabrics to the right size a straightforward task.
- Flat Head Pins or Glue Stick: To keep your fabric in place without shifting, consider using flat head pins or a repositionable glue stick. They’ll hold your pieces steady as you sew.
- Iron and Wool Pressing Mat: Pressing your fabric as you go is crucial in FPP. A good iron and a portable wool pressing mat can fit snugly next to your sewing machine, making it convenient to press each section after sewing.
- Paper Scissors: Keep a pair of scissors dedicated to cutting paper templates. This will ensure your fabric scissors stay sharp and make clean cuts.
- Sewing Machine with a Straight Stitch: While FPP can be done by hand, a sewing machine with a reliable straight stitch will speed up the process.
With these tools at your disposal, your FPP projects will not only be more enjoyable but also yield professional-looking results. Remember, investing in quality tools is investing in the quality of your craft. Happy quilting!

Beginner Friendly FPP Patterns
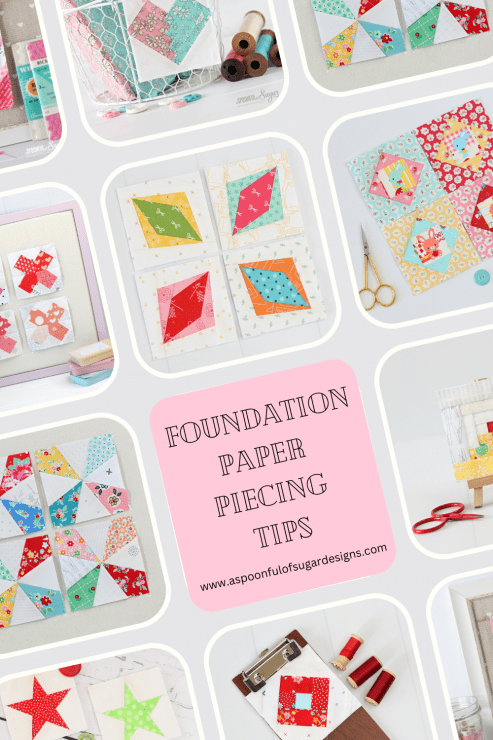
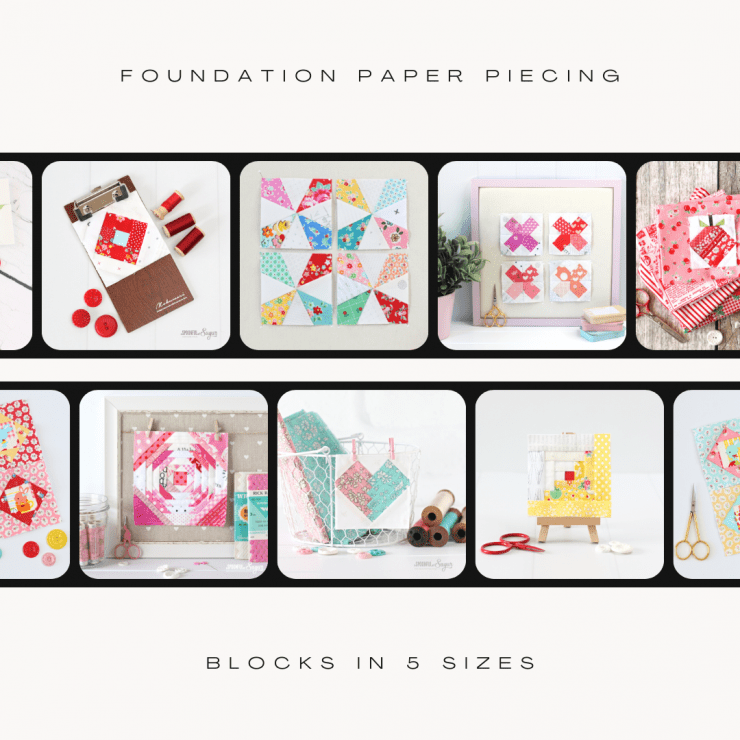
I design a large range of FPP Quilt blocks. Patterns include a block in multiple sizes so you can quickly and easily construct a block to include in your next project. They are great for incorporating in mini quilts, bags, placemat, pot holders, pillows and more. Click on any of the blocks included in this article for more information.
Our easiest blocks include:
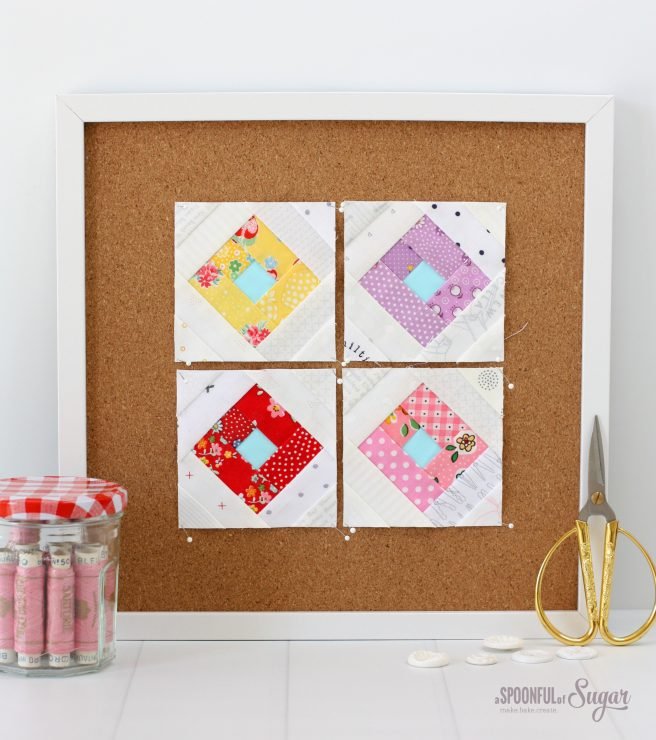
Economy Block

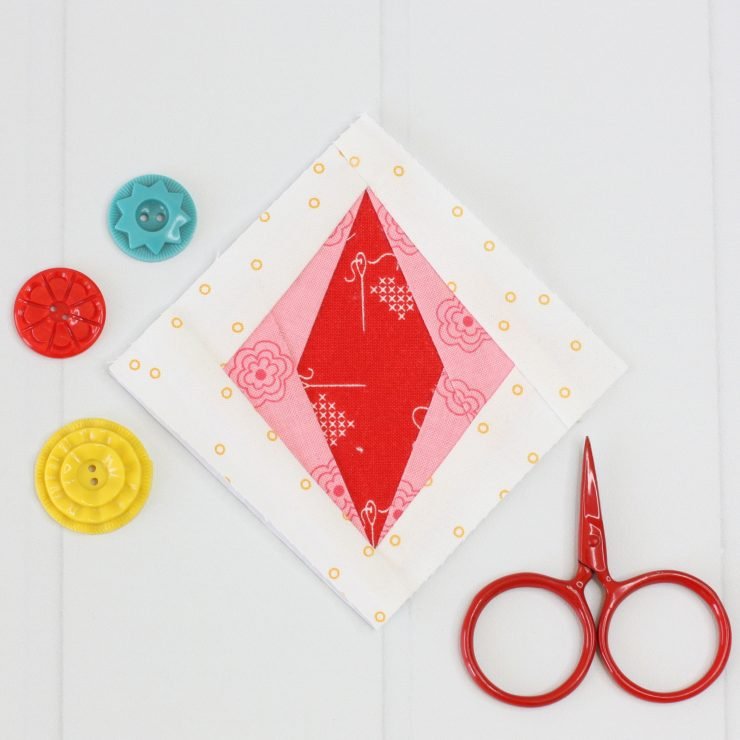
Kite Block
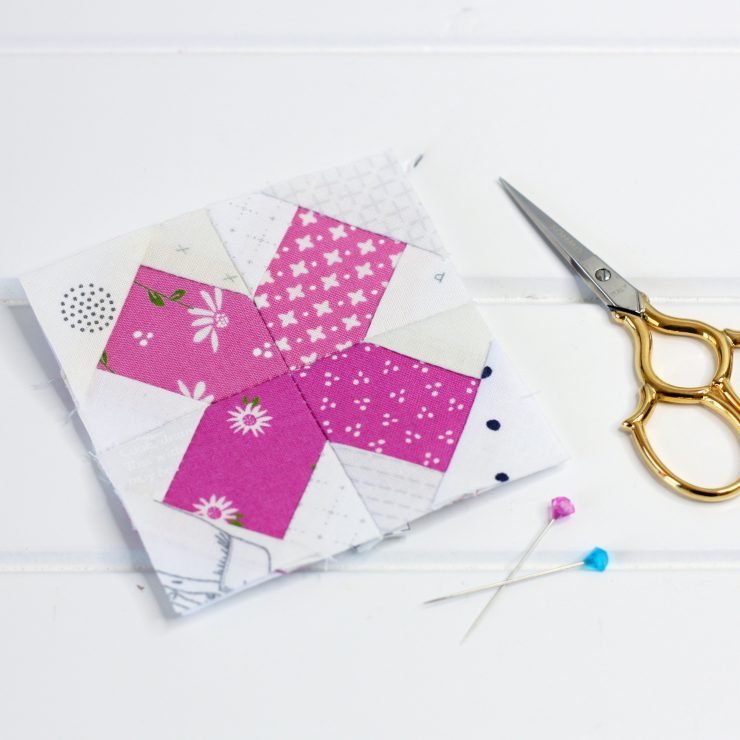
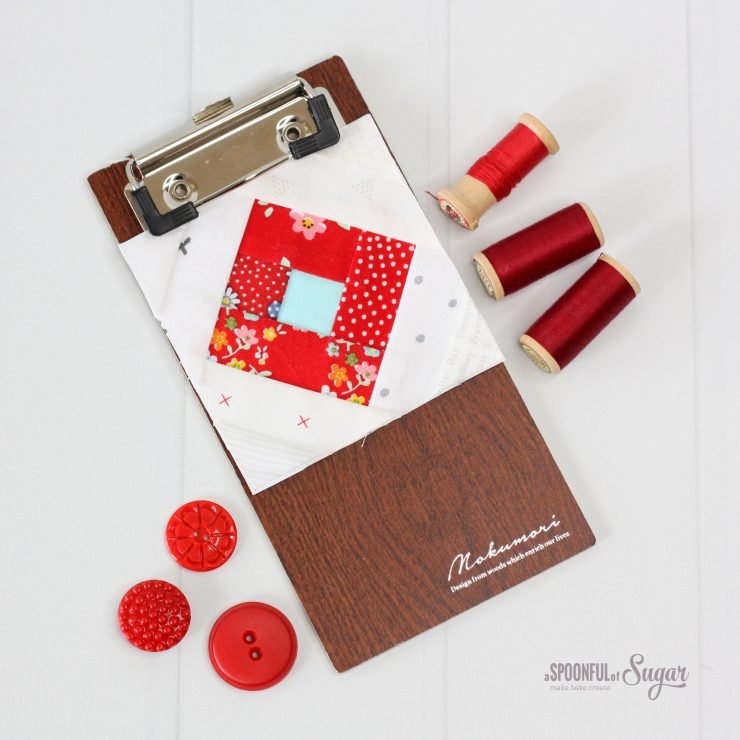
Twisted Log Cabin
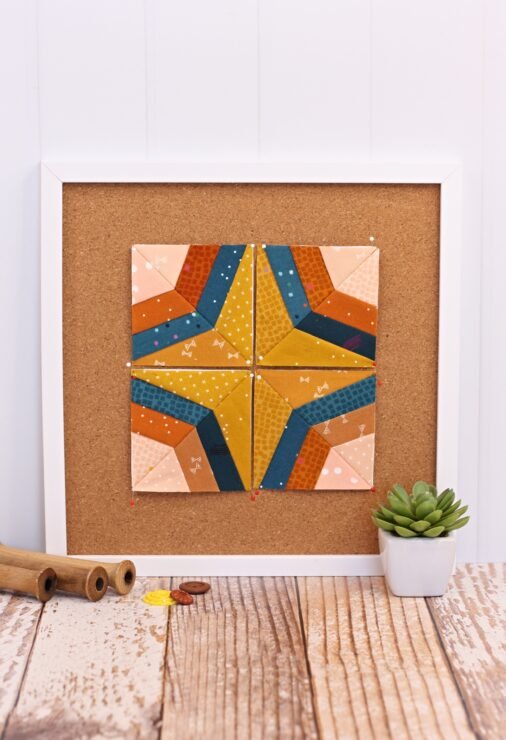
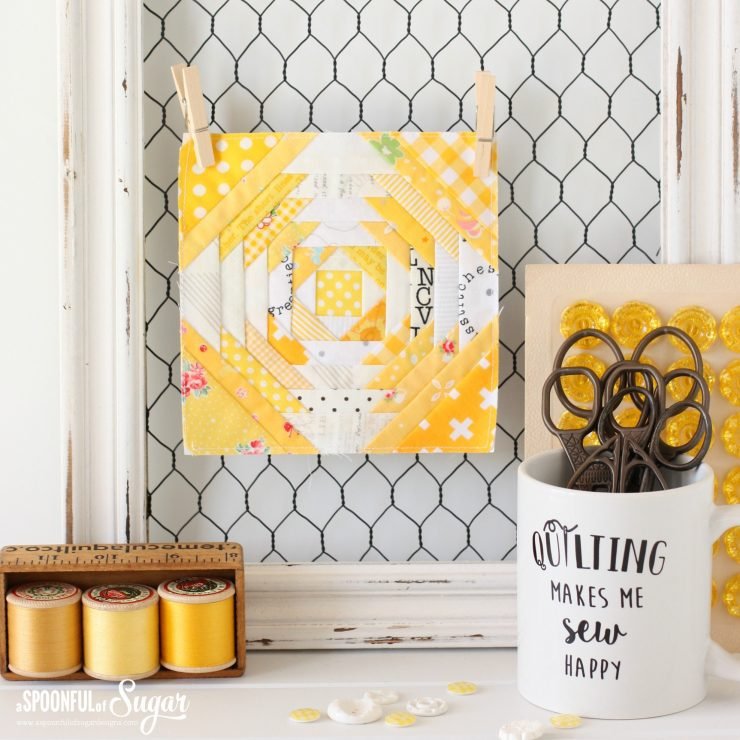
Pineapple Block
If you love foundation paper piecing or want to learn this technique, check out our large range of foundation paper piecing quilt blocks and projects.
Hello! Are you new here?
If so, be sure to sign up for our newsletter here and receive a bonus sewing pattern and welcome discount. Our newsletter includes free tutorials, articles, and new patterns. Welcome to the world of sewing enthusiasts.


Love the paper piecing patterns. I want to try with cotton velvet.
Love it.
Quisiera aprender más sobre el paper picing