A Spoonful of Sugar

Make. Bake. Create.

Menu
  • Home
  • About
    • About Us
    • Press
    • FAQ
    • Disclosure Policy
    • Contact Us
  • Crafts
    • Crochet
    • DIY
    • Embroidery/Cross stitch
    • Gift Wrapping
    • Knitting
    • Miscellaneous
    • Paper Crafts
  • Holidays
    • New Year’s
    • Australia Day
    • Back to School
    • Valentines Day
    • Easter
    • ANZAC Day
    • Mother’s Day
    • Father’s Day
    • Halloween
    • Christmas
  • Recipes
    • Appetizers
    • Bars & Slices
    • Bread & Pastries
    • Cakes
    • Cookies
    • Confectionery
    • Cupcakes & Muffins
    • Desserts
    • Drinks
    • Ice Cream
    • Jams/Preserves
    • Main Meals
  • Sewing
    • Sewing Tutorials
    • Quilting
    • Sewing & Quilting Patterns
  • Family
    • Back to School
    • Family Fun
    • Our Home
    • Parenting
    • Travel
  • Shop
    • Pattern Store
    • Etsy Store

Travel Neck Pillow Cover

October 6, 2012 By Spoonful of Sugar - 26 Comments

Sarah and I are planning a fabulous Mother/Daughter holiday next year to Paris so our mind is filled with travel related projects. I spotted travel pillow covers made by Anna over at Thimbelanna for her recent trip which inspired some new covers for our travel pillows.

The first cover I made was a craft fail. It fit the neck pillow perfectly but I forgot to take into consideration that the neck pillow is filled with polystyrene balls that mould to your neck and are nice and squidgy  My well fitted cover did not allow the balls to move so it was as hard as a rock! Not want you want on a long haul flight. In hindsight, using a stretch fabric would have been better but I really wanted to use fabric that I already had in my stash. The next version worked so much better but is not as pretty due to the slightly baggy cover required. I think of it more as a pillow case for your neck pillow. At least the colour is better and it can be easily removed for laundering.

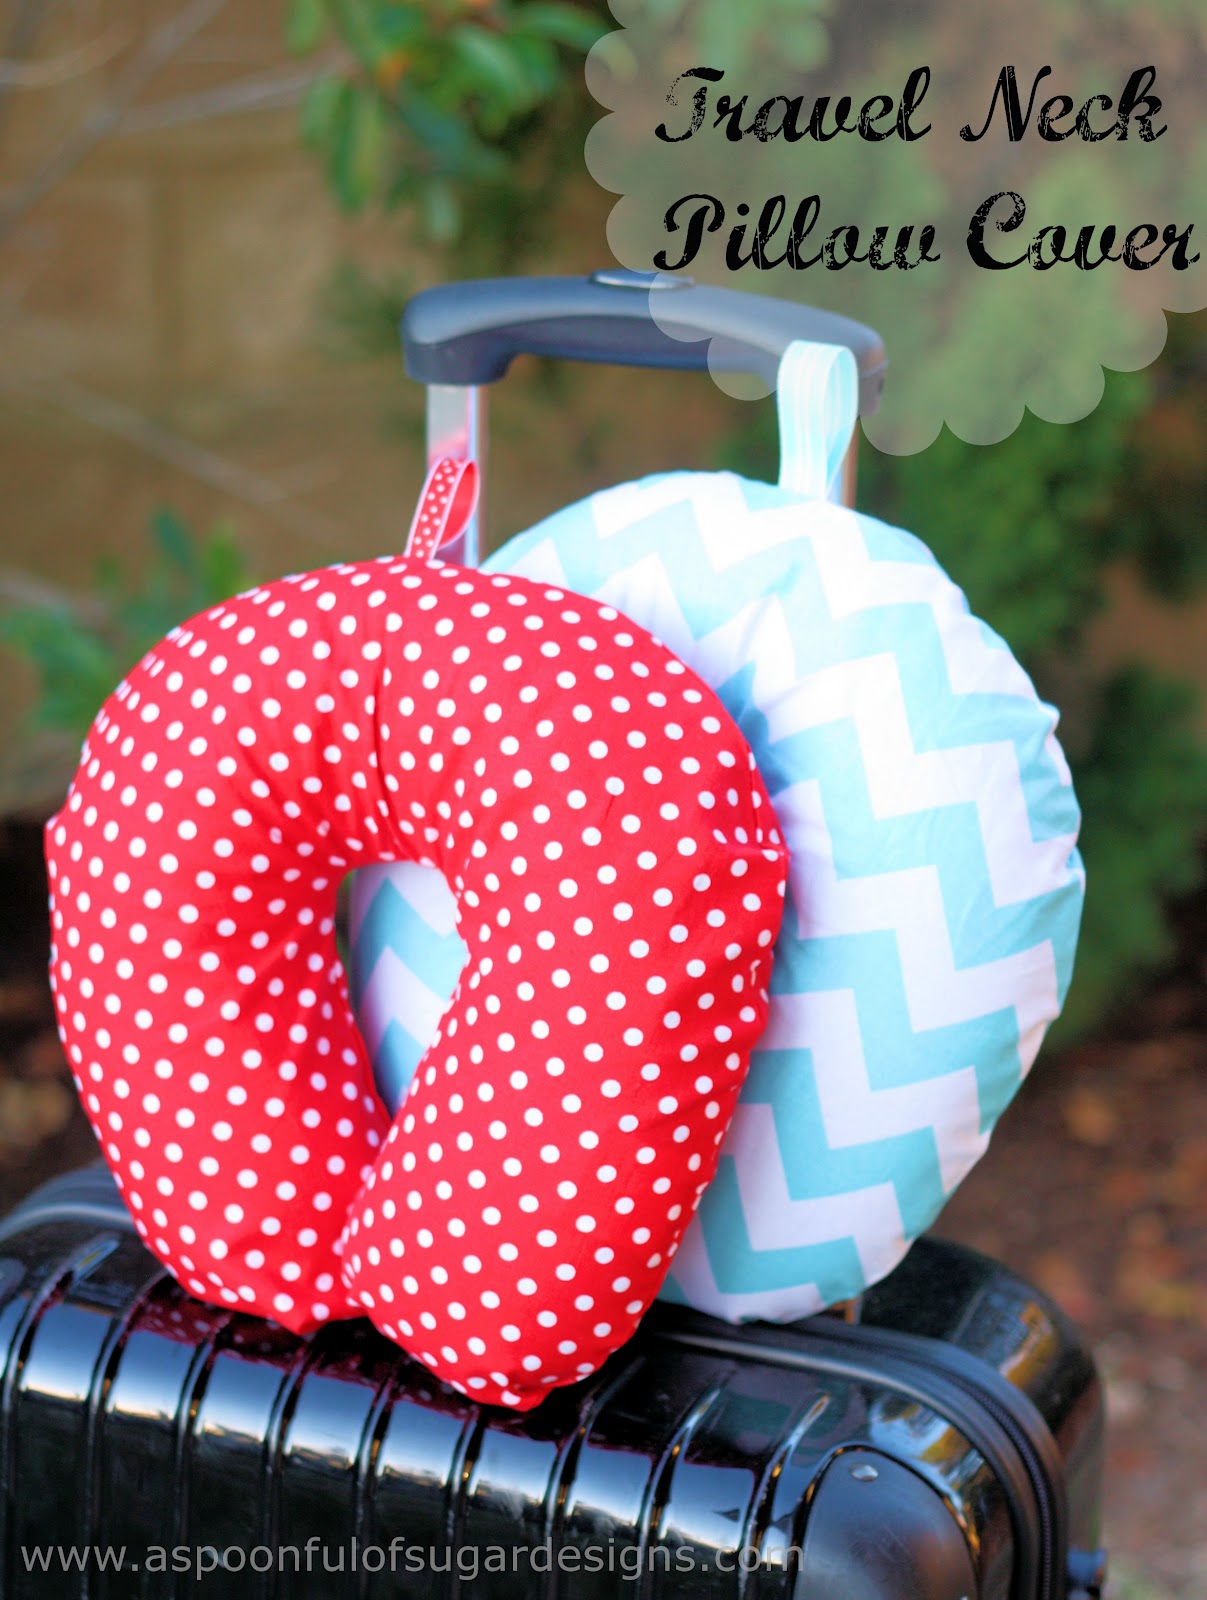
If you would like to make your own, here are some general instructions showing the process. You will need to check the size of your travel neck pillow and adjust accordingly. Our travel pillows are approximately 12 inches (from top to bottom) and 13 inches wide.

Materials:

  • 2 fat quarters or 1/2 yard (0.5 m) of quilting cotton
  • 5 inches of ribbon
  • 10 inch (25 cm) zip
Method:
1. Cut fabric so that you have three rectangles measuring:
  • 16 1/2 x 13 inches (pillow cover front)
  • 16 1/2 x 9 inches (pillow cover back)
  • 16 1/2 x 5 1/4 inches (pillow cover back)
2. Pin the Zipper to the middle of the larger back piece, with the wrong side of the zipper facing upwards (as photographed). Using your zipper foot, stitch in place.
3. Pin the other side of the zipper to the small back piece and stitch in place (as photographed).
4. With the right side of the back cover facing upwards, fold the fabric above the zipper so that it overlaps the zipper by 1 inch. Press. (Refer to photographs).
5. Stitch this overlap in place, by stitching closing to the edge on either end of the zipper, and then stitch around the zipper as photographed in the last image.

6. Pin the front and back of the cover together with the right sides facing and the zipper opened. Position the pillow on top of the fabric. Squish it down as flat as you can whilst tracing around it, leaving 1/2 inch -1 inch clearance.
7. Fold the ribbon in half, and pin to the top of the pillow, between the two layers. Stitch around the traced outline. Pop the pillow inside the cover to check the fit. If you are satisfied with the fit, stitch around the outline a second time for reinforcement. Then trim away the excess fabric, leaving a 1/4 inch seam allowance. Clip curves.
8. Turn the cover out the right way and press.

Now we will have fresh covers for our travel pillows.

For your daily sugar fix you can follow us on facebook, twitter, and google plus.  

Filed Under: Sewing, Sewing Tutorials, Travel

« Win a VersaCook Multi Cooker X5
French Inspired Christmas: Gift Tags and Fabric Tape »

Comments

  1. takeshapefitness says

    October 6, 2012 at 8:58 pm

    Looks good. I just bought a sewing machine but I haven’t even got it out of the box yet!

    Reply
  2. Chandeen Santos says

    October 7, 2012 at 12:29 pm

    Your neck pillow is much better than mine! Love it!

    Reply
  3. Thimbleanna says

    October 8, 2012 at 10:27 am

    Those are super cute Lisa — and I see you stuck with our red/aqua color scheme LOL!

    Reply
  4. Kalina says

    October 9, 2012 at 12:32 am

    What a simply way of doing that cover! Thanks!

    Reply
  5. Craft and Decorate says

    October 9, 2012 at 2:20 am

    Hey what a useful idea! Great work! Thanks for sharing! 🙂
    http://craftanddecorate.blogspot.com/

    Reply
  6. Sybilline says

    October 9, 2012 at 2:24 pm

    Great idea! Nice and personalize travel pillows!

    Reply
  7. Handmade in Israel says

    October 11, 2012 at 10:19 pm

    These are so cute. Enjoy using them!

    Reply
  8. Potpourri says

    October 29, 2012 at 3:24 pm

    Thanks for the tutorial My travel pillow definitely needs anew cover and this is just perfect

    Reply
  9. Hobby Lobby says

    November 8, 2012 at 1:50 pm

    Hey Lisa & Sarah! We just wanted to let you know we thought this was such a fantastic idea that we will be posting about it on our Facebook page on Friday, November 9th!

    You can check out the post tomorrow at this link: http://www.facebook.com/HobbyLobby

    Reply
  10. Мария Венкова says

    November 18, 2013 at 1:27 am

    Hello, my name is Mary! I do like your pillow covers and I have an idea of cooperation with you. Drop me a line if you are interested – maryvenkova@rambler.ru

    Reply
  11. Silvia Lückmann says

    February 7, 2014 at 5:57 am

    You are a genius . I made different and so much more difficult….

    Reply
  12. Silvia Lückmann says

    February 7, 2014 at 5:59 am

    You are a genius . I made different and so much more difficult

    Reply
    • A Spoonful of Sugar says

      February 7, 2014 at 8:56 am

      Thanks Silvia! It is fun travelling with a unique pillow.

      Reply
  13. Rosemary says

    February 7, 2014 at 6:59 am

    I didn’t see version 1, but why didn’t you put the zipper in the seam-just curious? Was it more difficult due to the shape of the pillow? I recently made foam covered chair cushions which required the seam on the curve around the back. I did that first before assembling the rest of the cushion so it was not difficult. It’s just that that pillow in that place looks awkward.

    Reply
    • A Spoonful of Sugar says

      February 7, 2014 at 8:55 am

      The travel pillow I covered was very “squishy” and it needed quite a bit of adjustment to get a good fit. It the cover fitted too well, there was no room for the pillow to bulge and you lost some of the comfort. (Hope that makes sense!). Also I wanted the zipper to be away from my neck as if the seam shifted position, it may rub during a long flight. I am sure it would work equally well in the seam.

      Reply
  14. Arcie says

    January 8, 2015 at 9:22 am

    Instead of sewing a cover for my neck pillow, I just purchased a pair of men’s tube socks. You may stitch the ends closed or just tie the ends with a piece of ribbon. Remove and launder when needed.

    Reply
    • A Spoonful of Sugar says

      January 11, 2015 at 3:20 pm

      Fabulous idea Arcie! Thanks for sharing – will have to remember that for a cosy cover.

      Reply
  15. Maria says

    February 19, 2016 at 2:19 am

    Thank you. I am going to make two for me and my husband. They will be very useful when we fly to Cancun in April.

    Reply
    • A Spoonful of Sugar says

      February 21, 2016 at 9:32 pm

      Happy travels! Enjoy Cancun 🙂

      Reply
  16. Maria says

    June 20, 2016 at 12:47 pm

    Obrigada gostei muito irei fazer um

    Reply
  17. Meena says

    November 7, 2020 at 5:08 am

    Love your idea! I had some fabric and a neck pillow that needed a cover. Didn’t have a zipper so used velcro tape instead of the zipper. Super easy, super cute and functional. Thanks!

    Reply
  18. EdThreads says

    August 14, 2021 at 2:43 am

    Thank you so much for your wonderful idea and instructions! Your posting is truly life-changing!! My 99 yo mother uses a wheel chair, and a travel pillow helps her to sit comfortably for long periods. Having coverings that can be laundered separately from the pillow makes life MUCH easier! I’m now making them for other elderly friends. Thank you!!!!!

    Reply

Leave a Reply Cancel reply

Your email address will not be published. Required fields are marked *

  • Email
  • Facebook
  • Instagram
  • Pinterest
  • Threads
  • TikTok
SUBSCRIBE TO NEWSLETTER
×

Categories

Archives

PURCHASE PDF PATTERNS

We offer over 100 affordable PDF sewing patterns available for download from our store website or Etsy store. Each pattern includes detailed instructions, numerous photos, and templates.

WEB STORE ETSY STORE

Instagram

Sharing the tiny detail that makes the Scrappy Str Sharing the tiny detail that makes the Scrappy Strips Pouch feel polished and gift‑ready — the little cord end caps. They’re simple, quick, and such a sweet finishing touch for your drawstring bags.This pattern includes two practical sizes, and you can sew the feature panel using selvedges/selvages or patchwork strings. A beginner‑friendly project that turns treasured scraps into something beautiful and useful.A few of you asked about the cord end caps — just search “plastic bell cord end caps with lid” and you’ll find plenty of options in lots of colours.Comment SELVEDGE or SELVAGE and I’ll send the pattern link straight to your inbox.Pattern Details: Scrappy Strips Pouch ( 2 sizes) is available in our Pattern Store and Etsy Shop.#scrappystripspouch #drawstringbag #sewingpattern #scrapsewing #aspoonfulofsugardesigns
I save every pretty selvedge that crosses my cutti I save every pretty selvedge that crosses my cutting table — and this is exactly why. Those tiny printed edges become the sweetest feature panel on my new Scrappy Strips Pouch, released today.You can make it with selvedges or patchwork strings, and it comes in two practical sizes. A quick, beginner‑friendly sew that turns leftovers into something lovely.Comment SELVEDGE or SELVAGE and I’ll send the pattern link straight to you.Pattern Details: Scrappy Strips Pouch (2 sizes) available in my Pattern Store and Etsy ShopFabric: Selvedges from various @rubystarsociety fabric lines.#scrapsewing #selvedgesewing #beginnersewingproject #sewingpatternrelease #aspoonfulofsugardesigns
Tiny scraps, tiny stitches, tiny treasures. These Tiny scraps, tiny stitches, tiny treasures. These little Threaded Tokens are one of my favourite ways to turn leftover fabric into something sweet and useful. Small motifs shine, the sewing is quick, and they’re perfect to add to gifts or keep in your sewing kit.Comment TOKEN and I’ll send you the free beginner‑friendly pattern.Shown in the beautiful Tilda Songbird collection. Thanks ti @tilda_australia#scrapsewing #freepattern #tildasongbird #ilovetilda #beginnersewing
A tiny triangle with a very big job. This little t A tiny triangle with a very big job. This little travel kit opens flat so you can see everything at a glance, then folds back into a neat pocket‑sized shape. It’s one of my most‑used makes — quick to sew, scrap‑friendly, and perfect for gifting.Comment TRAVEL and I’ll send you the pattern link.Pattern Details: Travel Sewing Kit Pattern - available in our Pattern Store and Etsy Shop#sewingreels #sewingproject #sewistsofinstagram #bagmaking #craftastherapy
A sweet little drawstring pouch that opens wide, c A sweet little drawstring pouch that opens wide, cinches neatly, and is perfect for gifting or using every day. Quick to sew, scrap‑friendly, and always a favourite.Comment HANDY and I’ll send you the pattern link.Pattern Details: Handy Drawstring Pouch (3 Sizes) - available in our Pattern Store and Etsy Shop.Fabric Details: Tilda Songbird fabric. Thanks to @tilda_australia#handydrawstringpouch #tildasongbird #tildafabrics #sewingpattern #sewingcommunity
A clever little Liberty moment. The Quadra Pouch f A clever little Liberty moment. The Quadra Pouch folds completely flat, then pops open into a roomy, stand‑up shape with that signature base. It’s quick to sew, practical to use, and one of my most‑loved gift projects.If you’d like to sew one too, comment QUADRA and I’ll send you the pattern link.Pattern Details: Quadra Pouch (3 Sizes) - available in my Pattern Store and Etsy Shop.Fabric: Liberty Betsy @regent_street_fabrics#sewingreels #libertyfabric #sewingproject #sewistsofinstagram #quadrapouch
Follow on Instagram

Featured Pattern

Travel Sewing Kit Pattern

Featured Tutorial

Retro Drawstring Bag

Featured Recipe

Lemon Pound Cake

Connect

  • Email
  • Facebook
  • Instagram
  • Pinterest
  • Threads
  • TikTok
SUBSCRIBE TO NEWSLETTER
×

Popular Posts

  • Tips for Threading a Needle
  • Travel Accessories to Sew
  • Charm Square Fabric Tray
  • Pretty Handmade Gifts for Women: 15 Lovely Projects to Sew
  • Happy Scrappy Cards
  • Patchwork Fabric Tray
  • Make your own linen napkins Make Your Own Linen Napkins

Copyright © 2026 Lisa. K. Cox - A Spoonful of Sugar