A Spoonful of Sugar

Make. Bake. Create.

Menu
  • Home
  • About
    • About Us
    • Press
    • FAQ
    • Disclosure Policy
    • Contact Us
  • Crafts
    • Crochet
    • DIY
    • Embroidery/Cross stitch
    • Gift Wrapping
    • Knitting
    • Miscellaneous
    • Paper Crafts
  • Holidays
    • New Year’s
    • Australia Day
    • Back to School
    • Valentines Day
    • Easter
    • ANZAC Day
    • Mother’s Day
    • Father’s Day
    • Halloween
    • Christmas
  • Recipes
    • Appetizers
    • Bars & Slices
    • Bread & Pastries
    • Cakes
    • Cookies
    • Confectionery
    • Cupcakes & Muffins
    • Desserts
    • Drinks
    • Ice Cream
    • Jams/Preserves
    • Main Meals
  • Sewing
    • Sewing Tutorials
    • Quilting
    • Sewing & Quilting Patterns
  • Family
    • Back to School
    • Family Fun
    • Our Home
    • Parenting
    • Travel
  • Shop
    • Pattern Store
    • Etsy Store

Christmas Pictures

November 13, 2011 By A Spoonful of Sugar - 24 Comments

It is no secret that I love Christmas, and adding Christmas pictures to our home brings some festive cheer. We usually change our Christmas colour scheme every year or so, but you can quickly add some inexpensive framed fabric art to complement your holiday colours.

I love making pictures using embroidery hoops and the best thing is that they can be easily altered from year to year.

Materials:

  • felt
  • background fabric
  • quilting batting
  • embroidery hoop
  • ribbon
  • buttons

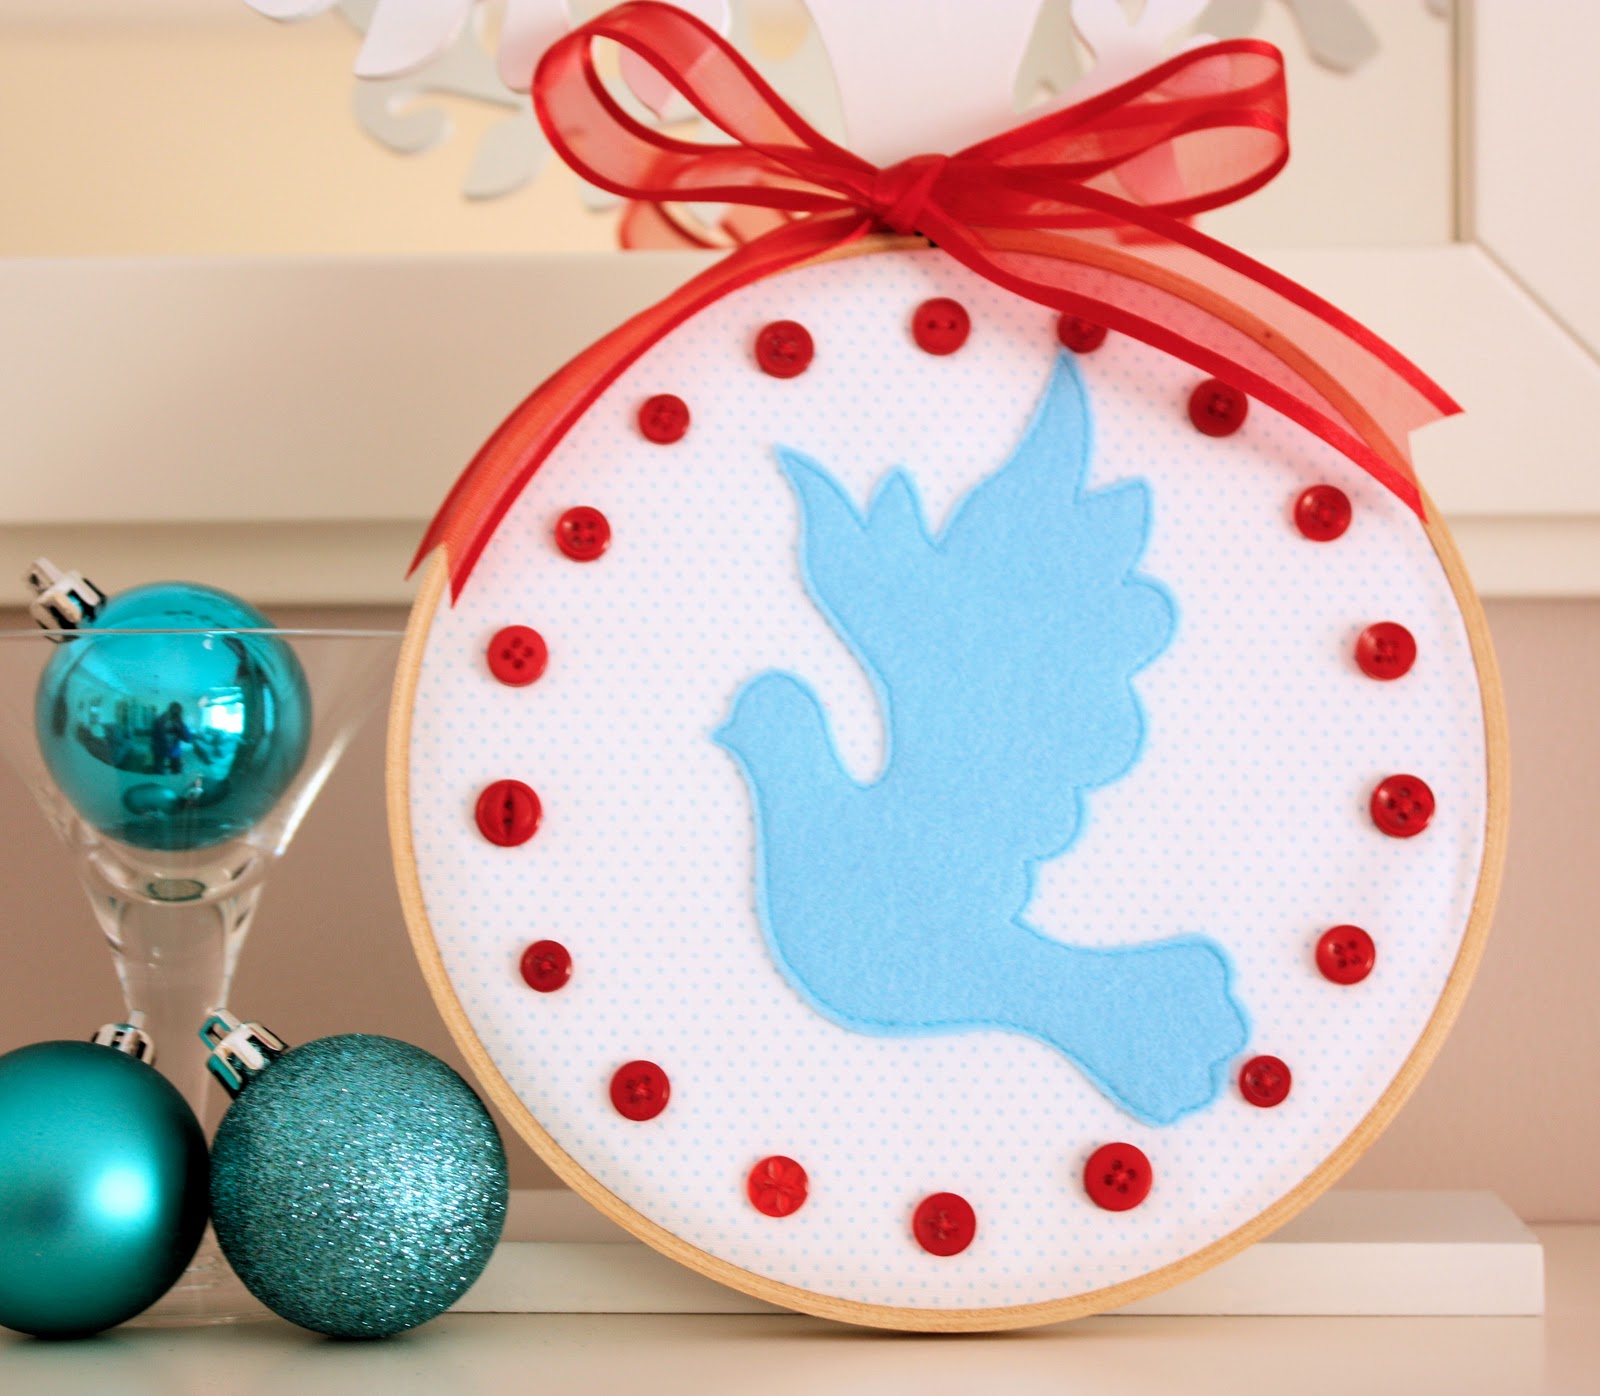
Cut a Christmas image out of felt. I used my Accuquilt Go Baby and a Dove die to quickly cut out a dove silhouette. Alternatively, you can do a google search for “Christmas Images” and it will come up with loads of great images you could trace onto felt and then cut out.

Stitch the silhouette to a piece of backing fabric that is larger that the embroidery hoop you are using.

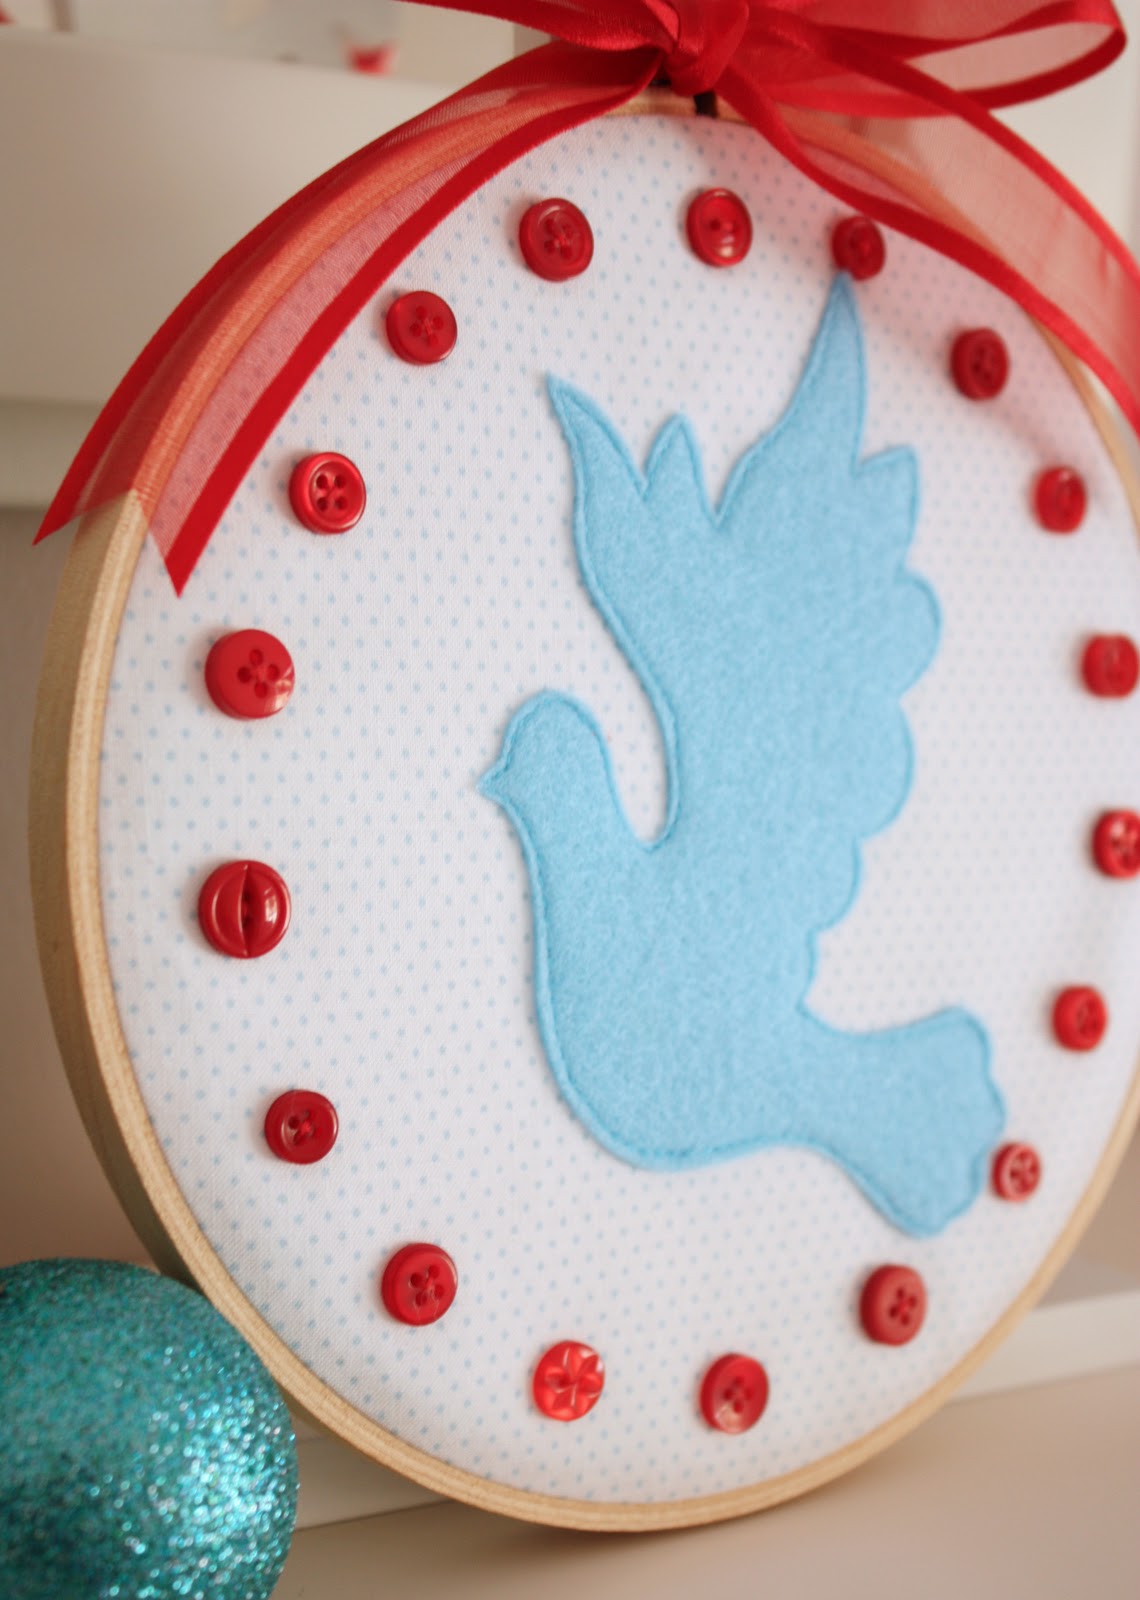
Embellish the picture with buttons, sequins, embroidery etc.

Place the fabric in the hoop. Cut a circle of batting that is the same size as your hoop and place it in the back of the picture. Trim the fabric so that it is approx 1 inch bigger than the hoop. Tuck the edges of the fabric in  behind the picture and glue a circle of card to the back of the hoop to cover the back and keep it neat.

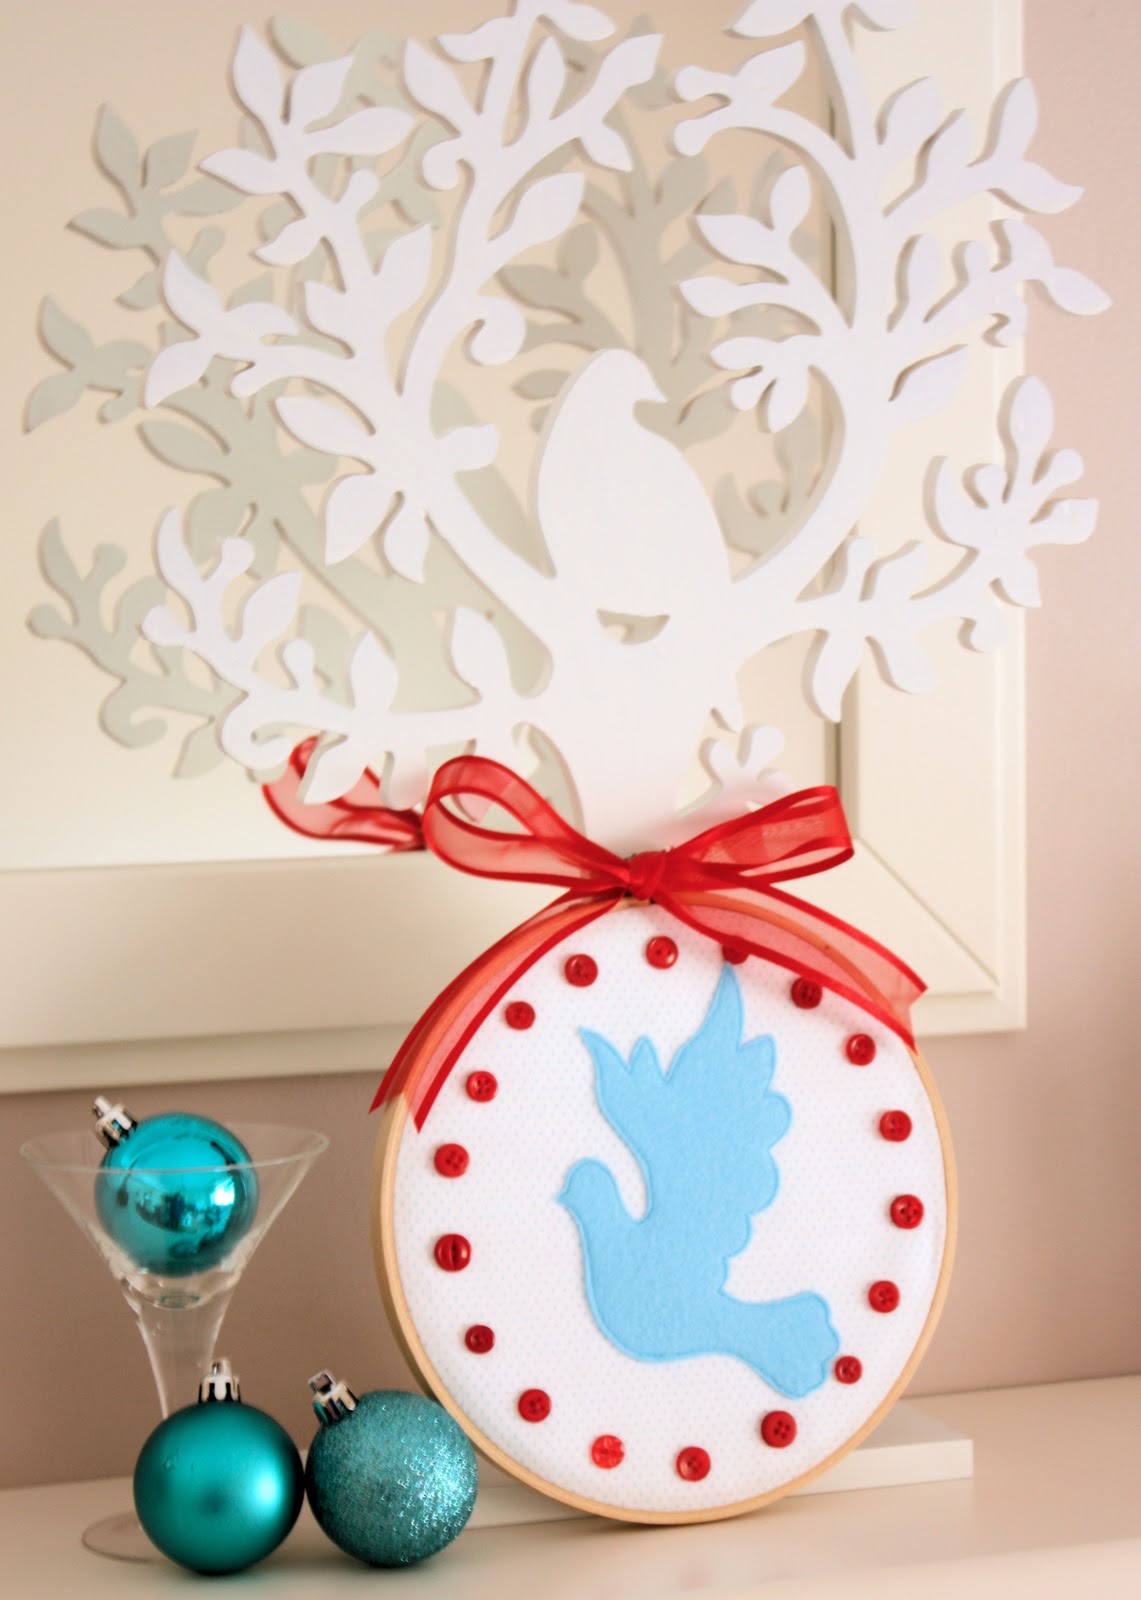
Attach a ribbon and a length of twine to hang the picture as desired.

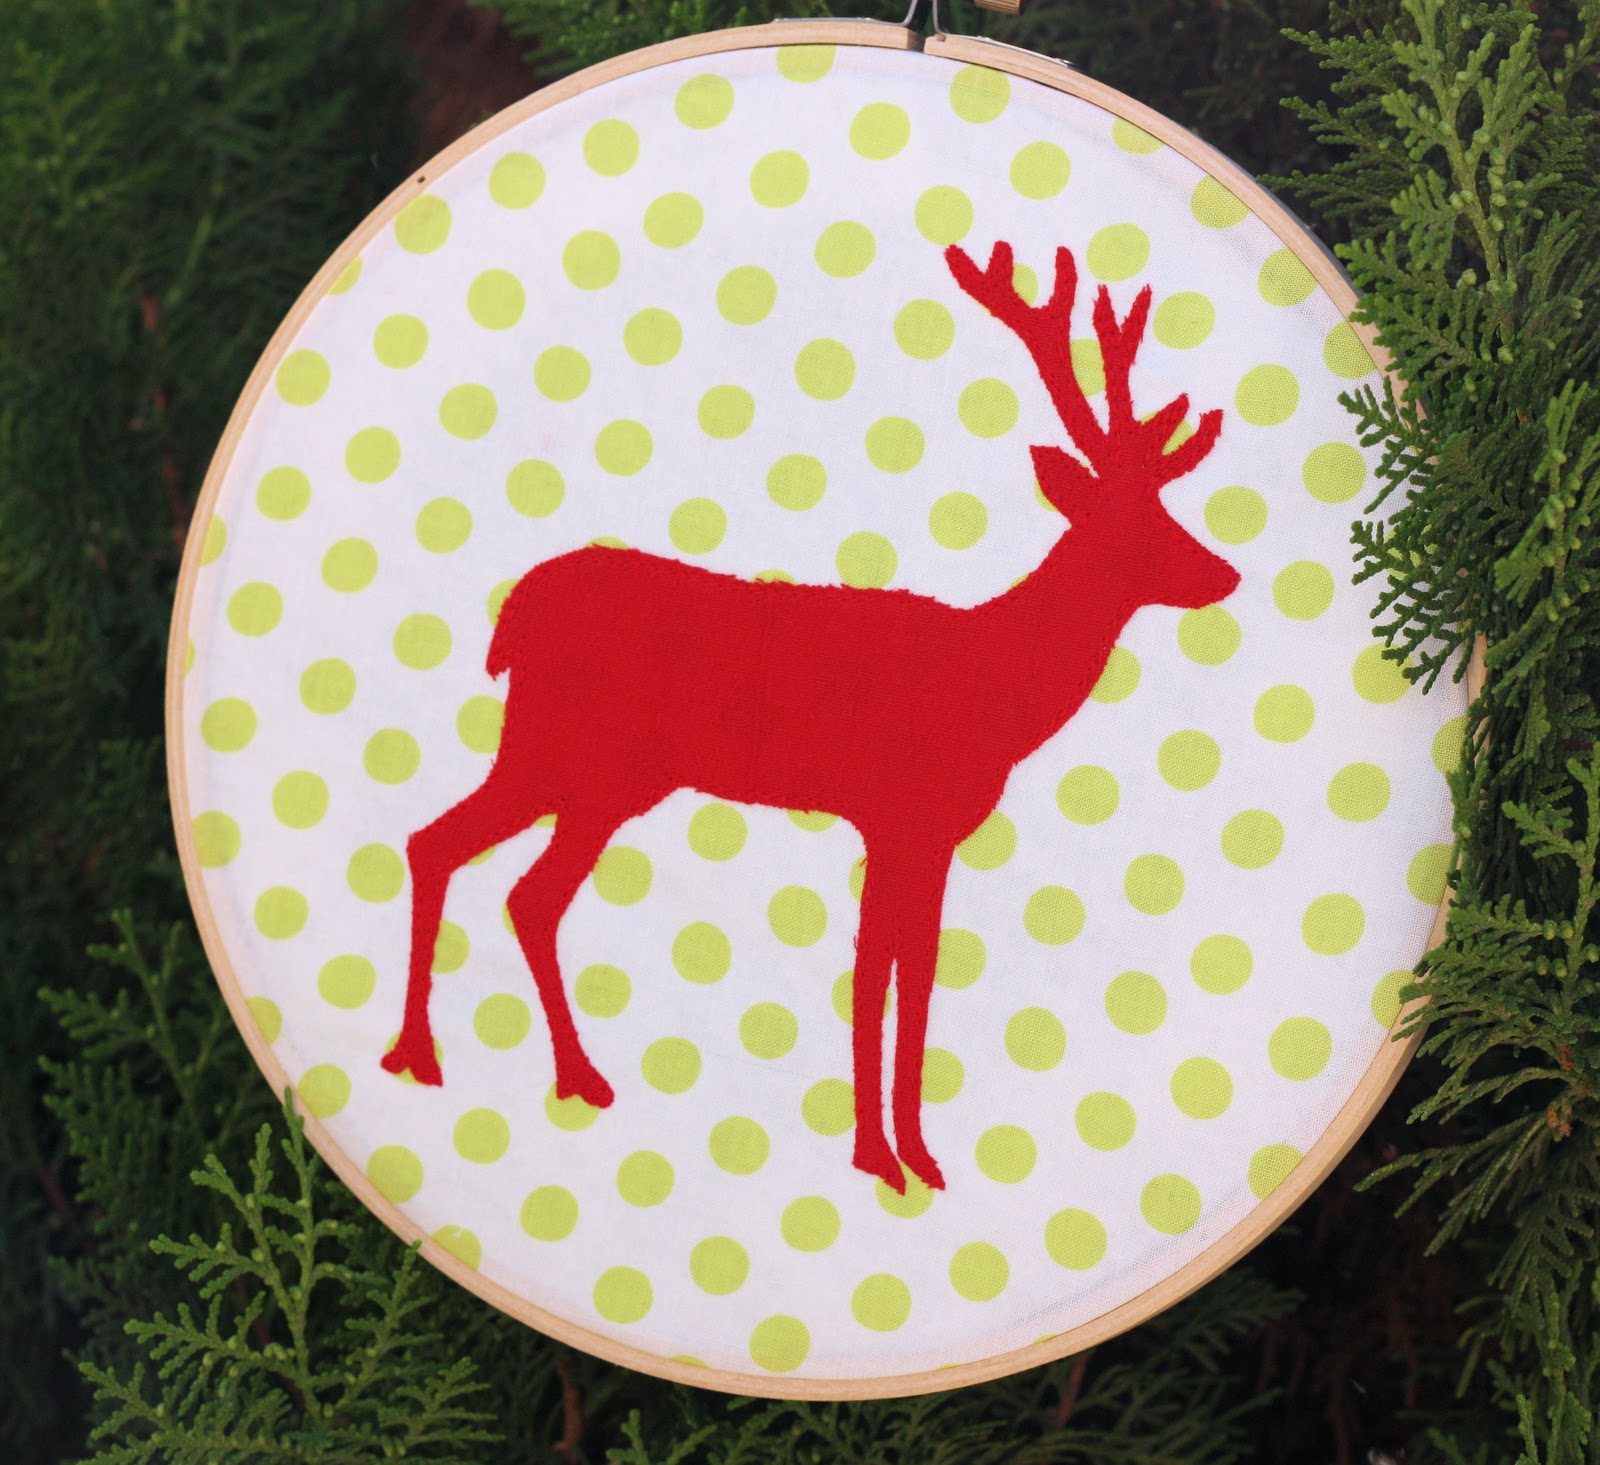
Here is a reindeer silhouette that I made last year in red, white and lime colours.

Pop back tomorrow as we have a terrific giveaway from Incomparable Buttons.

For your daily sugar fix you can follow us on facebook and twitter.

Filed Under: Christmas, Sewing, Sewing Tutorials Tagged With: applique

« A Quilters Diary 2012
JOY Bunting »

Comments

  1. two hippos says

    November 13, 2011 at 2:07 am

    brilliant idea, they are really lovely decorations!

    Reply
  2. erdbeerdiamant says

    November 13, 2011 at 1:03 am

    This is just *WOW* I love the beautiful pictures! Brilliant idea 🙂

    Reply
  3. Patchwork and Play says

    November 13, 2011 at 1:19 am

    What a fabulous idea! Simple but so effective! I’ll be back tomorrow too!

    Reply
  4. Fotf says

    November 13, 2011 at 1:20 am

    Love this. I managed to obtain two hoops several months ago and haven’t done anything with them yet so this idea is a great inspiration and motivation to get going now that my stint making Christmas cards is nearly over. Tfs 🙂

    Reply
  5. shez says

    November 13, 2011 at 1:31 am

    lovely idea Lisa

    Reply
  6. Nicky says

    November 13, 2011 at 1:36 am

    The deer is gorgeous!

    Reply
  7. suzitee says

    November 13, 2011 at 1:50 am

    What a great idea. Your house will be stunning this Christmas!

    Reply
  8. Cybele's patch says

    November 13, 2011 at 2:26 am

    Wonderful and beatuiful! I am always amazed by your creativity. I have a spare hoop so guess what I will be doing….

    Reply
  9. Bela says

    November 13, 2011 at 2:51 am

    I always wonder where so much creativity comes from!
    Fantastic! I love your acqua & red x-mas!!!
    Love, Bela

    Reply
  10. Sophie-Charlotte Chapman says

    November 13, 2011 at 4:12 am

    lovely, to start i thought they were awesome cookies !!

    Reply
  11. Pat says

    November 13, 2011 at 4:54 am

    Love your hoop pictures. I used to make huge ones with Christmas lace designs overlaying deep solid colors.

    Reply
  12. Simone de Klerk says

    November 13, 2011 at 5:11 am

    What a gorgeous project and the colors are so you! Last year’s project is very pretty too!

    Reply
  13. Celestial Charms says

    November 13, 2011 at 10:22 am

    Some wonderful ideas in this post. The red buttons really add the perfect touch!
    Maureen

    Reply
  14. Handmade says

    November 14, 2011 at 2:04 am

    Totally effective – one year I’m going to hire you to decorate my house for Christmas!!!!

    Reply
  15. Melissa @ Sew BitterSweet Designs says

    November 13, 2011 at 3:12 pm

    Lovely! I just had to pin this it was so adorable!

    Reply
  16. Michelle L. says

    November 13, 2011 at 5:46 pm

    Those are seriously gorgeous! I love the color combinations you chose – so cheerful, and Christmasy but not too much.

    Reply
  17. Trish and Bonnie @ Uncommon says

    November 13, 2011 at 6:08 pm

    I am in love with these! The red and aqua is one of my favorite Christmas color combos ever! We are hosting a Home for the Holidays link party and we would be honored for you to join us!

    http://www.uncommondesignsonline.com/2011/11/home-for-holidays-link-party_08.html

    Reply
  18. Terriaw says

    November 13, 2011 at 8:00 pm

    So gorgeous! I am always looking for new ideas for ornaments to make each season, so I’m definitely going to try these. Just need to stock up on a few small hoops. They are so elegant and festive. Thanks for sharing!

    Reply
  19. Thimbleanna says

    November 14, 2011 at 6:53 am

    Very, very cute Sarah! I love that you can change them out to be however you like them!

    Reply
  20. Jill says

    November 14, 2011 at 8:21 pm

    Gorgeous little pictures! Love your colours for this year! 🙂

    Thanks for linking to a Round Tuit!
    Hope you have a great week!
    Jill @ Creating my way to Success
    http://www.jembellish.blogspot.com/

    Reply
  21. Mammasaurus says

    November 17, 2011 at 3:39 am

    Wowsers! That looks great! I am going to have go myself!

    Very effective indeed!

    Reply
  22. Amy says

    November 19, 2011 at 5:52 pm

    Just gorgeous!

    Where do you get your embroidery hoops from? My local Lincraft doesn’t have a very good range of them.

    Thanks so much for linking up x

    Reply
  23. Noirin McBrien says

    November 27, 2013 at 3:11 pm

    Beautiful!

    Reply
  24. Noirin McBrien says

    November 27, 2013 at 3:12 pm

    Quite simply beautiful!

    Reply

Leave a Reply Cancel reply

Your email address will not be published. Required fields are marked *

  • Email
  • Facebook
  • Instagram
  • Pinterest
  • Threads
  • TikTok
SUBSCRIBE TO NEWSLETTER
×

Categories

Archives

PURCHASE PDF PATTERNS

We offer over 100 affordable PDF sewing patterns available for download from our store website or Etsy store. Each pattern includes detailed instructions, numerous photos, and templates.

WEB STORE ETSY STORE

Instagram

Mug rugs are one of the most satisfying projects t Mug rugs are one of the most satisfying projects to sew — quick to finish, perfect for scraps, and such a lovely way to build your skills in small, low‑pressure steps. Little details like trimming curves, pressing well, and choosing the right batting can make a big difference to how flat and polished your mug rugs look.Swipe through for simple, beginner‑friendly tips that help your seams stay smooth, your corners turn neatly, and your finish feel more professional. Save this for the next time you need a quick, satisfying project.If you’re ready for your next make, I have a collection of 30+ mug rug and coaster patterns in my store — you’ll find the links in my profile.#mugrug #mugrugpattern #beginnersewingproject #scrapbustingsewing #aspoonfulofsugardesigns
My most‑made gift? The Bakers Buddy Mitt.Here ar My most‑made gift? The Bakers Buddy Mitt.Here are 3 reasons it’s always on my sewing table:
• No binding, which means it’s quick and beginner‑friendly
• Layers of Insul-Brite + batting to protect your hand
• A modern shape that looks beautiful in any stash fabricWant the pattern link? Comment BAKER and I’ll send it straight to your inbox.Perfect for gifting, scrap‑friendly, and such a satisfying make.Pattern details: Bakers Buddy Mitt (available in our Pattern Store and Etsy Shop).#quicksewingproject #beginnersewing #makersgonnamake #scrapbusting #giftideas
Why makers love this little pouch duo ✨The Hand Why makers love this little pouch duo ✨The Handy Drawstring Pouch + Mini Treat Pouch make such a sweet set — all beginner‑friendly, quick to sew, and perfect for using up your favourite fabric scraps. They’re lovely for gifting, organising, or adding a pop of colour to your sewing space.You’ll get both patterns in the bundle, and you’ll also save 25% — a thank you for choosing two of our most‑loved pouch designs.Which pouch would you sew first?Patterns linked in bio. Comment BAGDUO for the bundle link.Fabric: Tilda Songbird collection, kindly supported by @tilda_australia.#sewingcommunity #pouchmaker #beginnersewer #scrapfriendly #sewingpattern
The Scalloped Gift Bag is such a sweet little make The Scalloped Gift Bag is such a sweet little make — beginner‑friendly, quick to sew, and perfect for Easter or spring gifting. The colourful felt stars (or hearts!) are a lovely way to use your favourite felt scraps, and the scalloped edging adds that extra touch of charm.Comment SCALLOP for the pattern link.Pattern Details: Scalloped Gift Bag Pattern ( available in our Pattern Store & Etsy Shop)#scallopedgiftbag #sewingpattern #eastersewing #scrapfriendlysewing #aspoonfulofsugardesigns
The Ribbon Gift Box is back for Pattern of the Wee The Ribbon Gift Box is back for Pattern of the Week — and this fresh spring version in Tilda Creating Memories feels so sweet. It’s a reusable little box with a clever base, a ribbon closure, and it even folds flat for storage. A quick, satisfying make for Easter gifting or small treats.Comment BOX for the link — it’s 25% off this week only.#ribbongiftbox #sewingpattern #giftsewing #tildafabric #aspoonfulofsugardesigns
Tiny projects are my favourite way to use every la Tiny projects are my favourite way to use every last scrap — and these little Threaded Tokens are so quick and satisfying to sew.Here are 3 sweet ways to use them: • Add to a wrapped gift or treat bag • Use as a place card at your next gathering • Clip onto a pouch or zipper pull for a handmade touchThey’re perfect for fussy‑cutting tiny motifs (especially Songbird!) and make lovely little keepsakes.Comment TOKEN for a link to our free Threaded Tokens pattern. Happy sewing, friends 🌼#sewingproject #scrapbusting #tildafabric #tildalovers #fussycuts
Follow on Instagram

Featured Pattern

Travel Sewing Kit Pattern

Featured Tutorial

Retro Drawstring Bag

Featured Recipe

Lemon Pound Cake

Connect

  • Email
  • Facebook
  • Instagram
  • Pinterest
  • Threads
  • TikTok
SUBSCRIBE TO NEWSLETTER
×

Popular Posts

  • The Ultimate Resource for Vintage Haberdashery Lovers
  • Merry Little Christmas Sewing Projects
  • Hexie Pincushion {Free Sewing Tutorial}
  • Charm Square Fabric Tray
  • The Ultimate Guide to Drawstrings
  • Sew your Stash
  • Favourite Uses for Fabric Tape

Copyright © 2026 Lisa. K. Cox - A Spoonful of Sugar